Hello! This is a kind of post that I have not made a lot of: a painting project post! In this post I will be talking about the skateboard decks that I have, and the one I am currently in the middle of painting. I’m really excited to share all of these plans with you guys, because they mean a lot to me.
I recently was gifted five skateboard decks to paint, with the only condition being that I had to paint one for the person who bought them for me. I have not yet started on that one, but when I do that will also be a post in the future. I am super excited to write all of these posts about these skateboard decks that I am going to be painting.
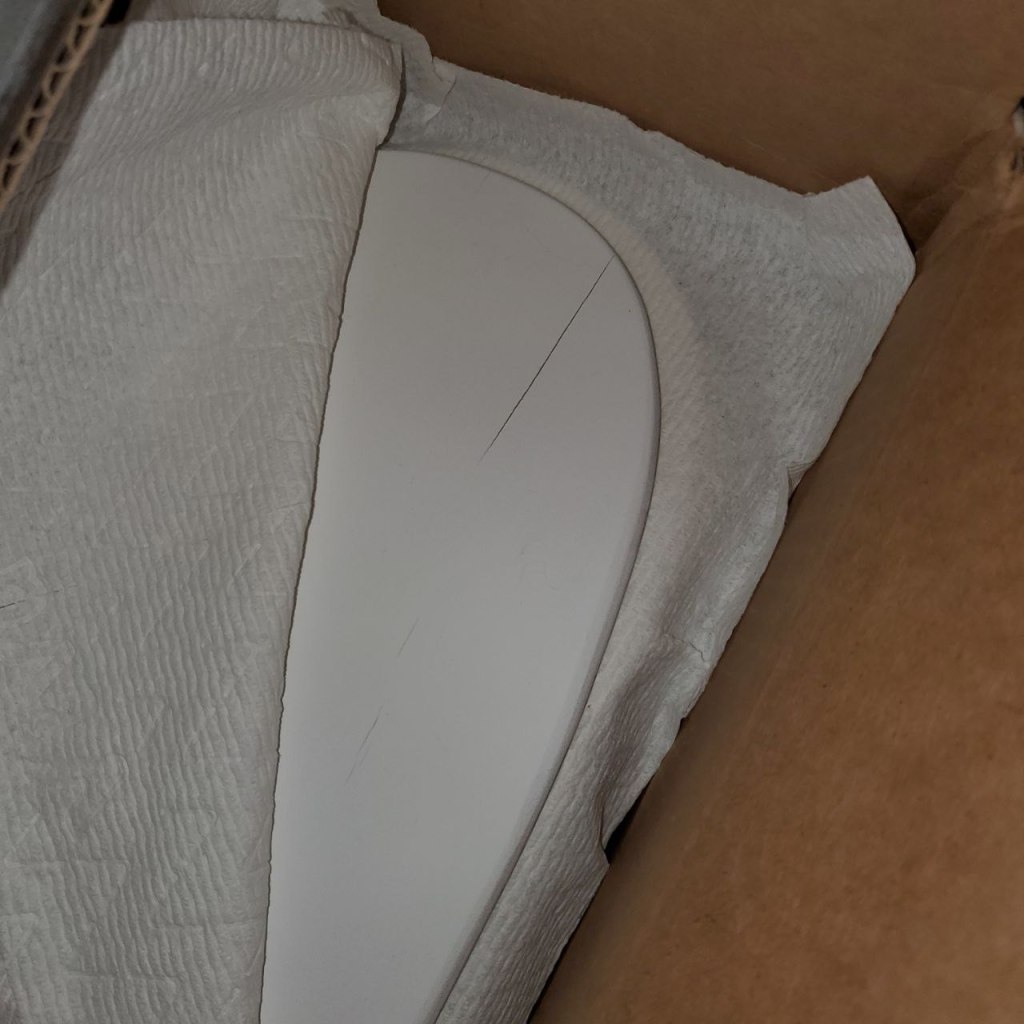
There are a few ideas that I have for these skateboard decks, but those will be in future posts. This particular post will be about the skateboard deck that I have started painting. I am not done with it yet, but I wanted to tell you guys about how I have started it and how I plan on finishing it.
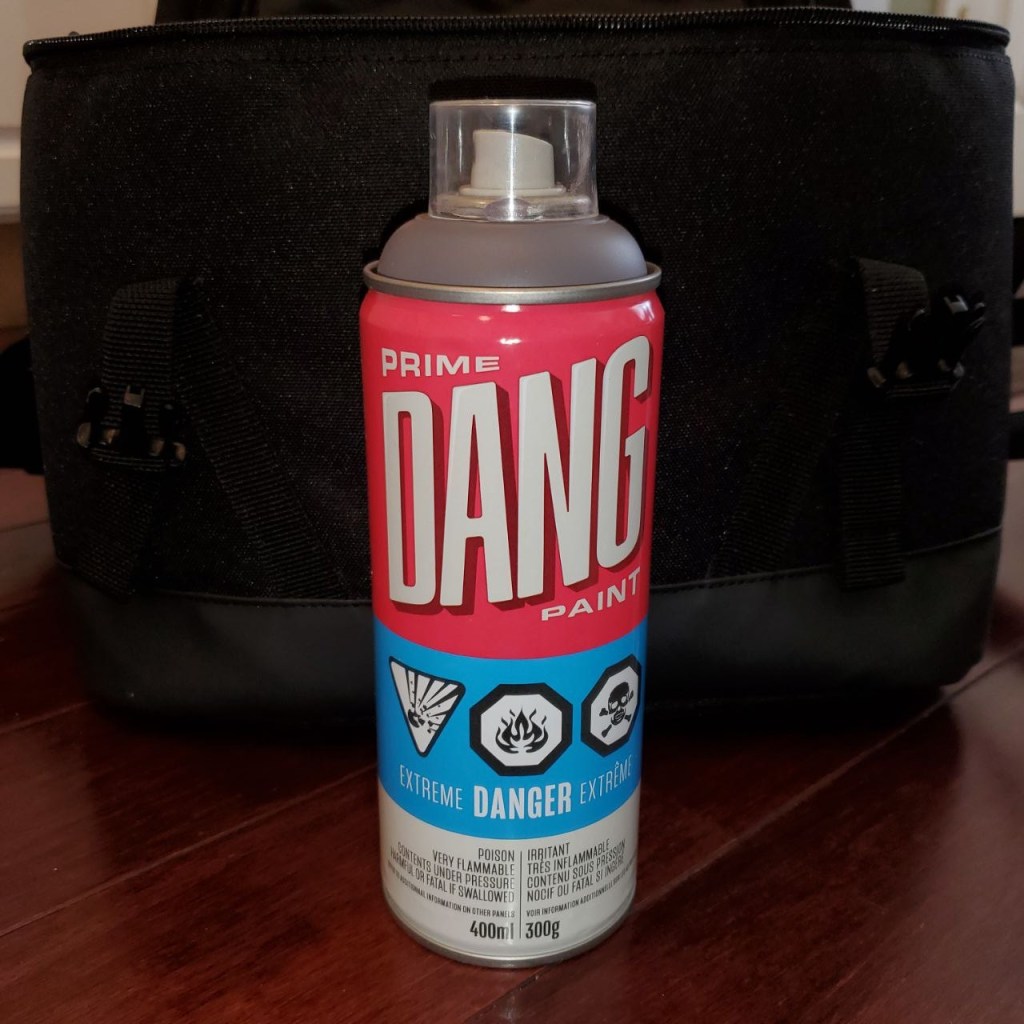
I started painting the background of this skateboard deck with spray paints, since I received a set of them for Christmas. I was super excited to start using these, since I know there are a lot of cool things that I can do with them. I knew basically what I wanted to do with the whole project from the beginning.
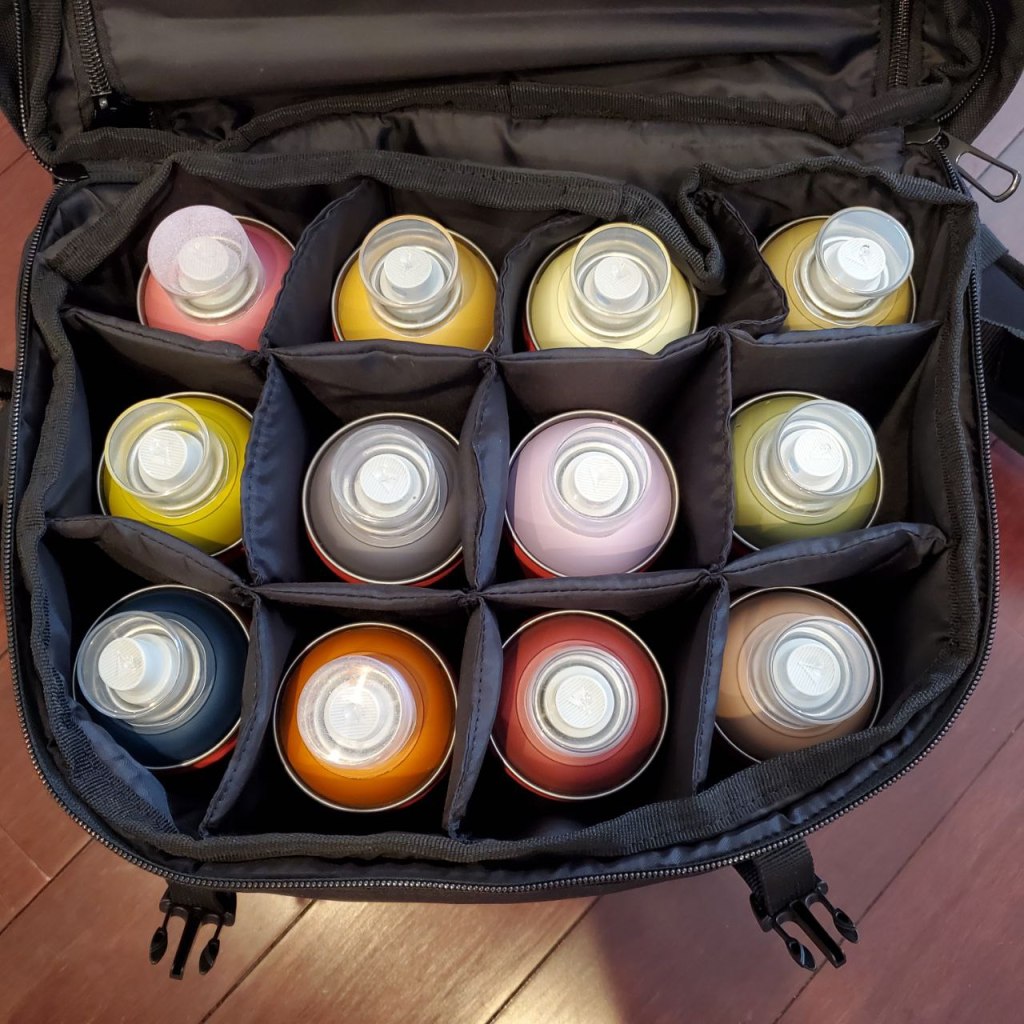
I have a ton of ideas with spray paint for the future, and I also know that you can spray paint clothes. If you guys have any tips, tricks, comments, or suggestions that you want to share with me, I would really appreciate it! I need all the help I can get with this kind of stuff.
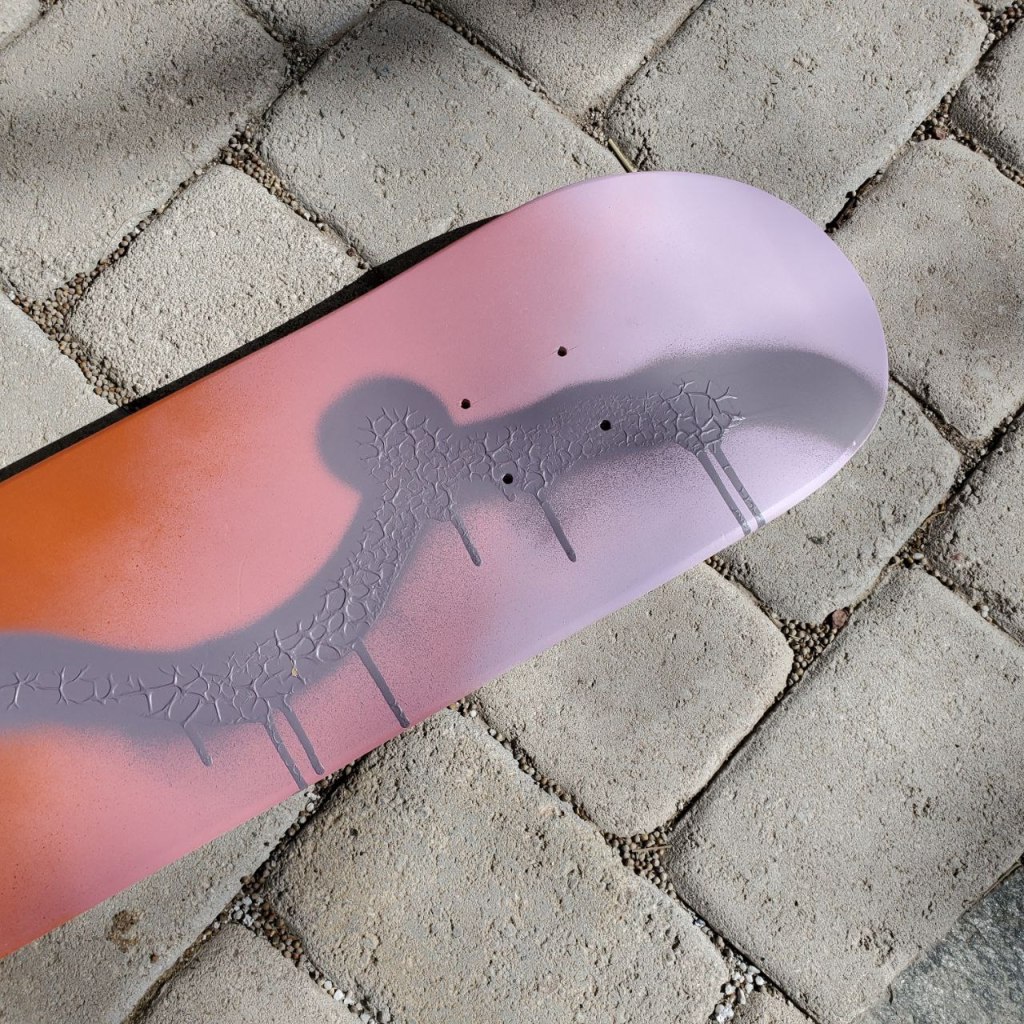
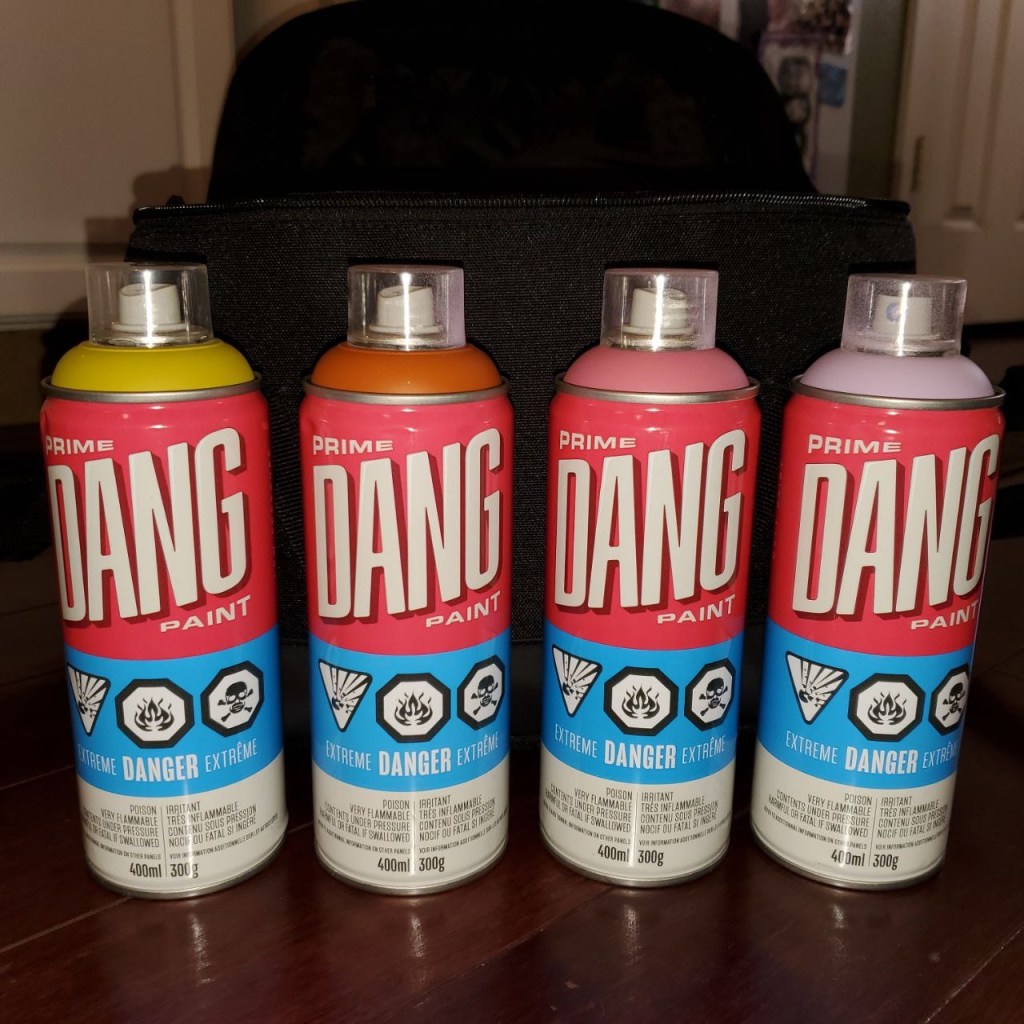
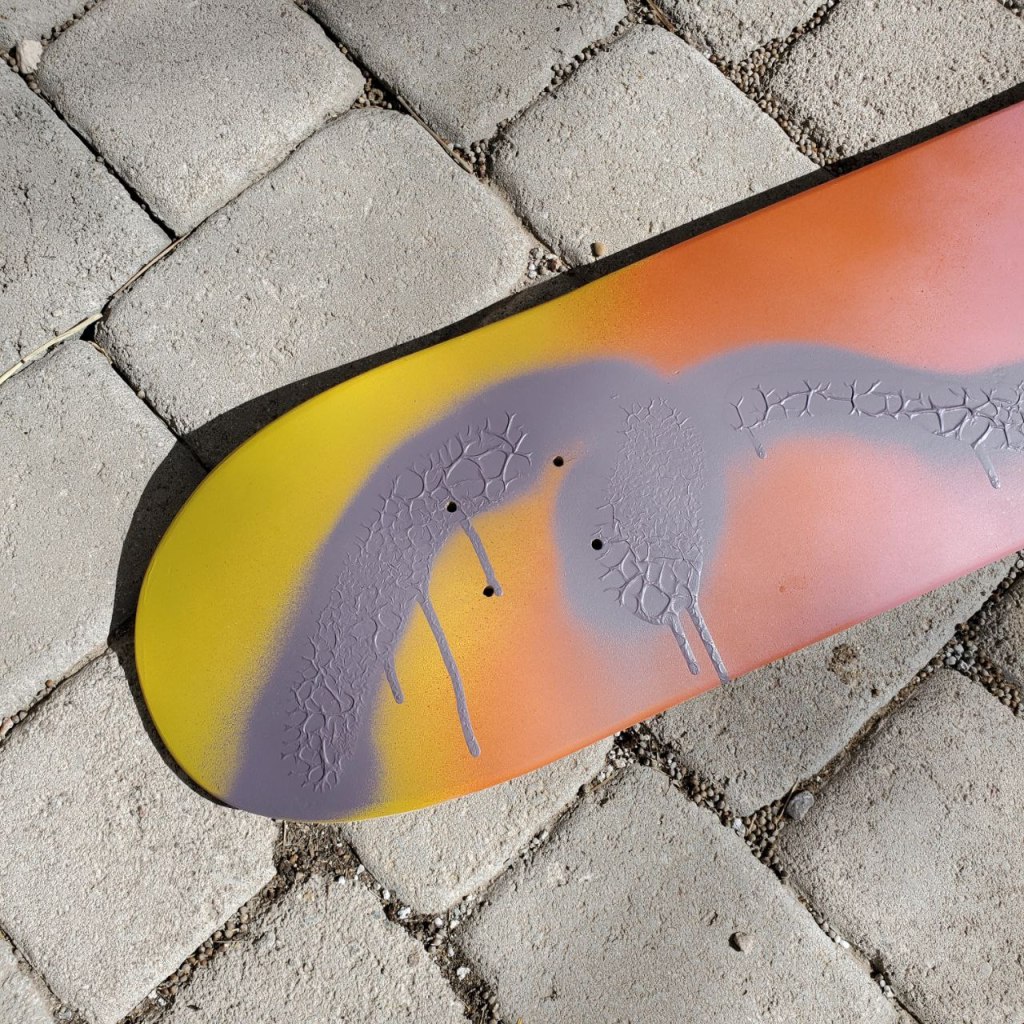
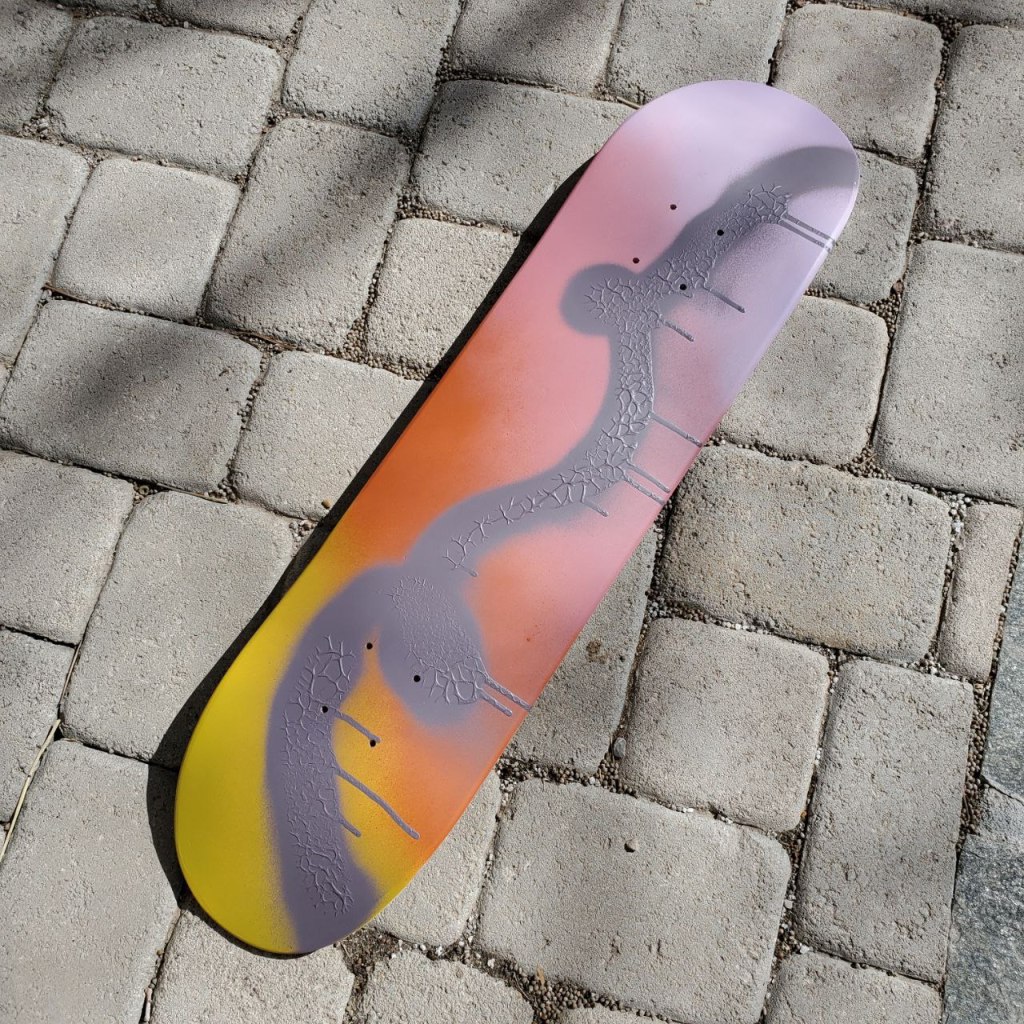
First, I picked out four colors from my spray paint that went well with each other. Then, I painted the deck in stripes, trying to blend them so there were no hard lines. I really like how this turned out, but I think I would have liked it more if it were more abstract.
After doing this, I looked through my spray paint colors, and picked out a silver. I knew I wanted to include a tube-like thing across the whole skateboard, because I had started doing this with another painting that I have, and I really liked how it ended up looking.
This is where I stopped. I have a few more plans for the rest of it, and that is the next part of this blog post. Next, I am going to add a bunch of psychadelic details to the background of the board, including mushrooms, stars, designs, patterns, etc. I also plan on making the tube look more spacey, because I think that will look best.
Then, after all of the painting is done, I plan on outlining everything with nice pens that I have so everything will pop out more and so I can add more, finer details that I would not be able to make with paint. I am sure that I can make super fine details with paint eventually, but this is not the right time in my art career.
This will eventually be for sale! This will be one of my more expensive pieces that I have made. This is for several reasons: the amount of effort I put into it, the amount of time that I put into it, and the fact that it is a skateboard deck. I am super excited to finally be selling more pieces like this!
If you have any interest in buying this at any point in time, please leave a comment or send me a message so we can talk about it! I really appreciate all of you for coming along for the ride with me! I know that my art is not the most impressive yet, but I am constantly working on it to make it better.
Thank you all so much for reading my blog post and supporting my journey! I am so grateful for everything, and I will continue to do my best to make good content for you to read.
P.S. If you would like a custom ashtray, the general pricing for just color and glitter in my medium to small molds would be $12 locally in Vegas, and $4.25 extra if I am shipping it to you. This would be $3 extra if I am using a larger mold, since it takes more resin to make. The general pricing for color, glitter, and flowers or a picture or whatever else you want me to put in it would be $15 locally in Vegas, and $4.25 if I am shipping it to you. If you would like me to add a magnet in the bottom or the sides, that would be $5 extra. If you wanted something that had more stuff than this, the pricing varies.