Hello! This is my first bonus post! I think I am going to do these a little bit more often because they contain information that I would like to put out into the world! I also think that it is nice to do things that are not on the schedule.
This post will be divided into nine parts, since I came up with nine tips to help out people who are just starting with using resin.
1 – Use a level surface when pouring resin
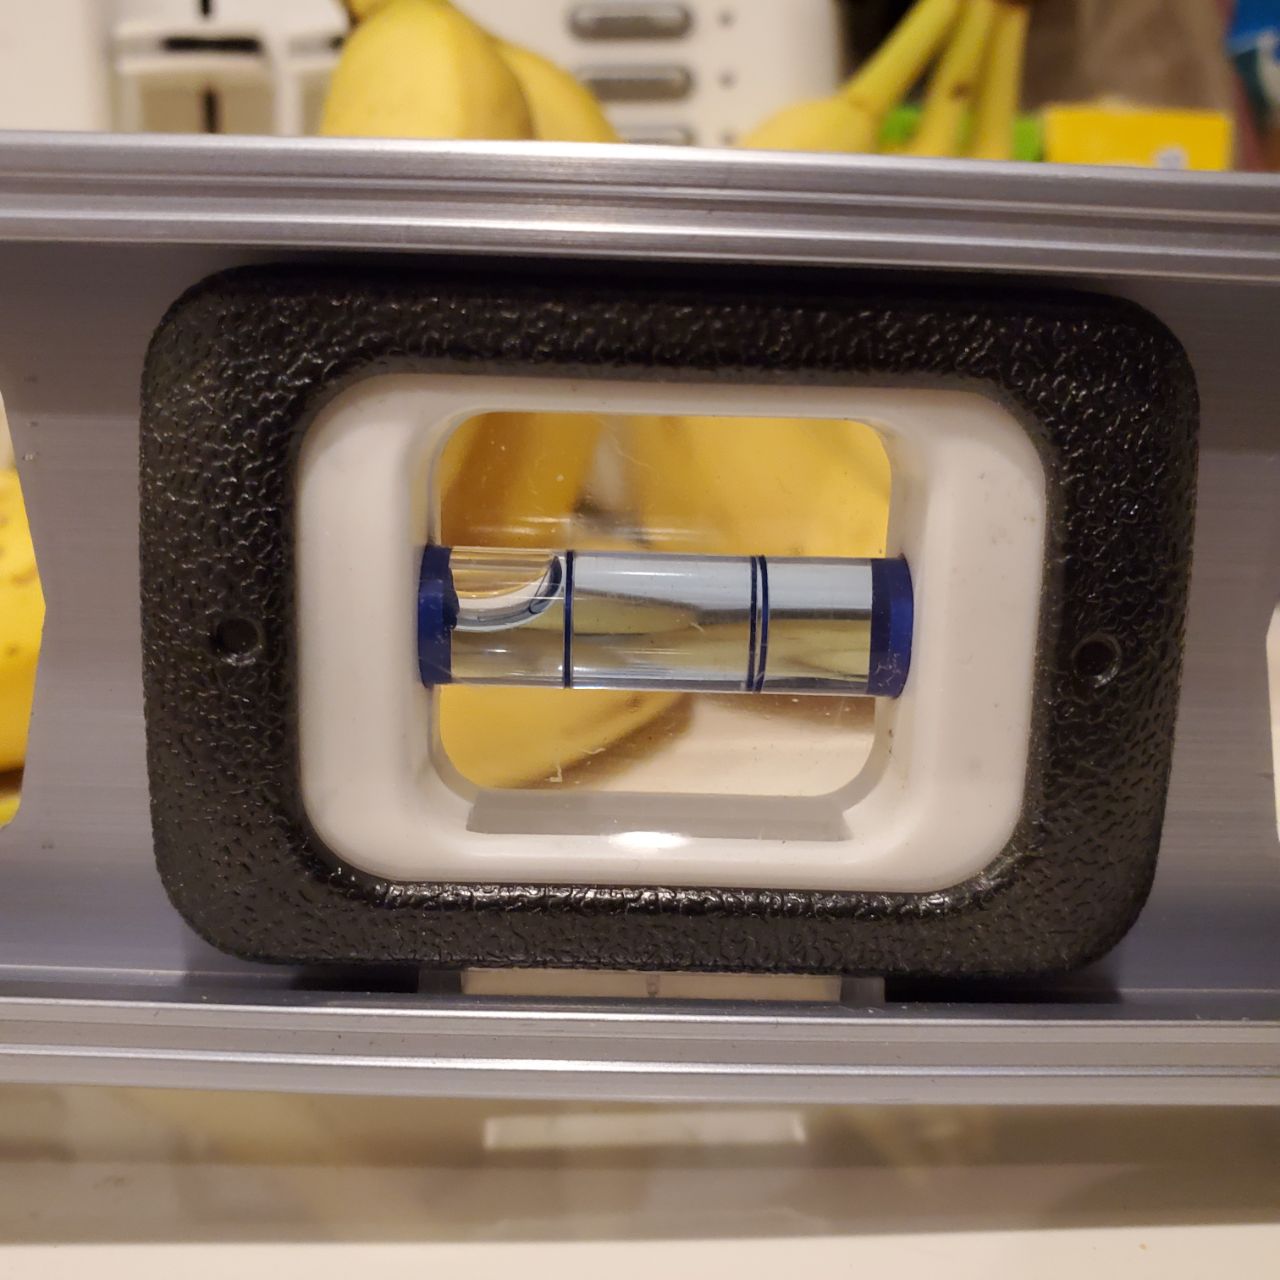
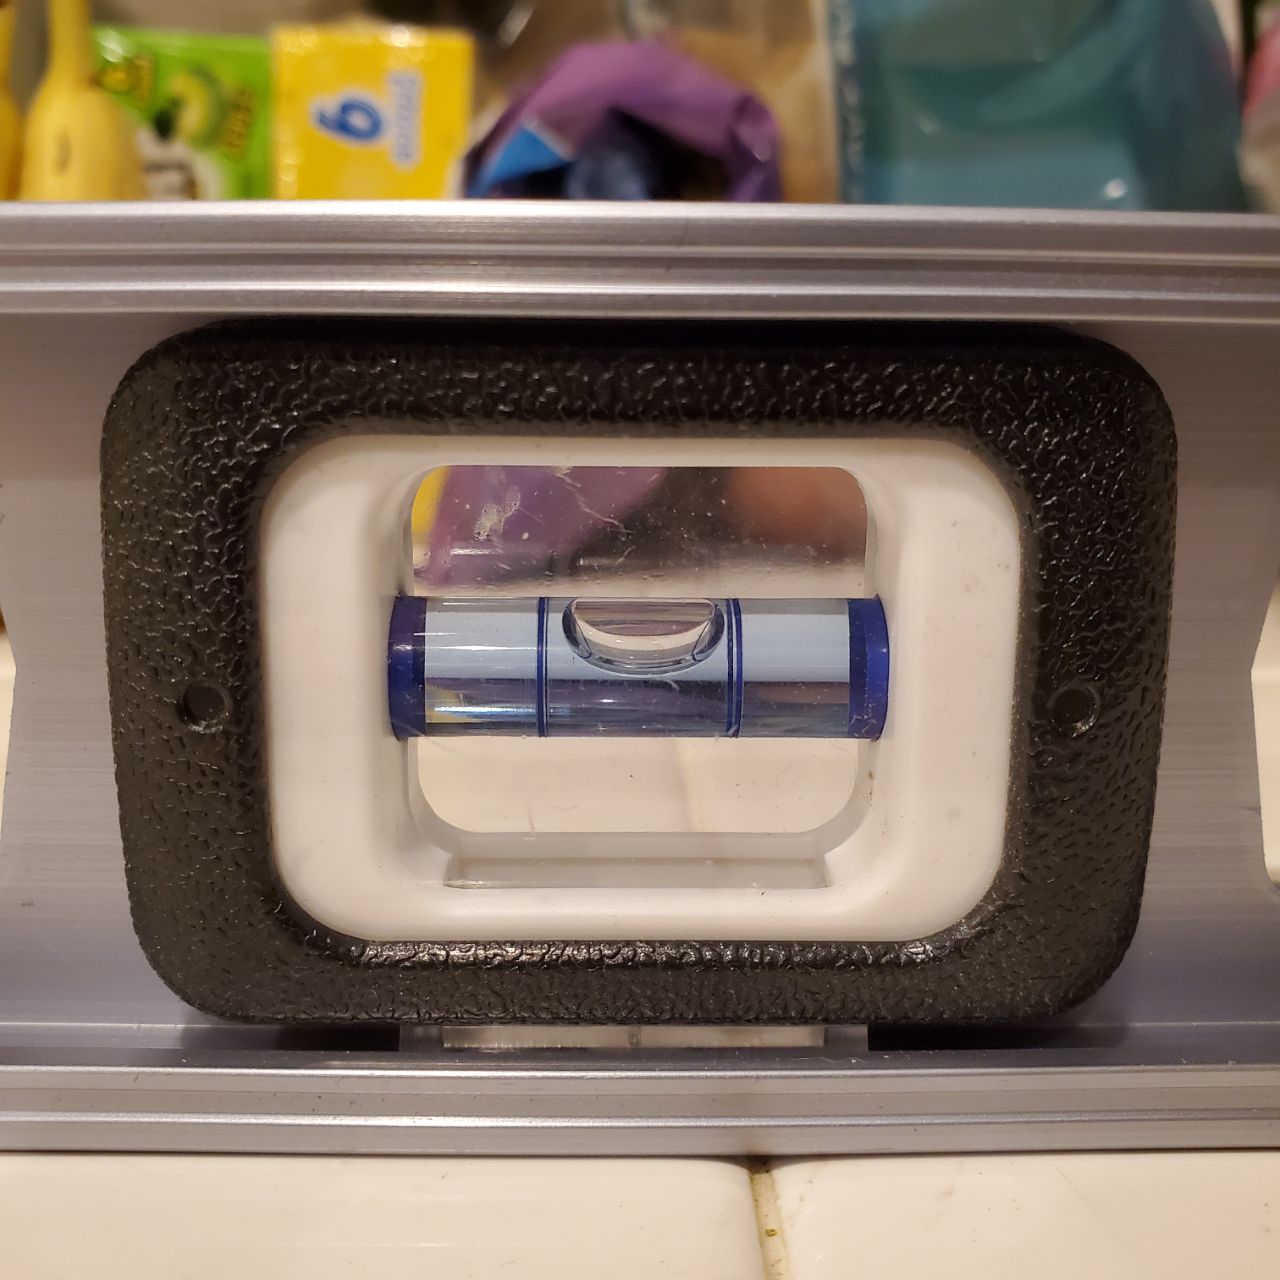
This is a very important part of using resin. If the surface you are working on is not level, your piece will come out lopsided. Of course, this can produce an interesting effect, but if you do not want that, find the most level surface around you and work with that.
2 – Cover the ENTIRE surface you are using – include picture of the cup that is stuck to the table
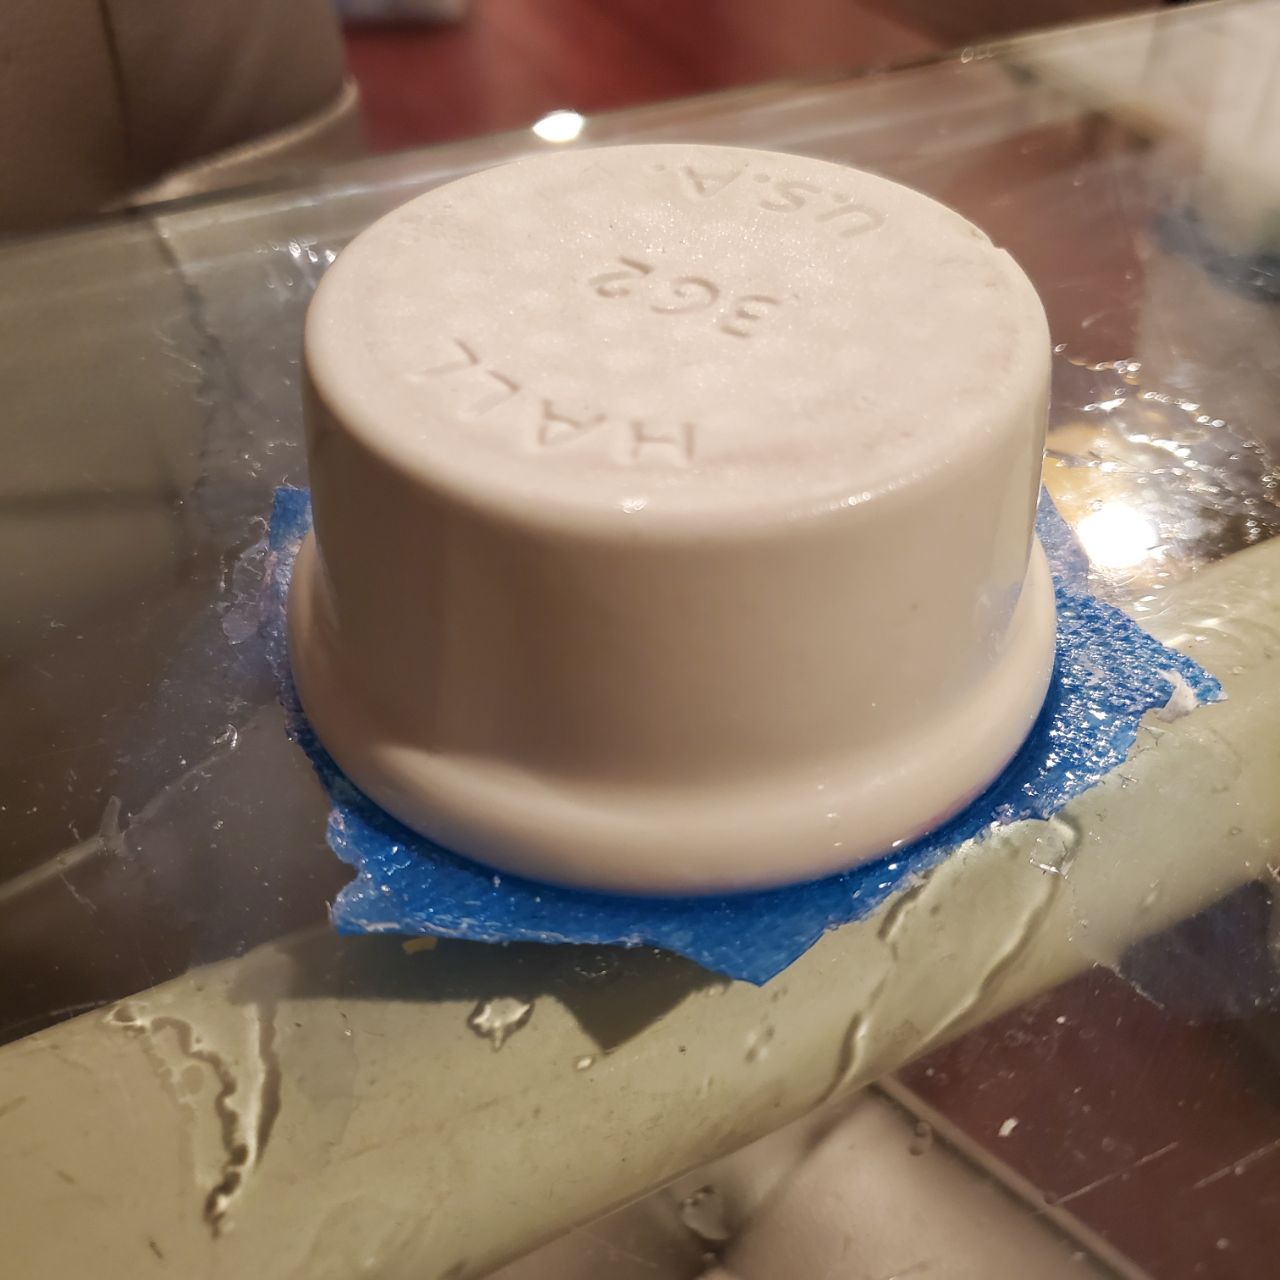
I learned this one the hard way. If you are using resin, you need to cover the entire surface you are working with, including the surface you will be mixing on and the surface between workspaces. The material you cover your workspace with is also important. Paper towels will not work, since the resin will seep straight through it. I have found that parchment paper works very well. If you are working with bigger spaces, I think that a plastic sheet used for catching paint spills would work very well. I have made sticky messes everywhere because I did not cover the surface up, and there are several instances throughout my kitchen where there is hardened resin that will probably never come off.
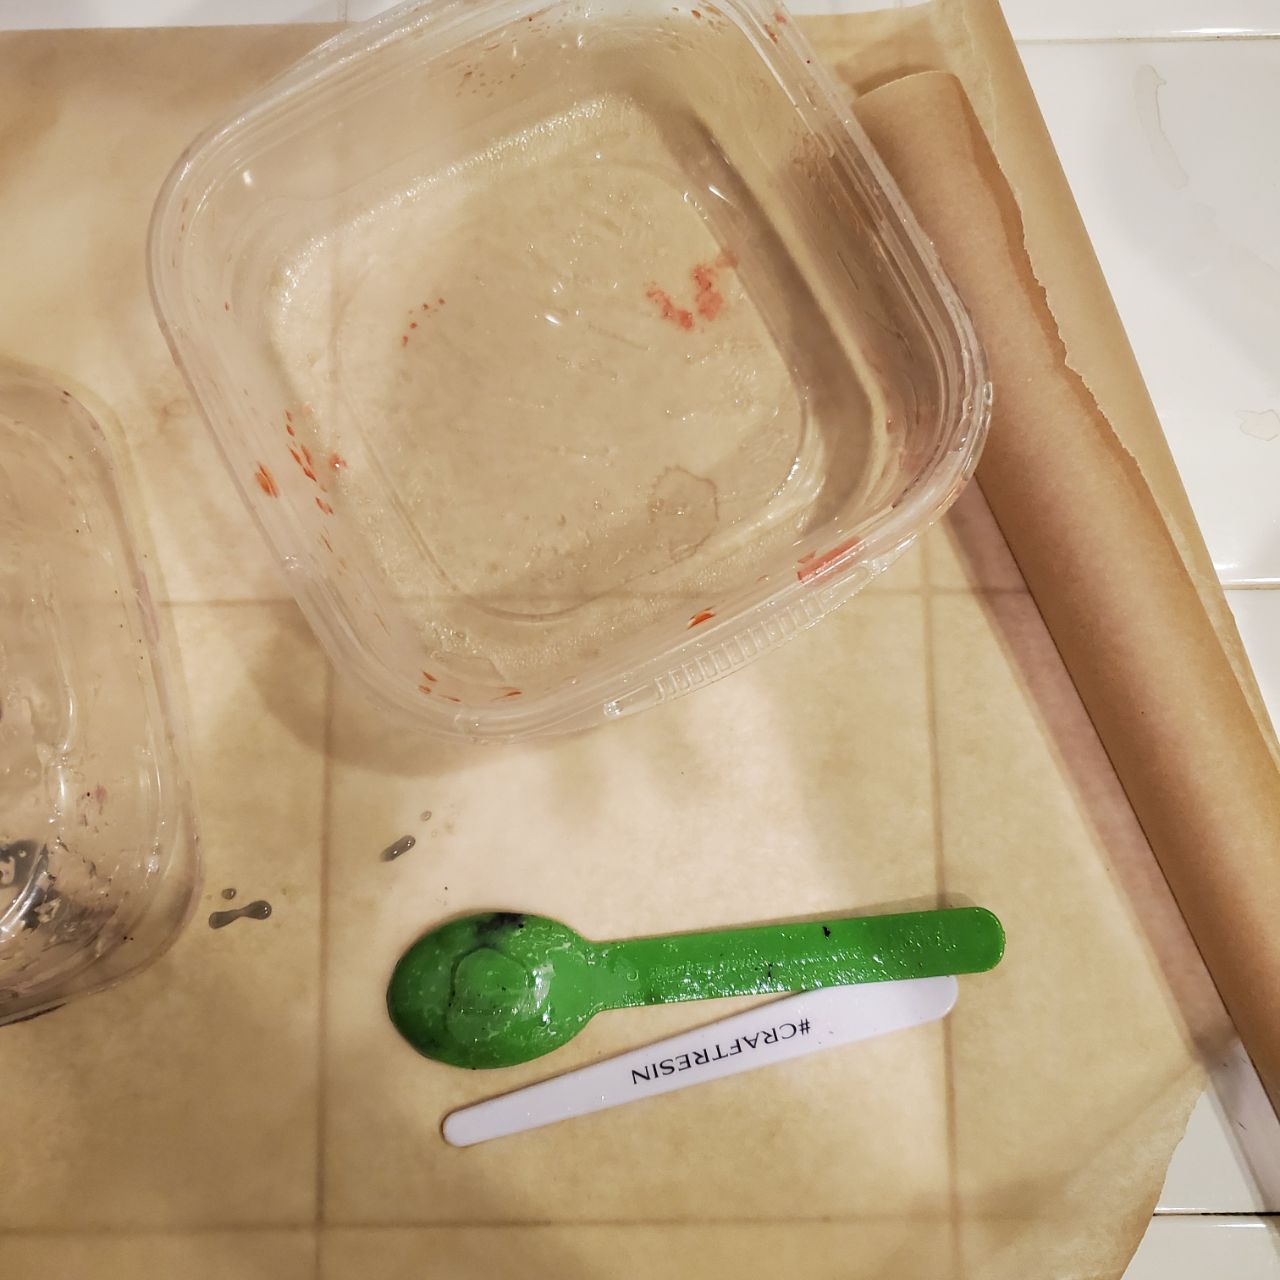
3 – Use measuring cups and containers that are only for resin
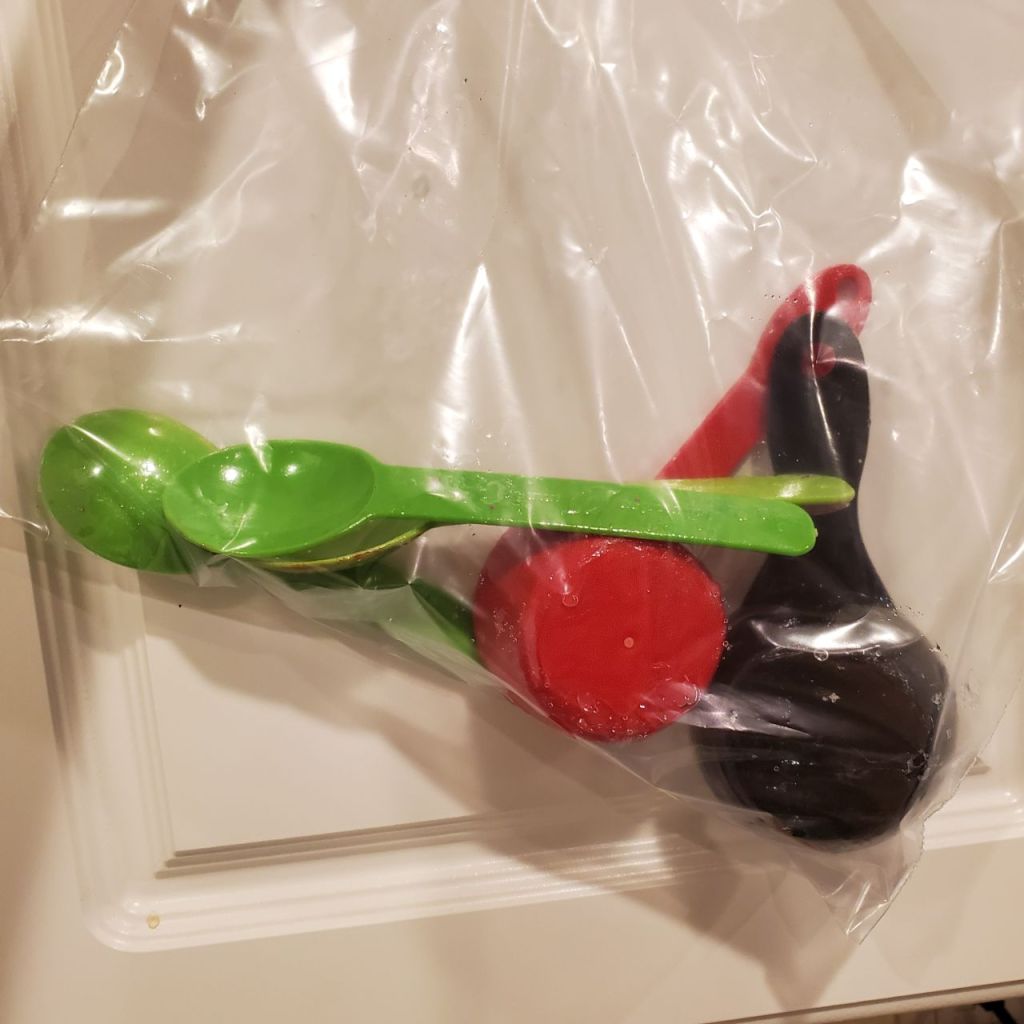
There are several containers and measuring cups that I will never be able to use for food ever again since they are now covered in resin. It is very important to either designate certain things to use with resin and resin only, or buy a set of containers and measuring cups online to use with it. It is easy to clean resin off of things that are made out of hard plastic, but I do not recommend ever using those things for anything else ever again, since they might have residue on them.
4 – Pre-measure and take out all of the things you will be using
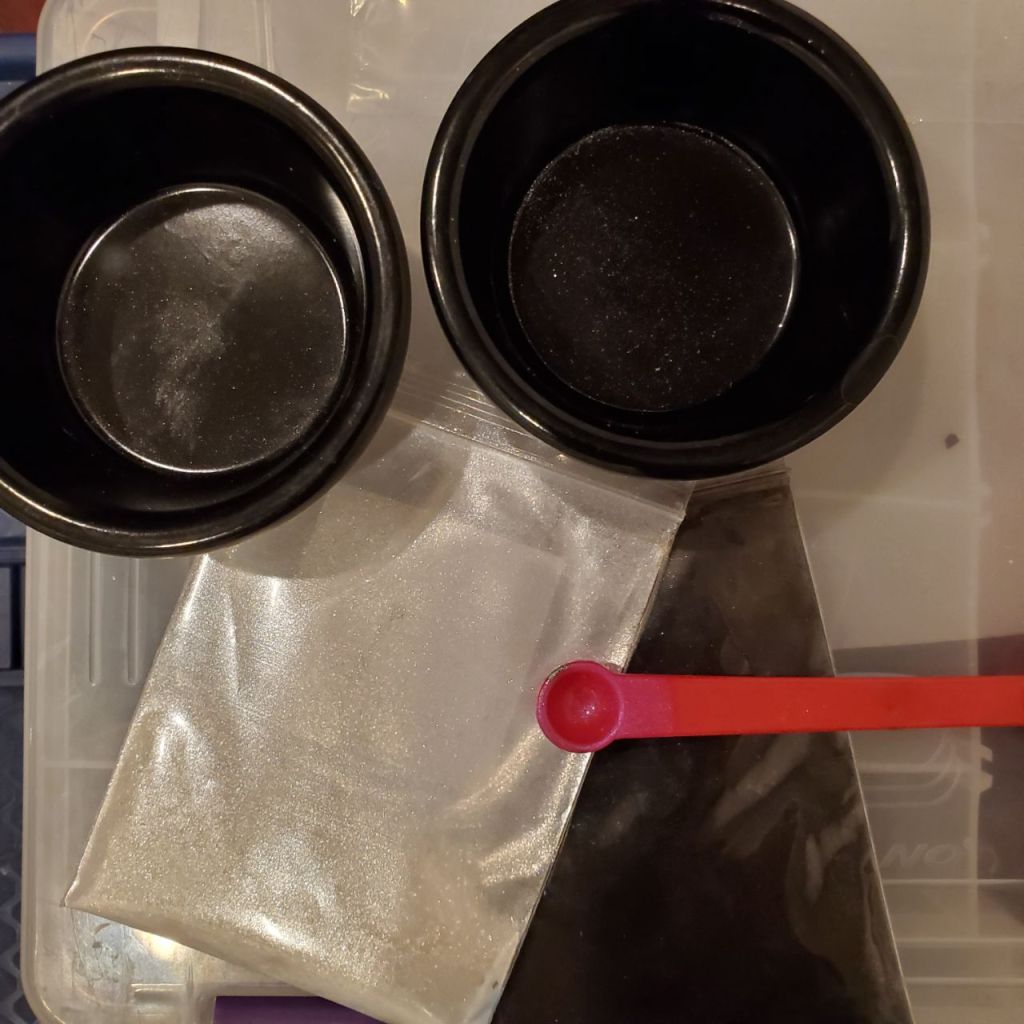
This is also a very important step. I am a very impatient person, so I also learned this the hard way. I wanted to get straight into the resin pouring so I did not really plan out any of the things I was going to put into the resin. After a couple anxiety-provoking rounds of resin pouring, I realized that it would be much easier to measure out all of the ingredients seperately beforehand. I use tiny bowls to put all of the flowers and pigment and glitter into before I even start to mix the resin. This makes it much easier to do resin projects by yourself, since you do not need another person to measure things out for you when you already have your gloves on. I also found out that you need to pour the resin into your mixing container and then put the stuff into it, because if you put the stuff in the container first, half of it will get stuck to the bottom and will never come off. This step makes things exponentially easier in the long run.
5 – Wear gloves the entire time
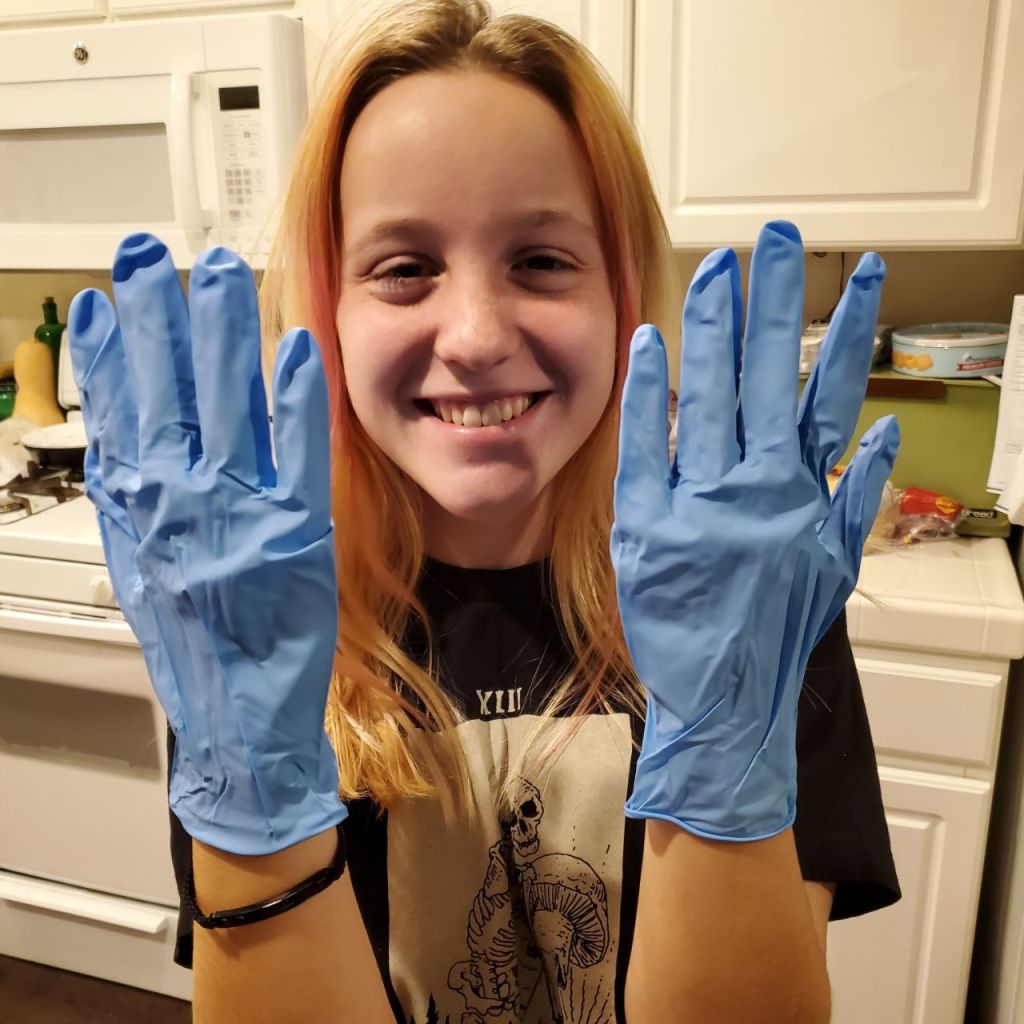
The first time I poured resin, I only wore gloves to mix it. I soon found out that during mixing is not the only time you will get resin on your hands. Resin does not easily come off of your skin. The second time I poured resin, I wore gloves the entire time. Even if you get resin on the things you are using, it is okay because you will always be wearing gloves when around those things, hopefully. Plus, if you are very sensitive, resin can cause a slight skin irritation which is completely solved if you wear gloves.
6 – Have a dedicated workspace for the resin
Resin takes a while to pour, especially if you are doing multiple layers, and then takes at least a day to dry in my experience. I would suggest that you pick a level workspace that you will not need to use for other things for at least a few days. This will lessen stress, and you will not have to move your delicate projects. Moving resin while it is in the mold and has not dried yet is very tricky and I do not recommend ever doing it. If you have a dedicated workspace, you will not ever need to move your things until they are done.
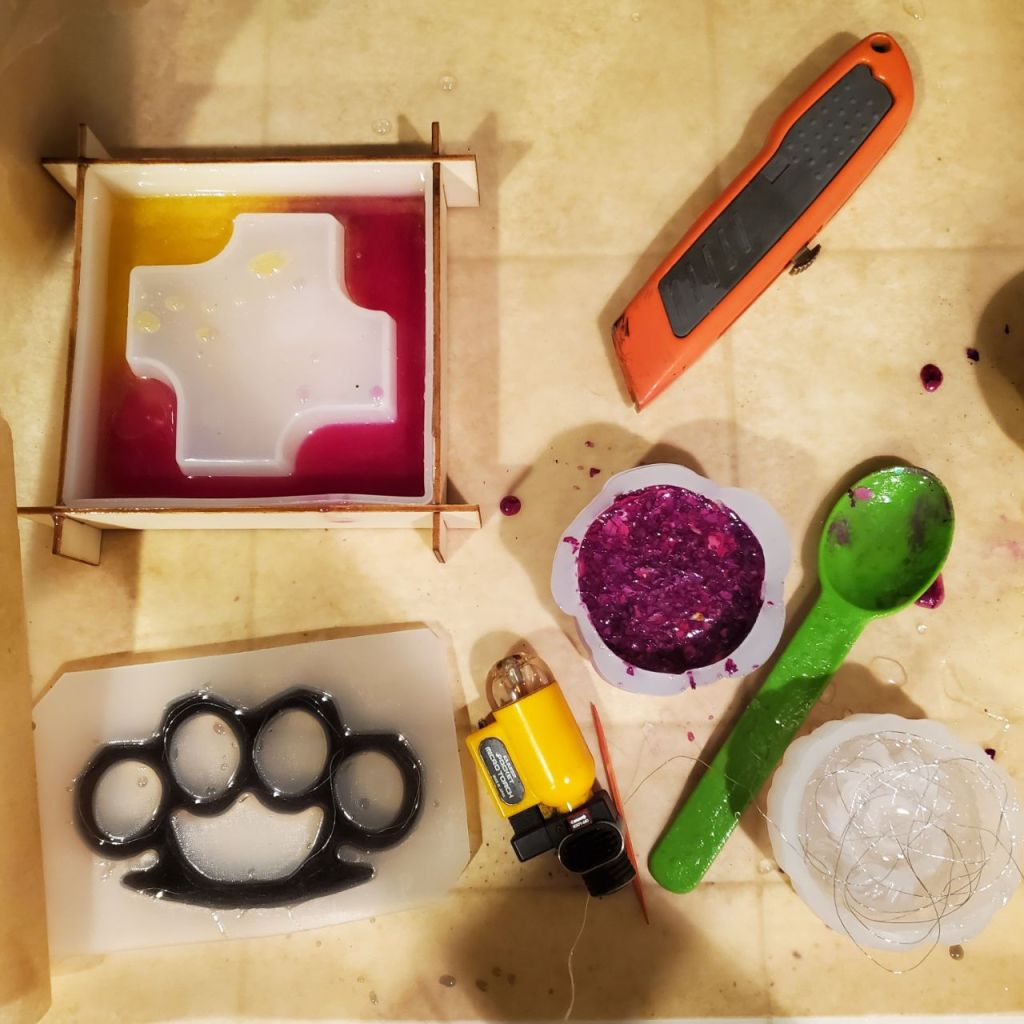
7 – Make layers when putting things into the resin
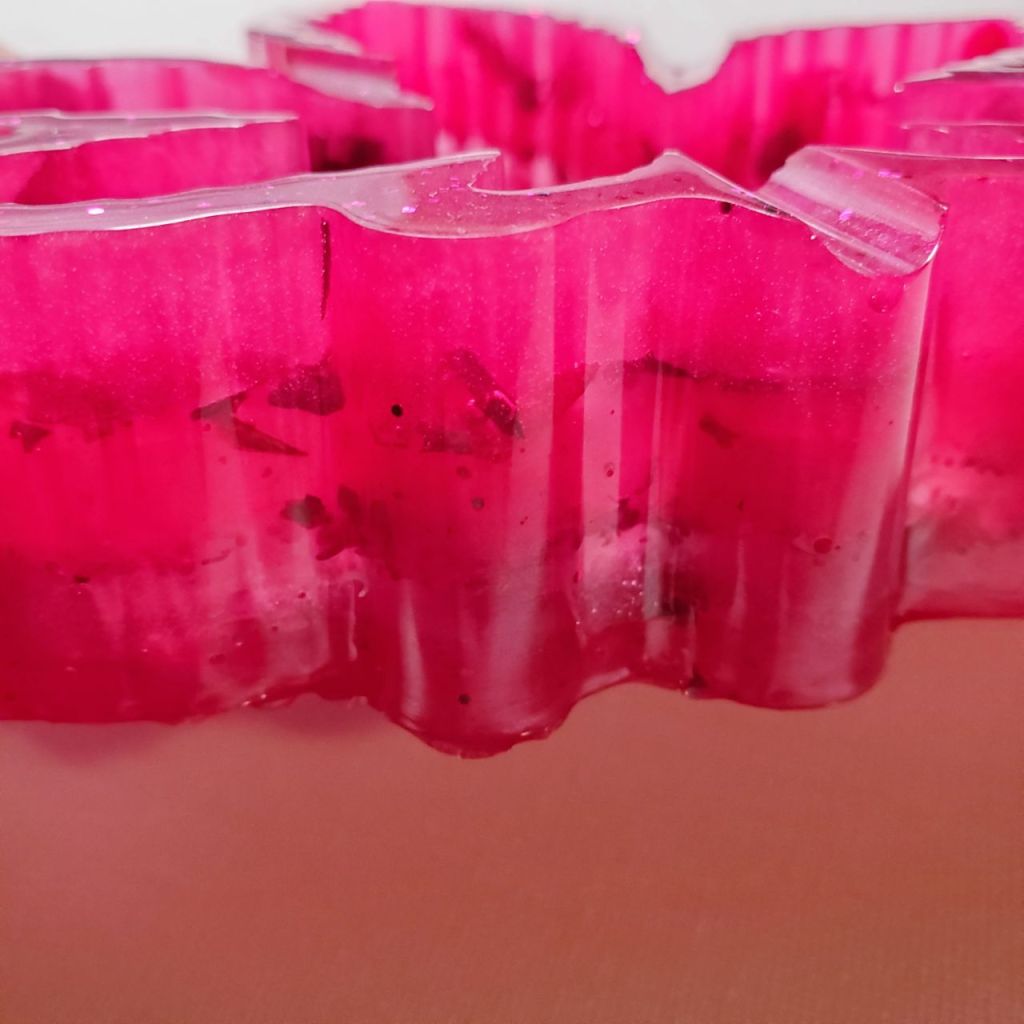
When using things such as glitter, pictures, heavy things, dried flowers, or anything else like that, you need to do layers. Some of these things sink, and some of them float, both of which you probably do not want. It is helpful to measure out the same small amount of resin for each layer so you can put the same amount of pigment and other things into it as all the other layers. I would recommend waiting at least two hours between layers, because then the resin is viscous enough to where nothing will float or sink more than you want it to. I would also recommend doing very thin layers, so the floating or sinking is less visible when you finish your project.
8 – If you want a drip effect, wait a while before pouring
I tried making a drip effect right after mixing the resin when it was the most runny, and did not turn out at all how I wanted it to. I would suggest waiting about 45 minutes before doing the pouring to get thicker drips down the side, and maybe turning it over every once in a while to keep the resin on the sides and not dripping off the bottom. This is a hard effect to accomplish, and I am still working on this.
9 – A partner is very helpful while working with resin


It is very useful to have a partner who has clean hands to get things for you that you forgot, or to help you clean things up before they dry. Almost every time I have poured resin has been with a partner, and it is much easier than pouring resin alone. I am thankful for the people who have helped me while I was pouring, because I would not have done as well without you. Especially in the beginning.
10. Make sure your resin is warm to avoid bubbles
If your resin is cool, there is a much higher chance of there being unreachable bubbles that will not come out before the resin cures. I would either suggest being in a warm room or using a heat gun to heat the resin before pouring.
Bubbles are a very annoying part of pouring resin, but there is no way to get them all out besides investing in some type of pressure pot to take all of the bubbles out for you. Personally, I would love to have a pressure pot, but they are an investment for sure.
11. Do not use a torch or heat up the resin too much
If you use a torch or some other intense method of heating, your silicone mold will have a much higher chance of melting to your resin when it cures. I have had this happen a couple of times when I did not know this was the problem, and have destroyed a few molds because of it.
I would suggest using a hear gun or just pouring your resin in a warmer-than-room-temperature room. This will help bubbles rise to the top of your resin where they are much easier to pop than where they were before.
Thank you so much for reading my blog post and supporting my journey! I would really like to make more bonus posts for you guys about things that I randomly think of, maybe one a month. I think it is a good way to get my ideas out there on top of all of the posts I am making now! If any of you have any ideas for bonus posts in the future, please be sure to let me know!
If you know anyone who wants to get into resin, or has just started, sharing this post with them would probably be very helpful. I wish I had this post to read when I was just starting to use resin. However, I did not do much research at all before I dove into it. I’ll see you guys next time!

I really like the addition to the table it adds character to the kitchen😋 These tips are also really helpful if I know anyone else who wants to get into it ill be sure to sent this post to them.
LikeLiked by 1 person
Ahahahha thank you! I would’ve really gotten a lot better a lot faster if I had had these tips when I started using resin! I’m also going to update this post whenever I think of new tips for people and I already have a few in mind that I’m going to add! Thank you so much for commenting!
LikeLike
Sounds like a complicated mess but everything you do looks great!
LikeLiked by 1 person
Thank you so much! It isn’t very complicated, but it is very messy! I’m learning to be much better now and my supplies are of a much higher quality, so that helps!
LikeLike
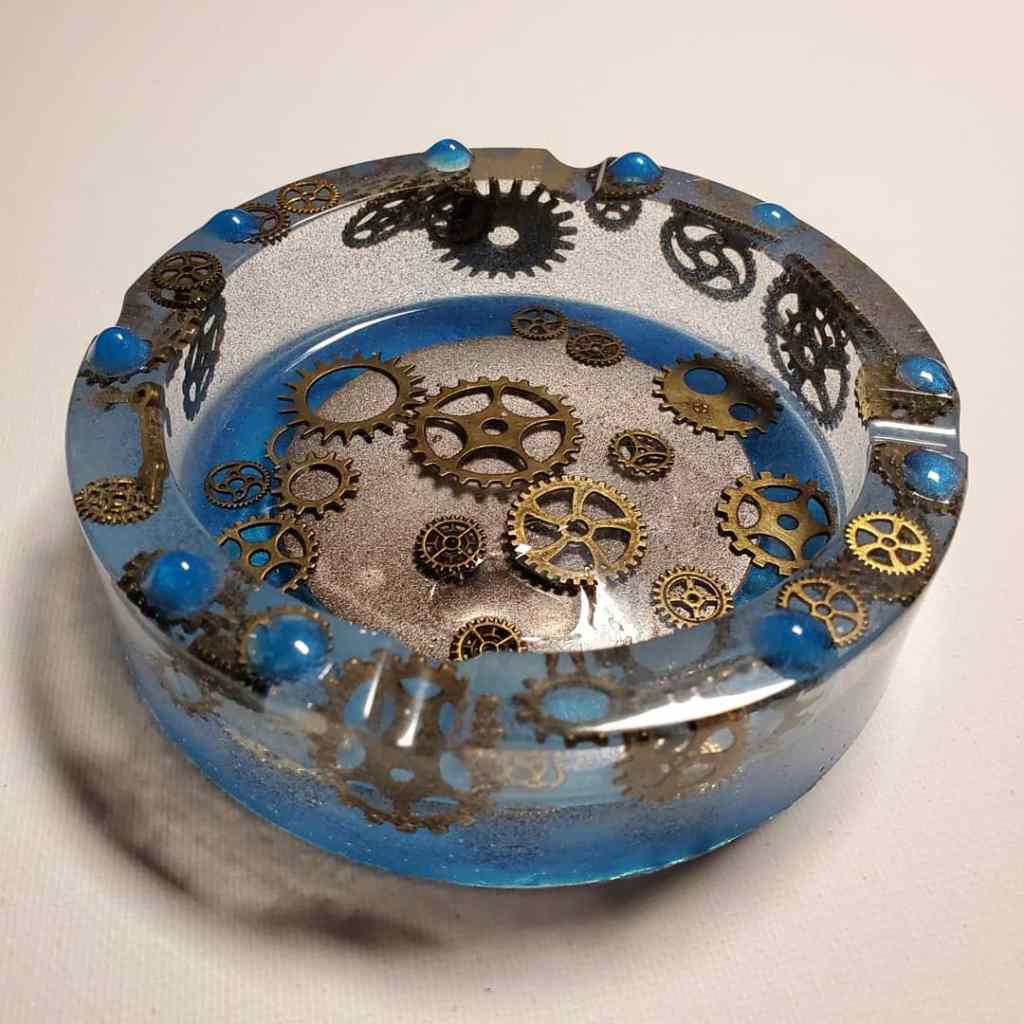
What brand of resin do you like best? I love the ashtrays even though I don’t have anyone that smokes. I think a little jewelry dish or something. The one with the gears is great!
LikeLiked by 1 person
Thank you so much! When I first started wanting to get into resin, I looked on Amazon for the one with the best reviews. This turned out to be Craft Resin, which I still use since. They have the best prices on their website rather than on Amazon, and they have really great reviews. I don’t think I will be using any other brand of resin anytime soon, because this brand has worked so well for me so far. I might try some more in the future to write a blog post about it, but that’s the only reason I would stay from Craft Resin.
Thank you so much! I really appreciate that. I love making them, and even though I do not smoke either, I still like having them around to put little things inside of. Thank you! I know a lot of people like that one, and I’m excited to make more like it in the future! Thank you for commenting!
LikeLiked by 1 person