Hello! This is more of a fun blog post, because this is a recipe I wrote in May of 2018 about how to make pie crust. I think this was the first time I was ever making pie, even though I do not like to eat it. I was really frustrated with trying to follow the pie crust recipes I had found on the Internet, mainly because I did not have a stand mixer and did not like how any of my crusts were coming out.
I went through a lot of trial and error to finally figure out what worked for me, and it turned out that I actually liked how it tasted as well. I never really liked any pastries, pie included, but this pie crust almost tastes like a subtle sugar cookie. I would honestly eat this on it’s own.
I decided that I was going to make my own recipe because I did not want to go through all this trial and error the next time I wanted to make pie. I wrote it in a way that I would understand, and I think it’s really funny now, three years later. At the time, I was 15, and I am now 18, so a little bit of maturation has occured since then.
The following Christmas of the same year, I made pie for everyone in my family. I ended up making about 10-12 different pies, and I used this crust recipe for every single one of them. Everyone liked the crust, so I think it is a good neutral crust that you can use with any kind of pie.
This year, I think that I want to bake again for everyone in my family, but I do not think I will exclusively do pie. I do want to make a few pies, but not as many as I made in 2018 because that was a lot of work. I am super excited to figure out and plan what I am going to make for everyone.
Here is the recipe for my own pie crust:
Ingredients:
2 1/2 cups flour
About 1/4 cup GRANULATED sugar (not extra fine)
1 teaspoon salt
1 cup unsalted butter
Several tablespoons of water
Directions:
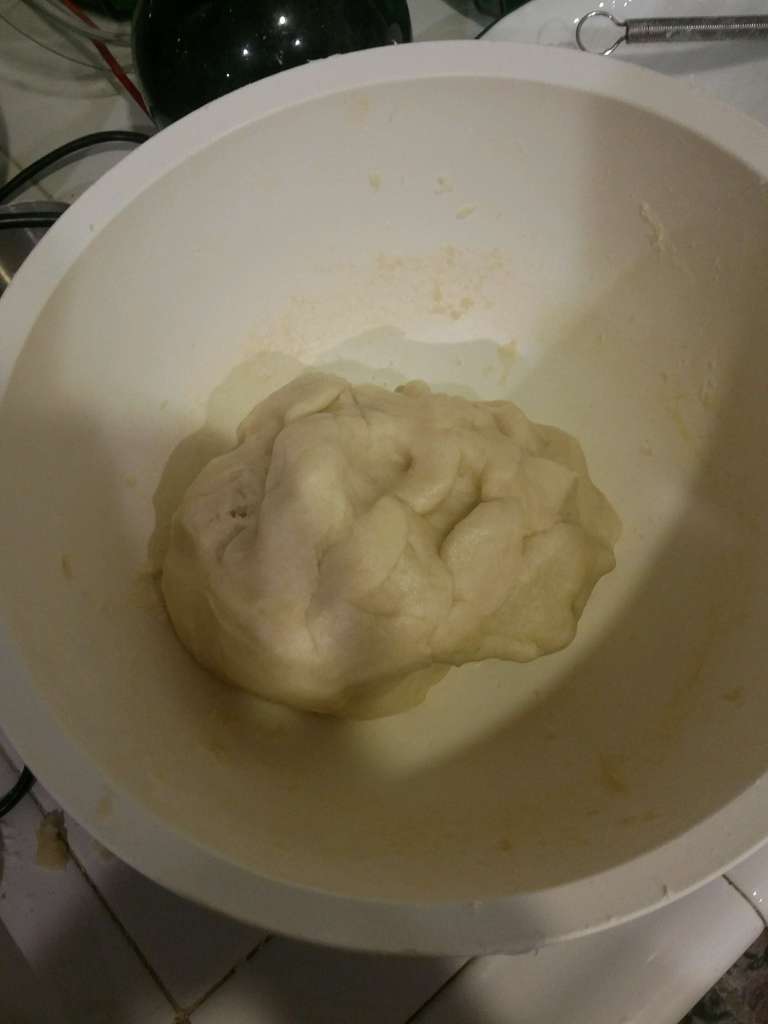
Put 1 1/2 cups flour, sugar, and salt in bowl. Mix. Add butter, mix for a while until thoroughly mixed. Add other cup of flour, and mix for a while again. Add about 5 tablespoons of water, and mix, mix, mix. Should feel elastic, smooth, and a bit sticky, but still pulling excess dough off your hands. Should look like this:
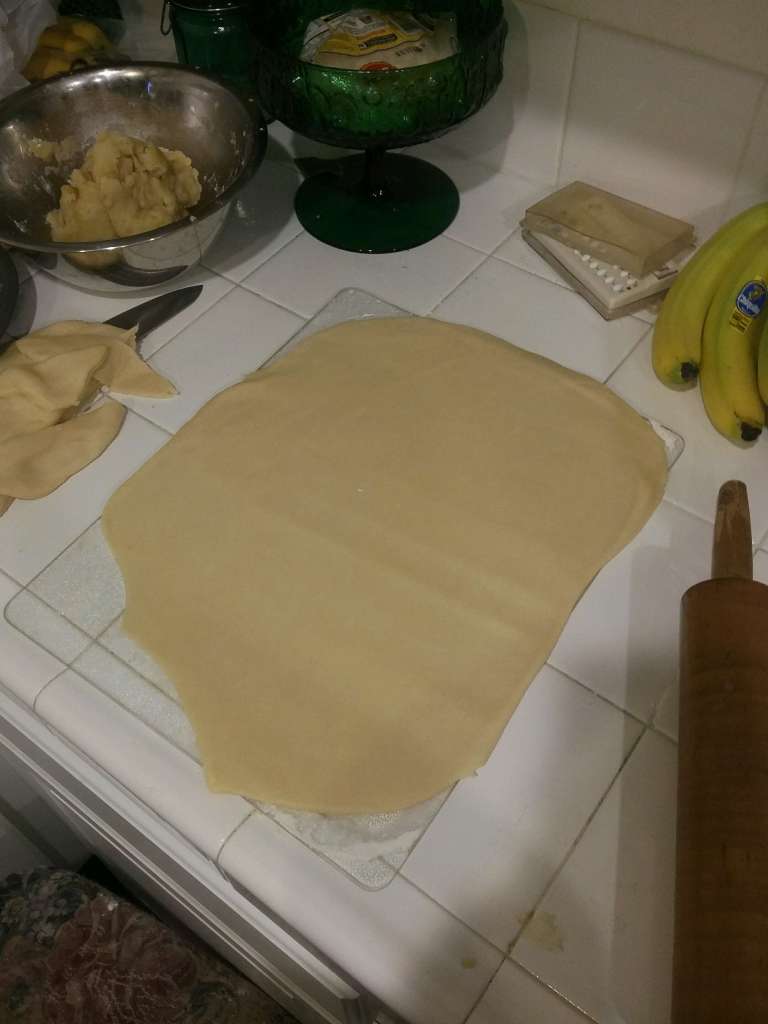
Then, we need to roll it out. Maybe fold it in on itself a few times to see how well it rolls. If it crumbles and does not roll, one of your ingredients is being a bitch and you need to start over. A good end size to put in the pie pan is this: (glass cutting board)
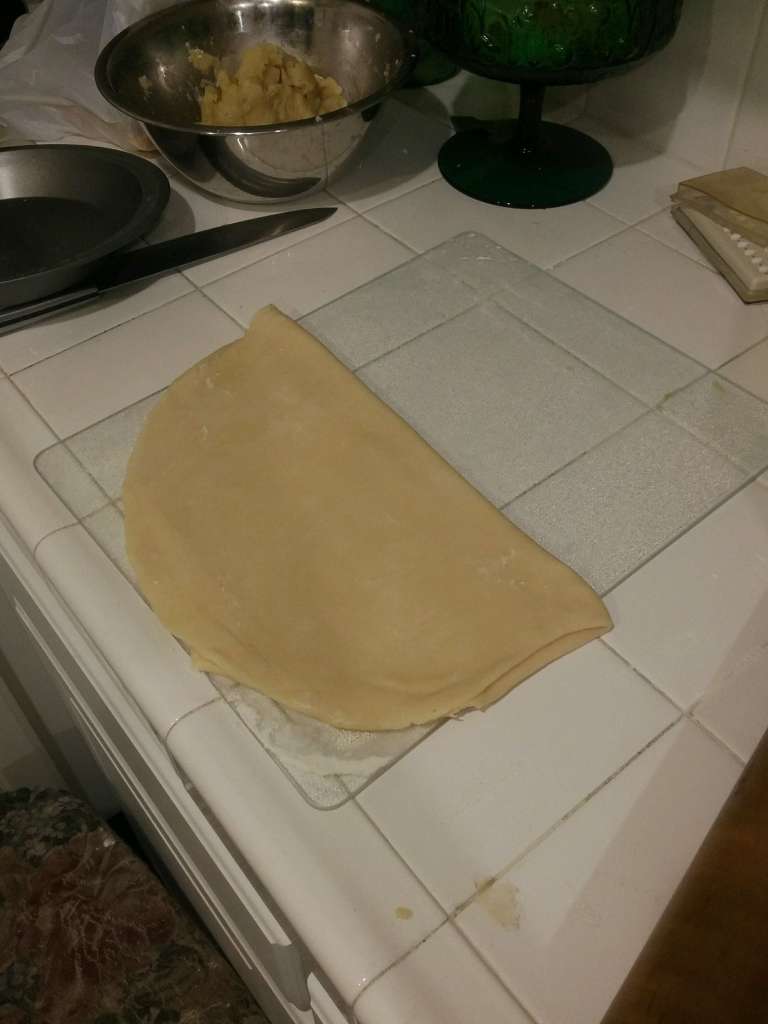
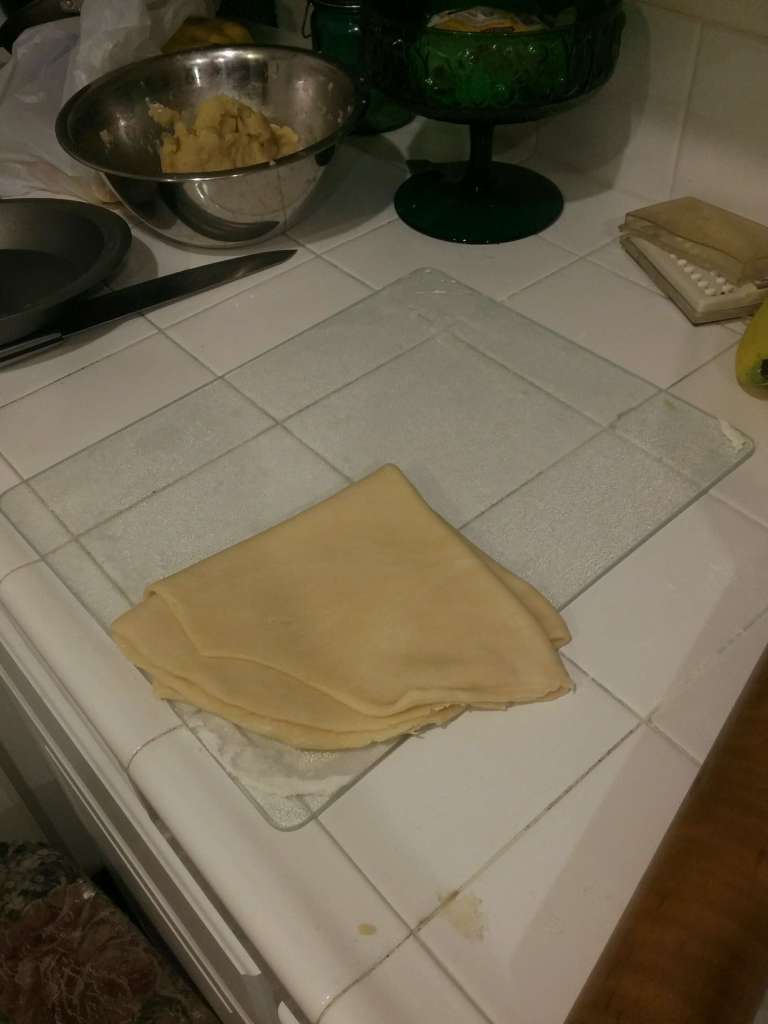
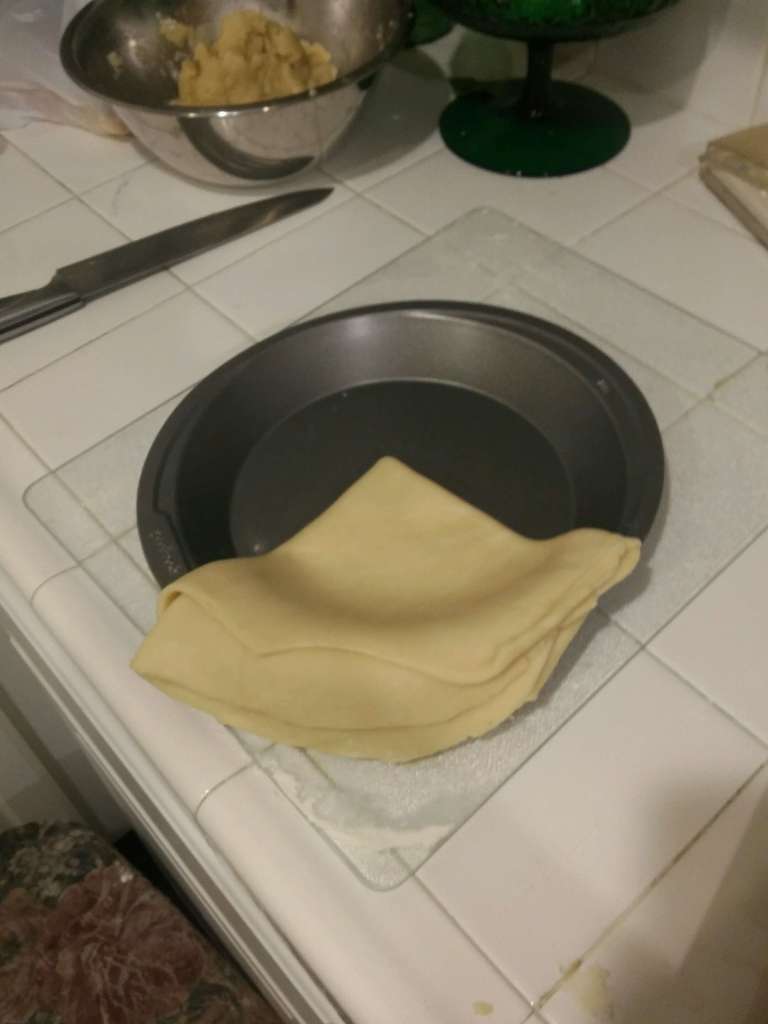
Then, we pick up the crust and try to lay it down in the pan without ripping it. If it rips, it’s fine, just fold and knead again, then roll out once more and try again. Or, fold once and then again and place into pan, like so:
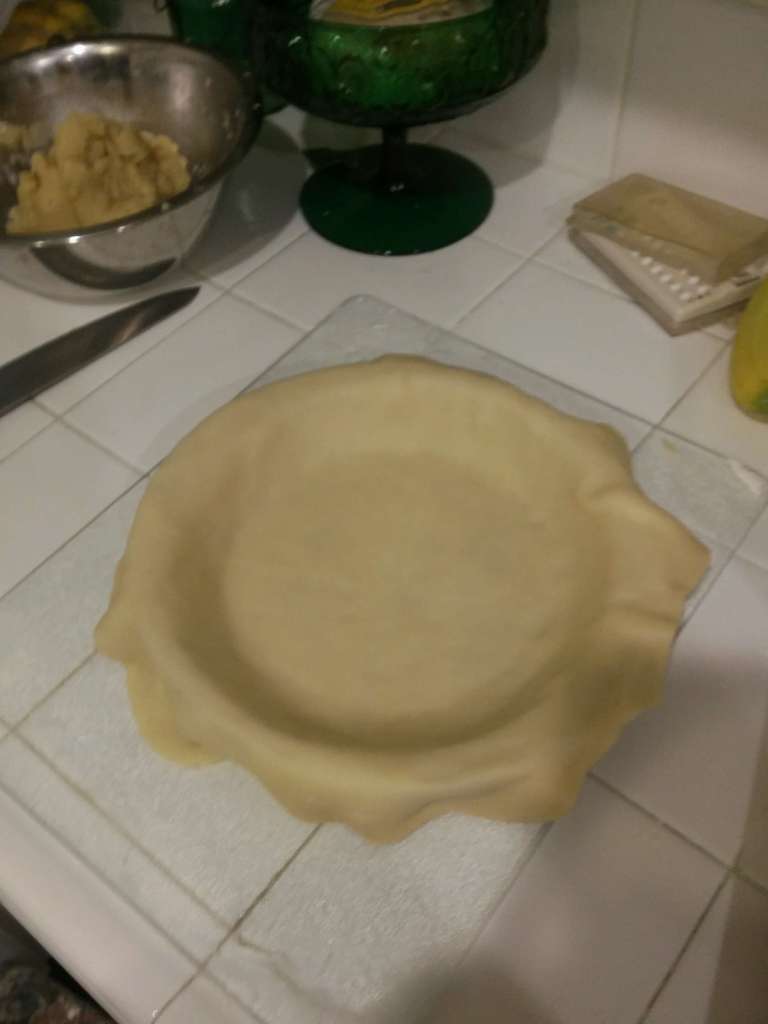
Then, tear or cut off excess edges, but not too much.
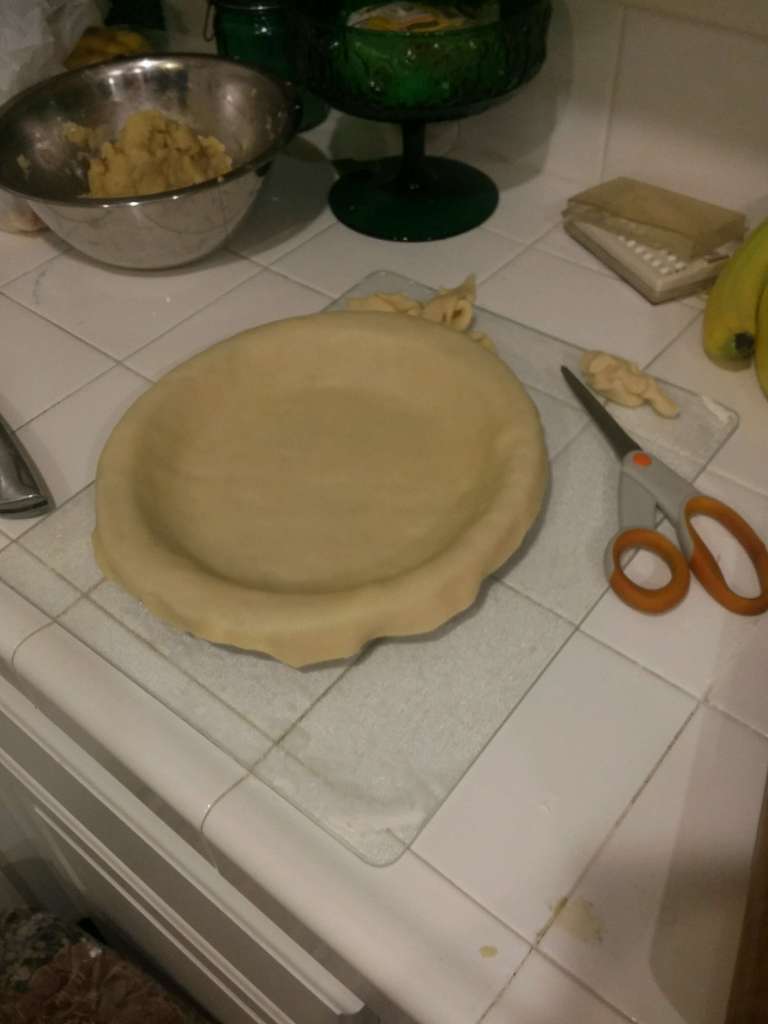
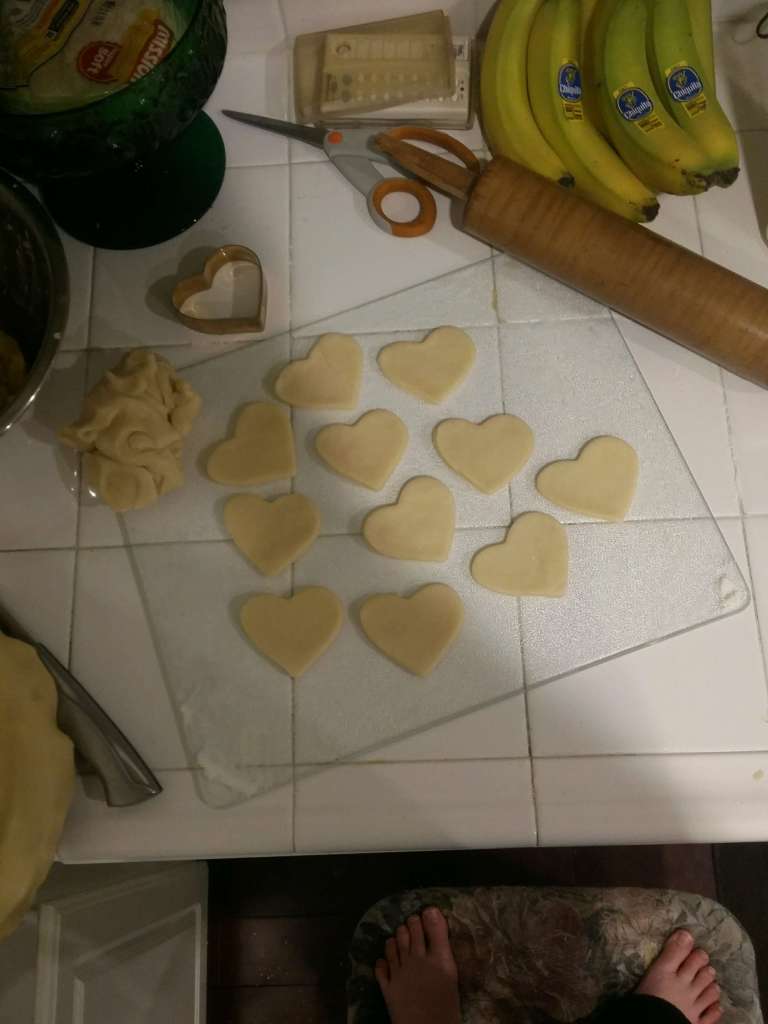
Now that you have successfully done that, you most likely have a lot left over. Since you are confident now, you have room to be extra:
Bake at 400° for 15 to 20 minutes and break off excess edges.

Thank you all so much for reading this blog post. I really enjoyed going through this recipe I made again, and it has got me excited for the holiday season. I hope that I can continue to entertain all of you for the rest of my blogging career!
P.S. Thank you all so much for sticking around this long, and if you are new, please consider following my blog. I do a variety of posts, but those mainly include van posts, art posts, and baking posts. We would love to have you here!

Ha! I love it! I do the same thing with instructions, washing extra little notes and explanations to help me feel more comfortable next time. Fantastic!
LikeLiked by 2 people
Thank you! Haha, yeah, it was a long process to try and figure out that pie crust.
LikeLike
Omg. I remember this so well. You worked so hard. Being a bitch. Hahaaa. You are delightful!
LikeLiked by 1 person
Hahaha, I did really work so hard. It took a while, but I’m glad I pushed through everything to find my desired product. It was relaly frustrating while I was doing it though. Thank you so much for commenting!
LikeLike
I cant wait to try one yo!!
LikeLiked by 1 person
I’m glad that when you tried it, you liked it!
LikeLike
You make great pies! I know from experience!
LikeLiked by 1 person
Thank you so much! I’m glad you like them so much. I hope you liked your pies this Christmas as much as you did the first time around. I’m excited to make more in the future, and I hope you want to try them. Thank you for commenting!
LikeLike