Hello! Here is another update on how my van is going! We actually made a ton of progress this past weekend, so I’m even more excited to share this with you all. I feel like we are very close to being able to have it painted, which I’m really looking forward to.
This weekend, we decided that the one and only thing we would focus on was removing decals and the adhesive they left. We worked on it for about 5 hours on Saturday, and about 7 hours on Sunday. It was a lot of work, but it was definitely worth it.
We had also decided to bring the ambulance home from where it was stored, just for the weekend. This made it a lot easier for us to work on it, and it was much more convenient. Plus, we could be home with my mom the whole day! I think we are going to do this from now on when we want to work on it for long periods of time.
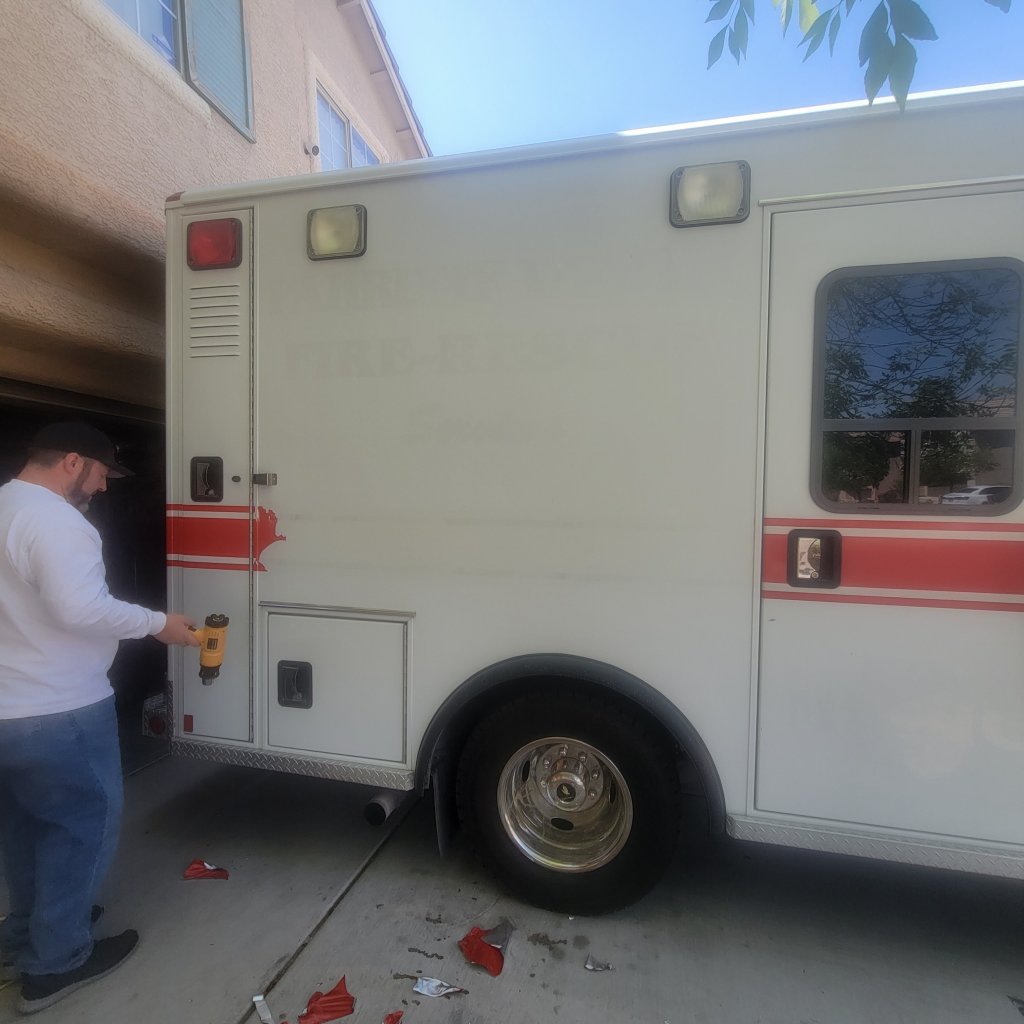
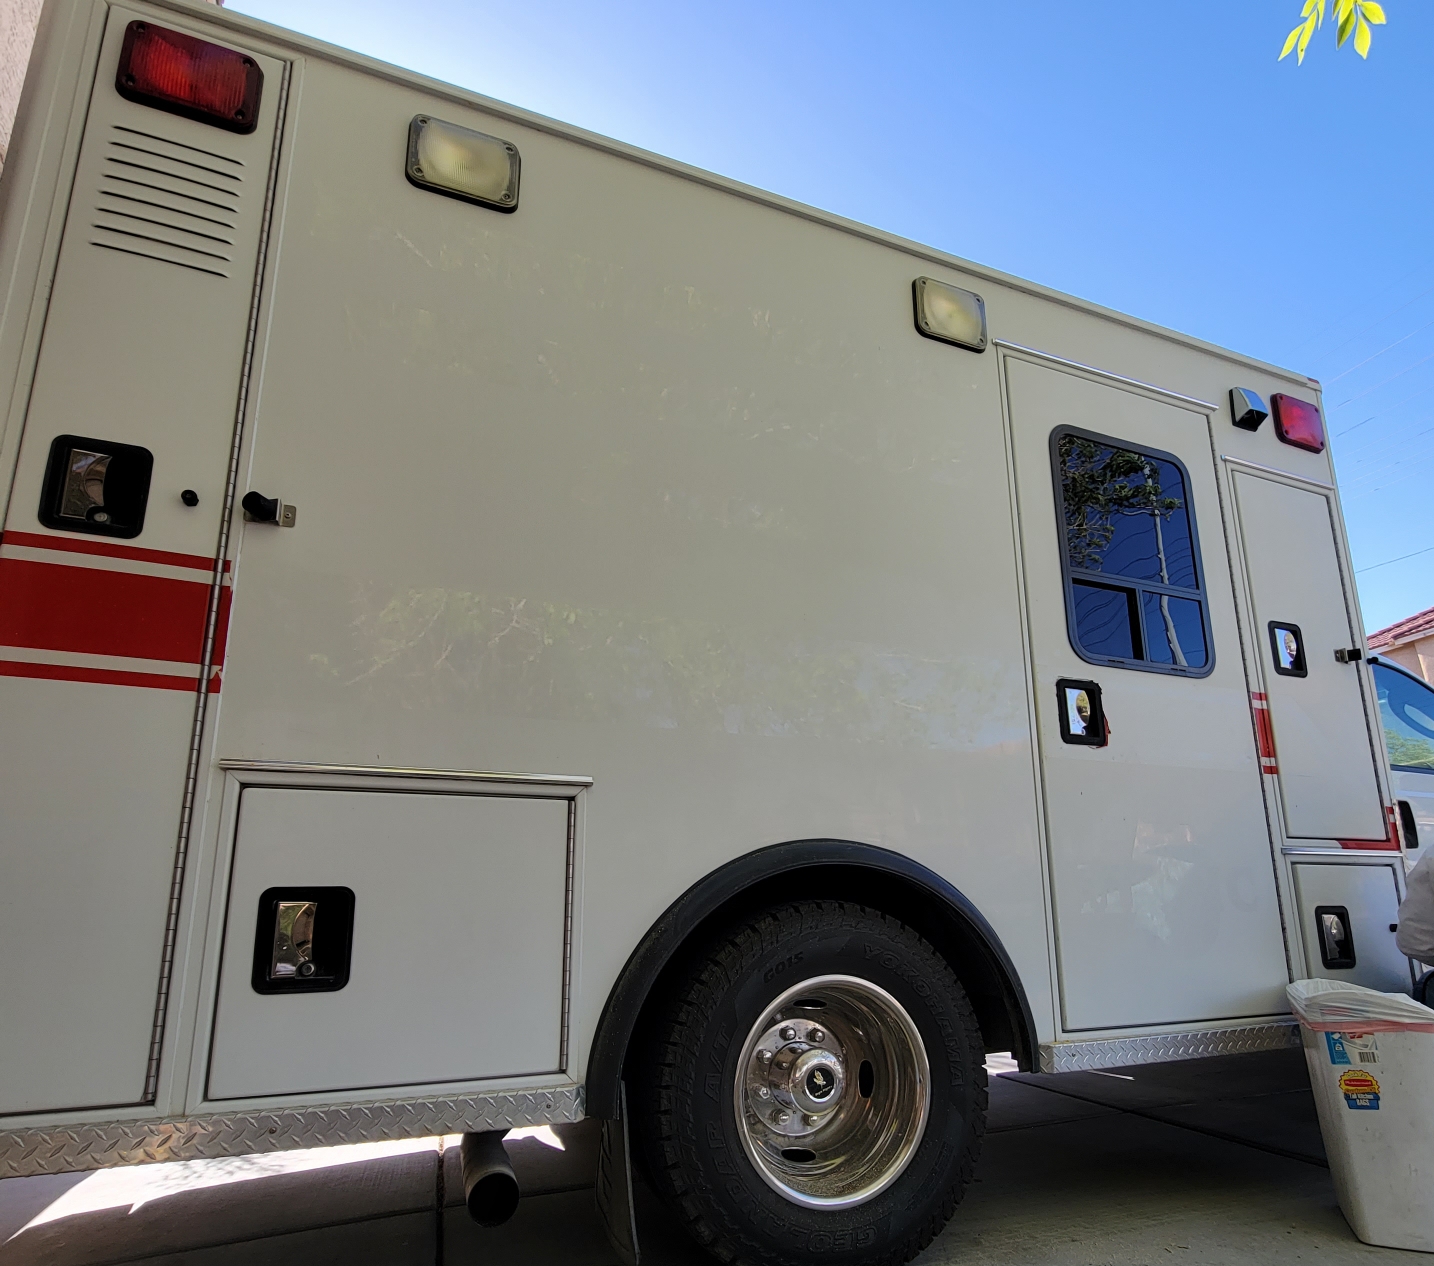
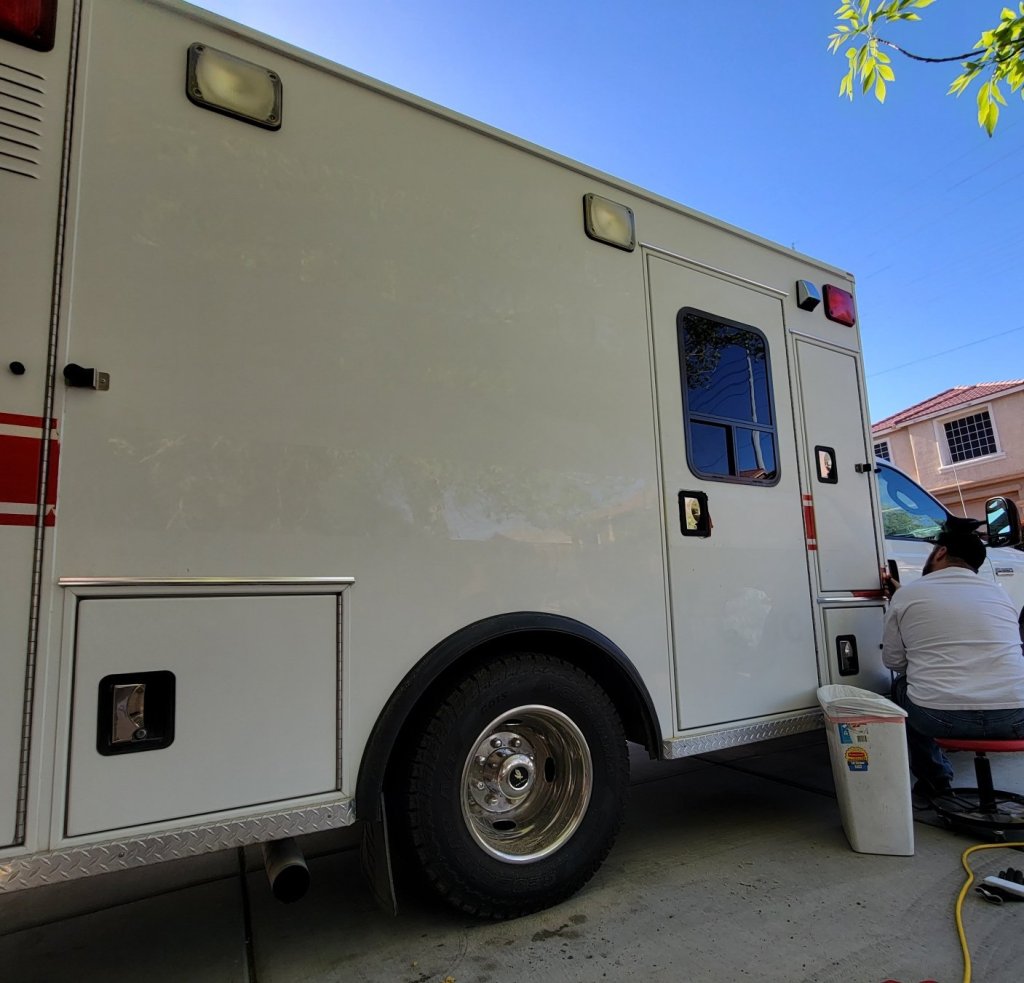
We started on the passenger side decals, and my dad got this whole row done in a pretty short amount of time. I followed behind him with a drill with a rubber wheel on it that is designed to remove decals and adhesive. We did this for a while, and I was really sore afterwards.
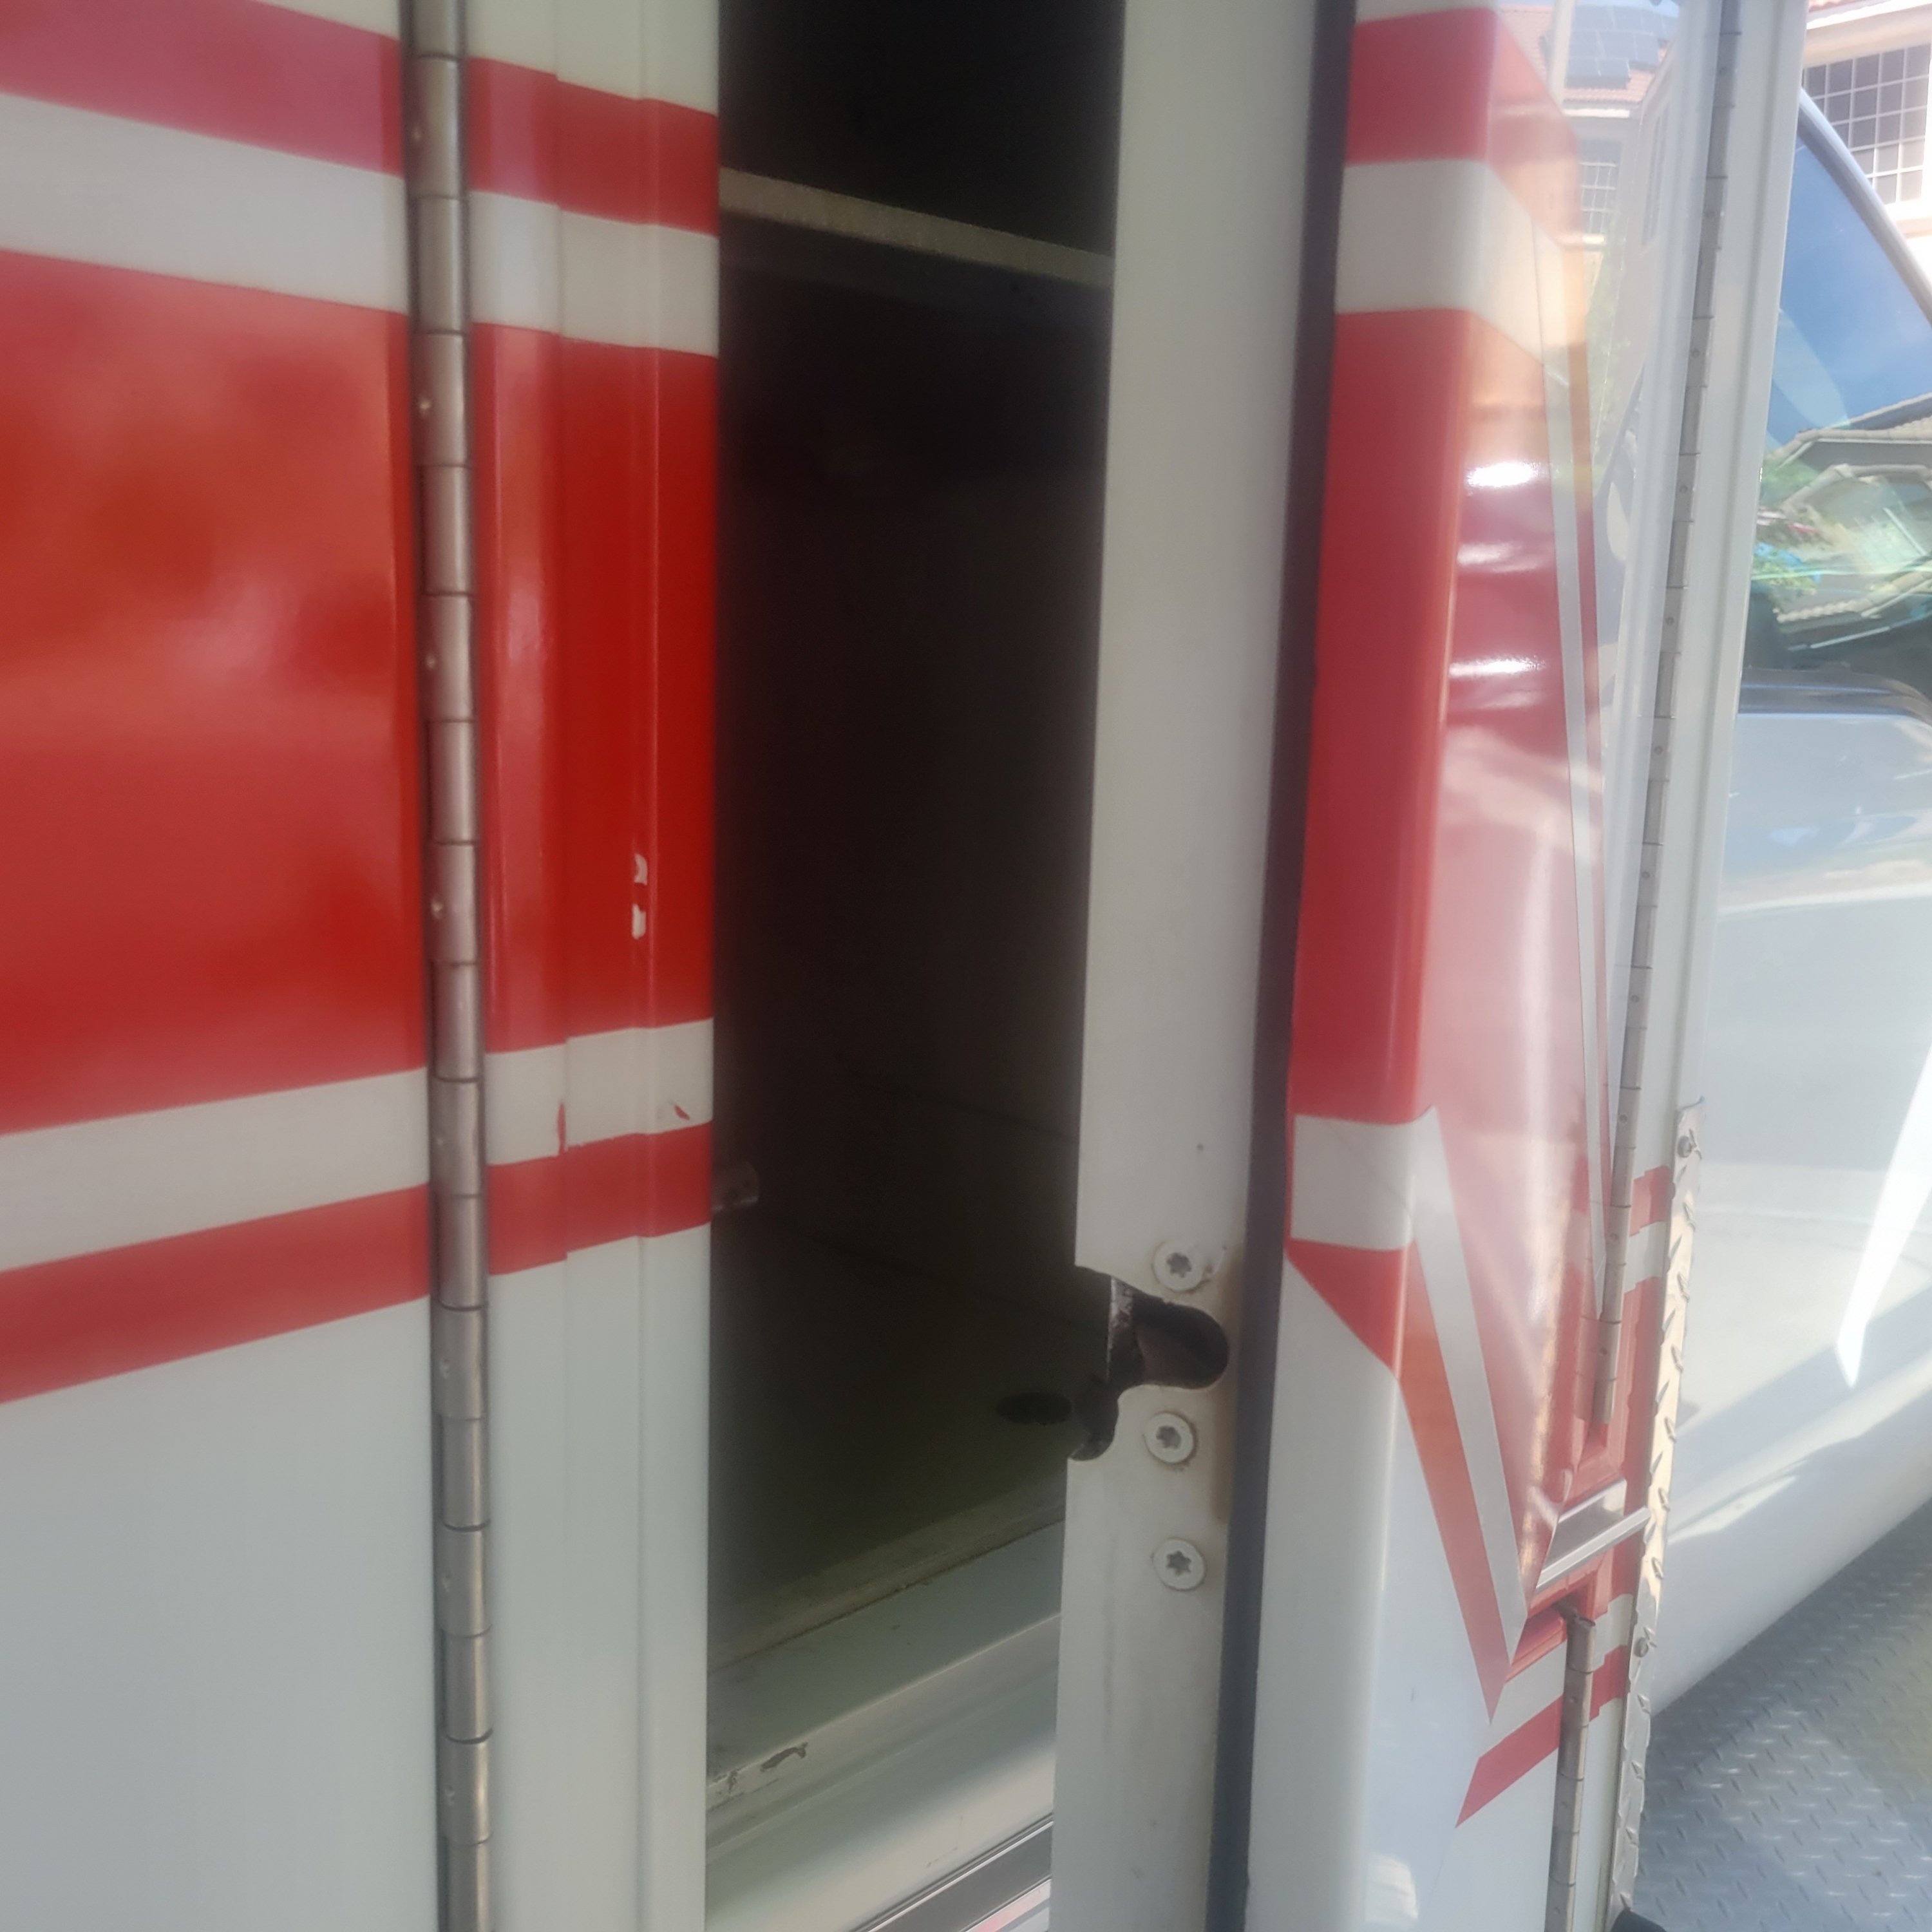
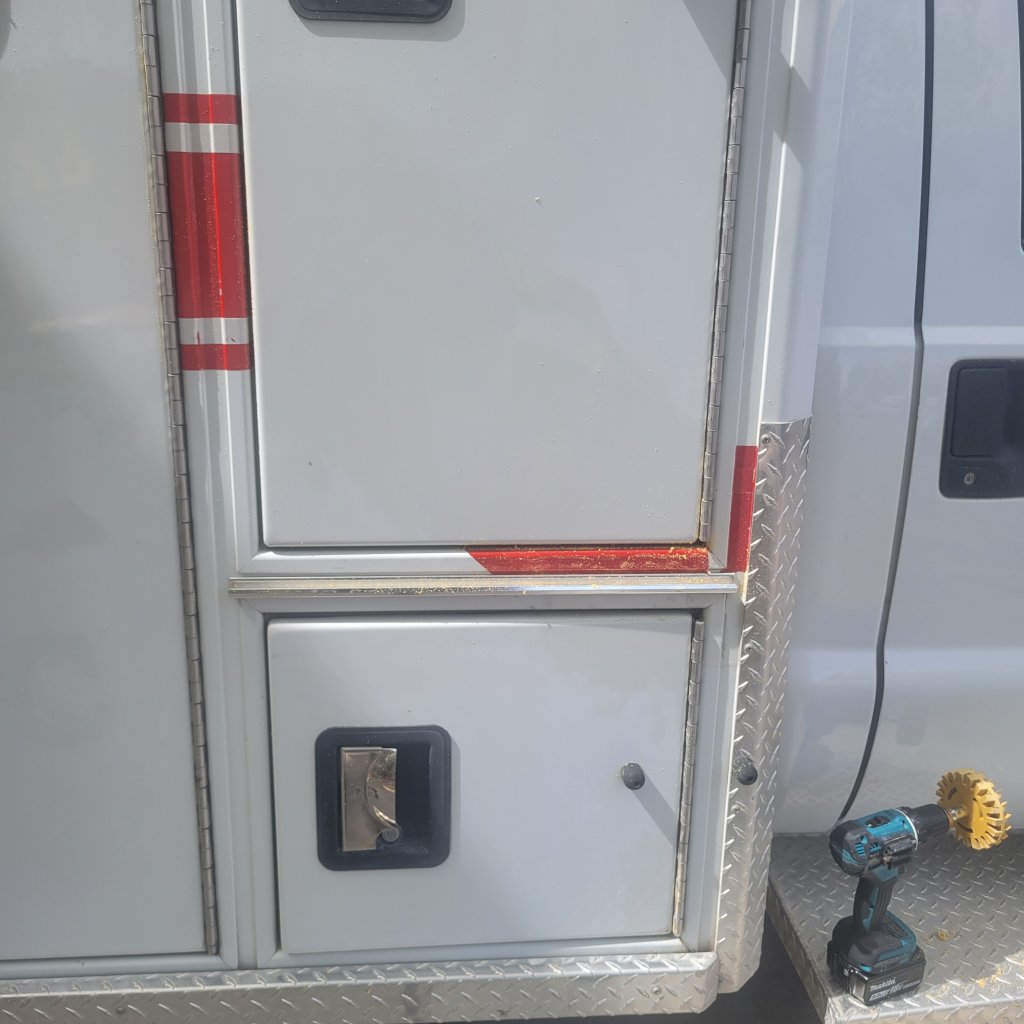
There are a lot of tedious spots that the decals are in on the ambulance, such as the door pictured above. The decals were wrapped around every doorway they crossed, and as close as possible to every handle and hinge as well. This was really difficult to deal with, especially for my dad who was getting the decals off.
The adhesive was a bit difficult to get off, even with the fancy wheel. I had to work on small sections at a time, which made it very slow going. Near the end of the first day, I came up with the idea to use Goo Gone on the adhesive. By itself, it wasn’t much easier, but soaking the adhesive with the Goo Gone and then using the wheel made it much easier and faster to get it off.
Here are a few pictures of our progress the first day, I really like looking at these because it makes me excited to do more and I get all proud of our progress so far.
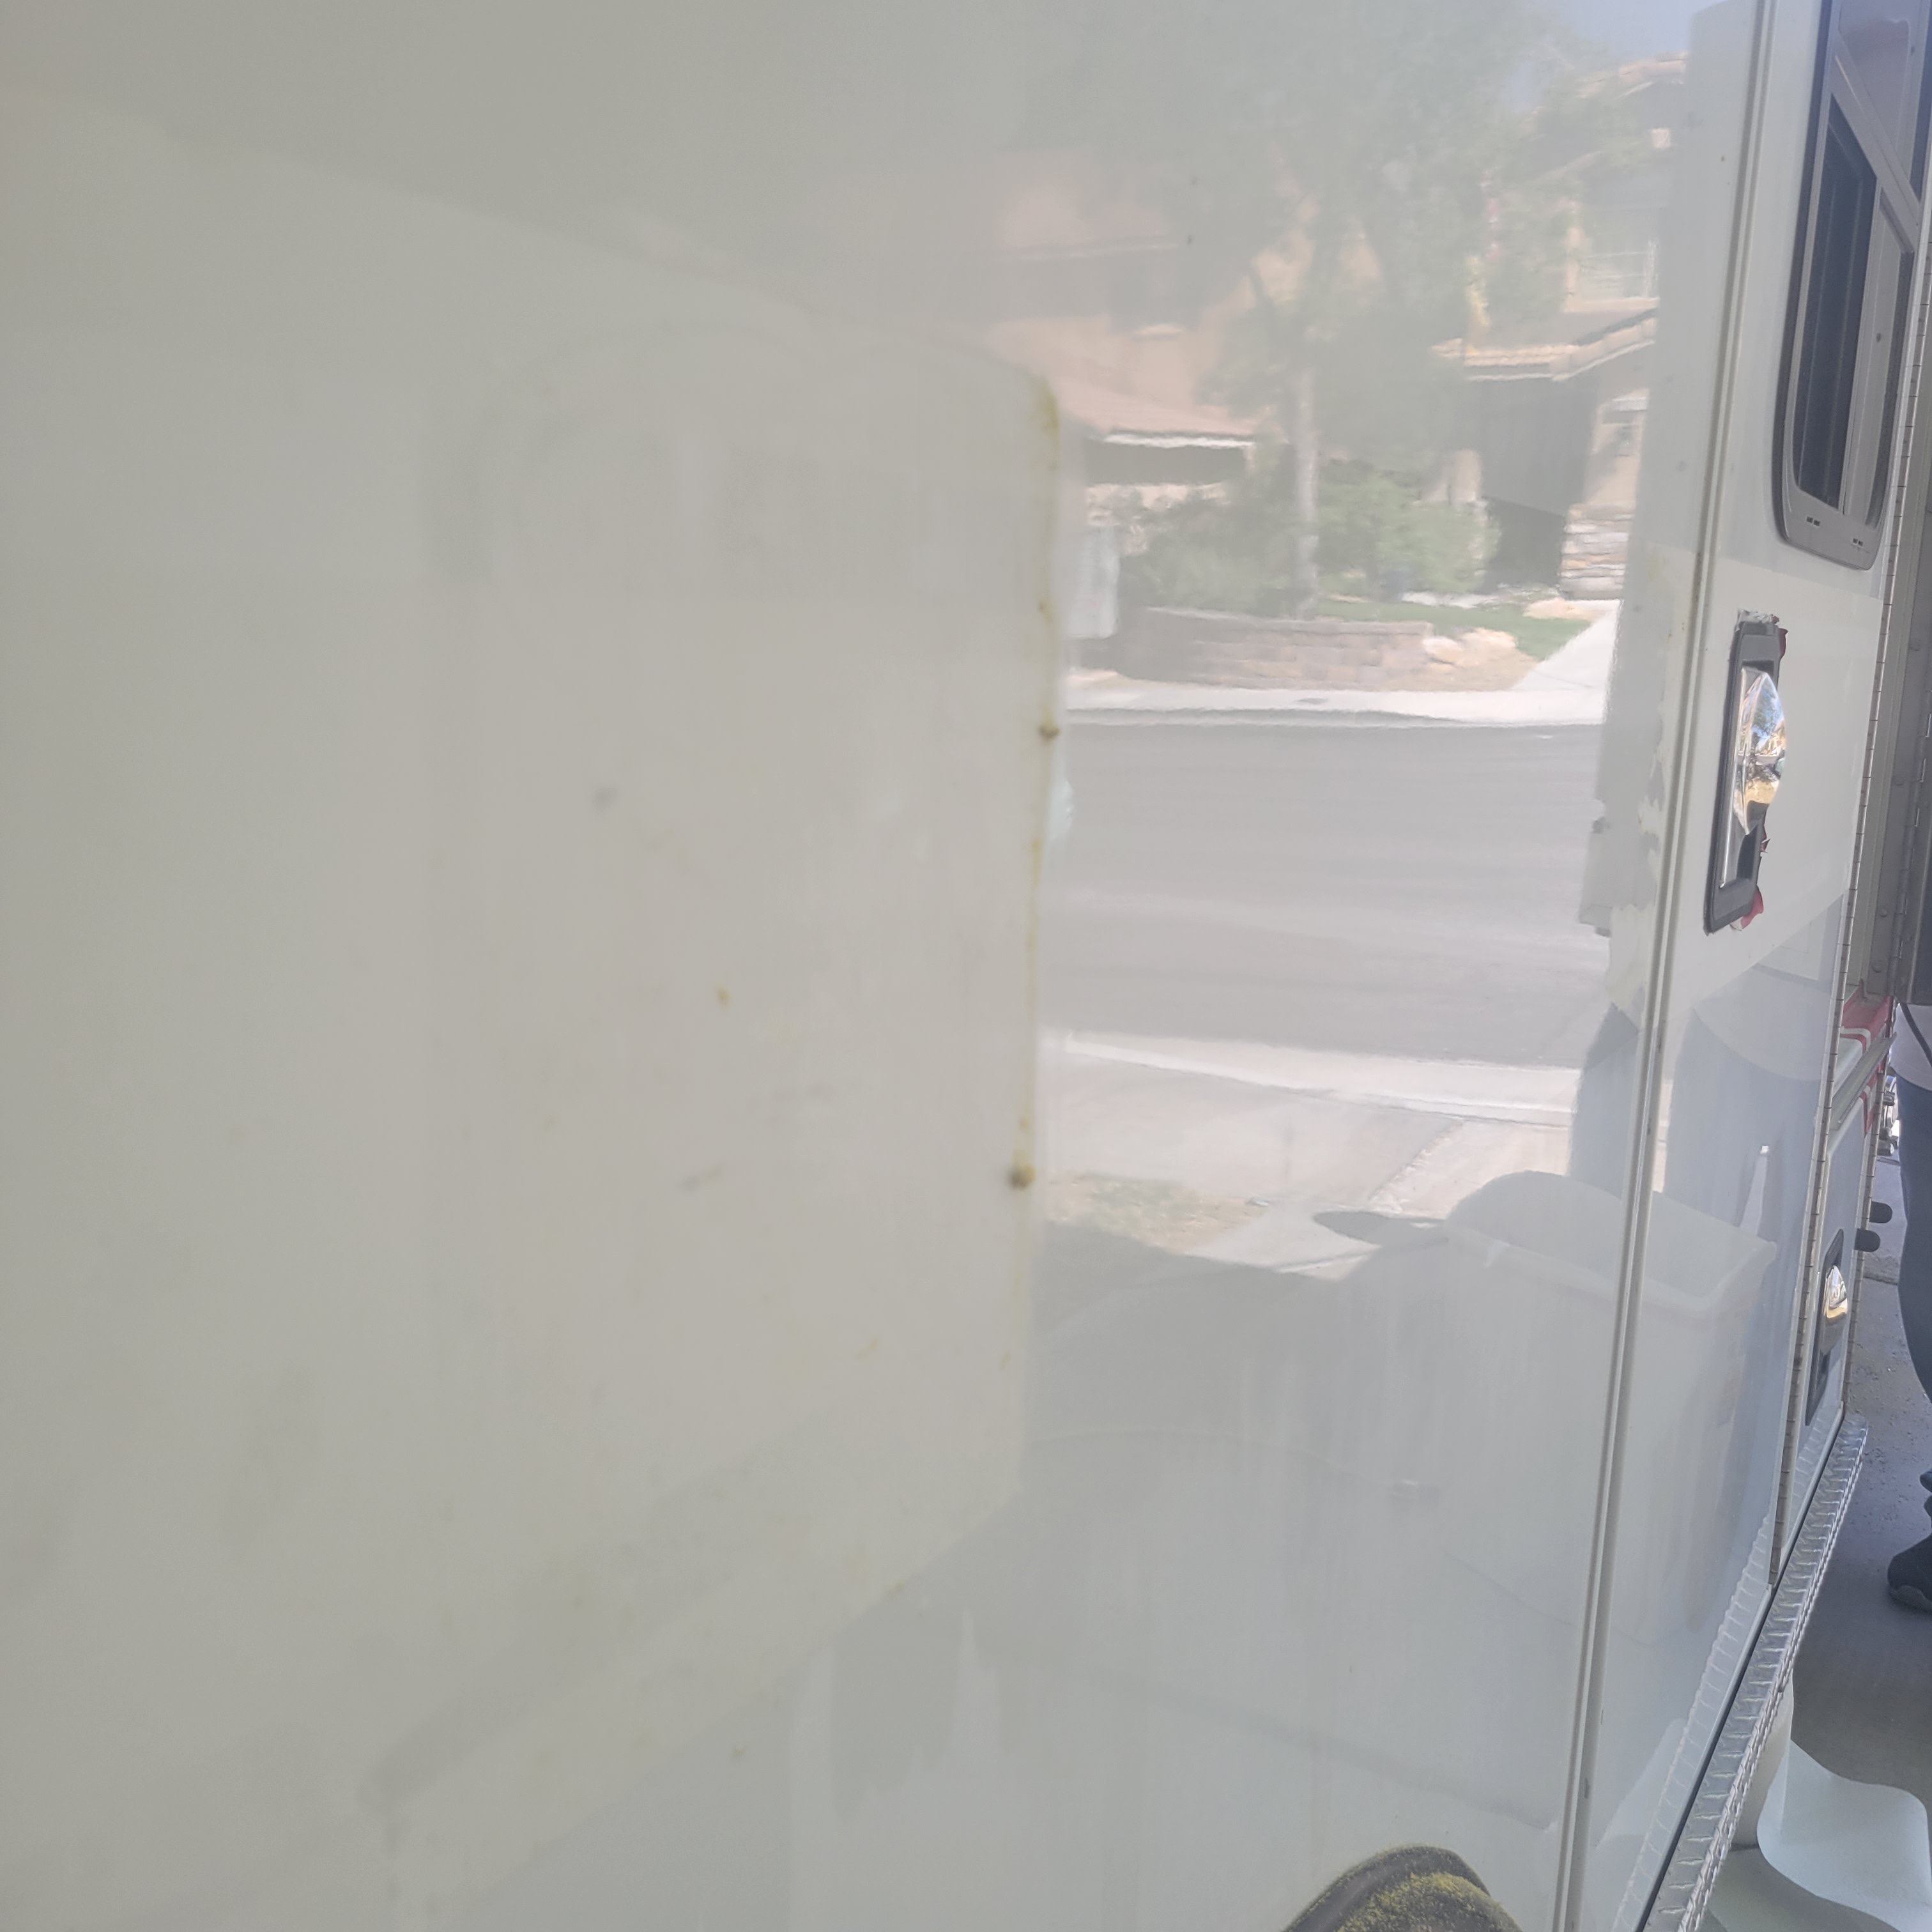
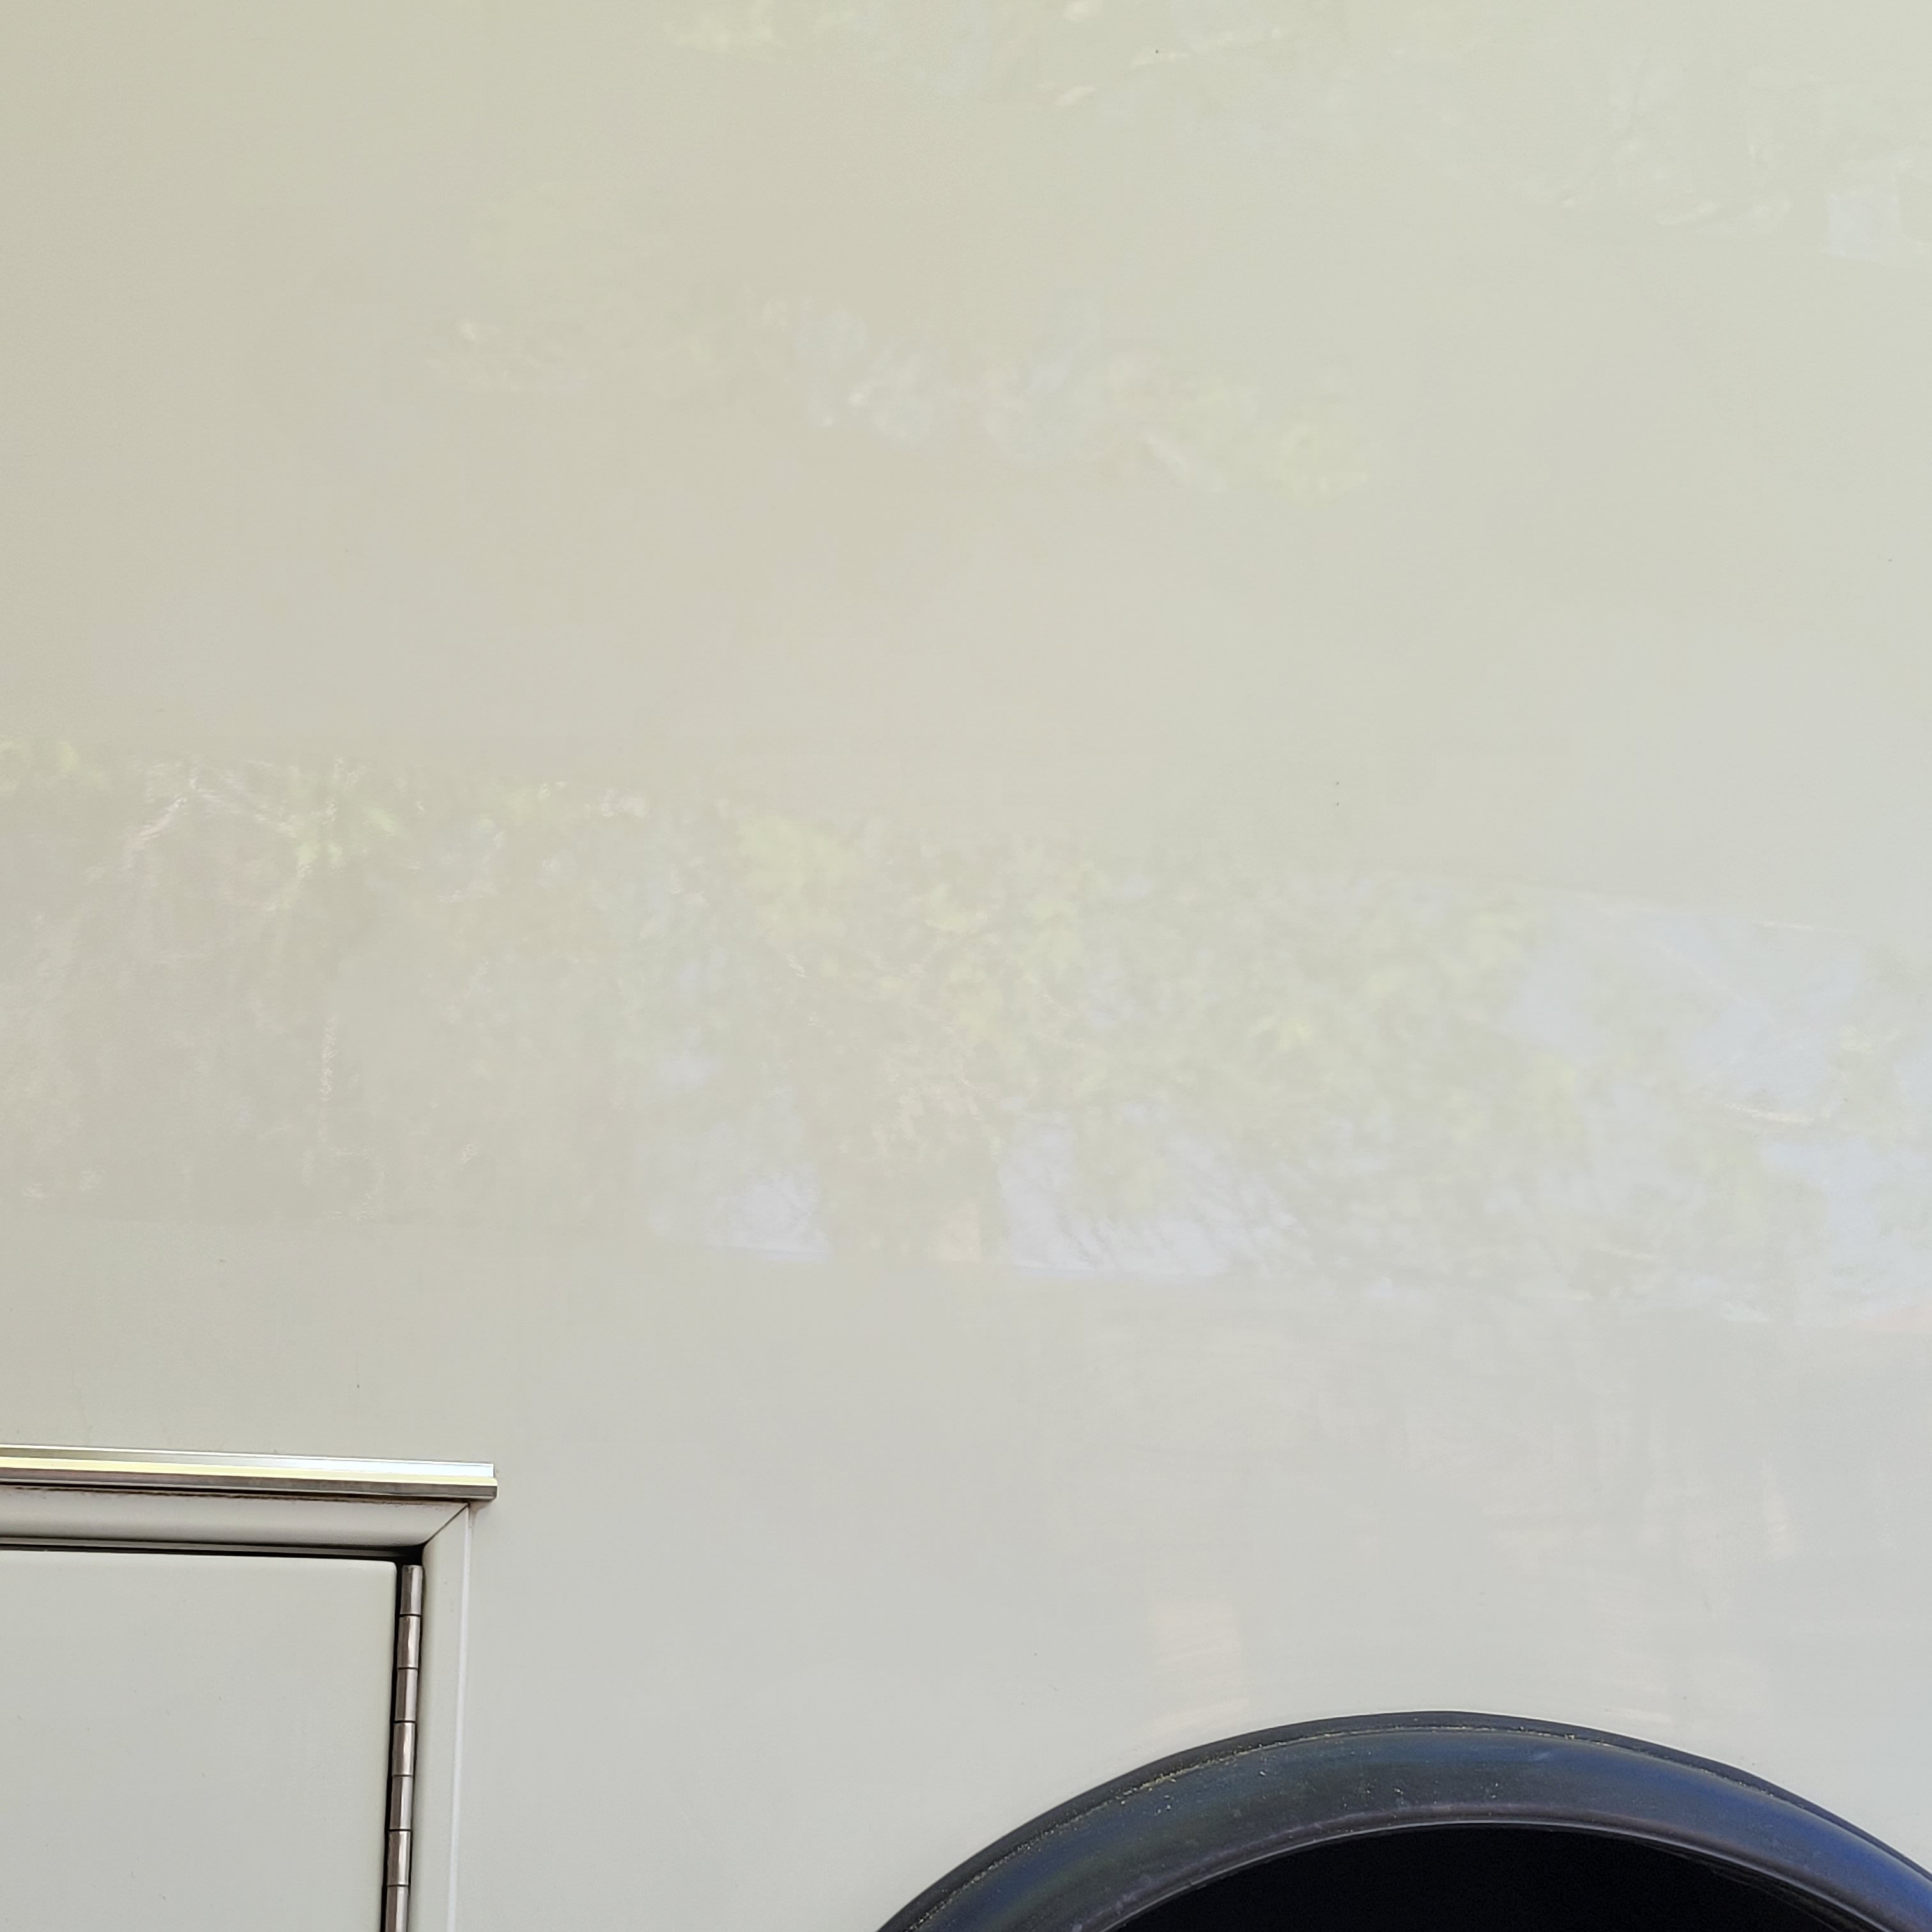
I recorded a timelapse of both days, and I really love how you can tell how shiny the part with no adhesive is compared to the part with adhesive. I will be posting that timelapse on YouTube eventually, so please stay tuned for that!

We worked for about 5 hours, so we were really exhausted after that. We decided to save the rest for the next day. We were very happy with our progress, and knew we could get a lot done the next day as well. It was really starting to come together!
Day 2
I was not excited to work on Sunday. I woke up super sore, and tired. I had also accidentally stayed up late the previous night, so that did not help at all. I knew I had hours more of holding up a drill constantly, so I was not excited at all.
For the second day of the weekend, we did more of the same stuff. I cleaned up a lot of adhesive that I didn’t get to on Saturday, and my dad worked on some of the more tedious areas. He also got the sticker and the adhesive off of the front passenger fender, so we could put the light back on it.
The light on the fender had decals under it, so we had to take it all off. My dad wanted to get it over with so he could put the light back on. I didn’t end up doing a massive amount of work this day, but both of us got a lot more done, even if it doesn’t look like it.
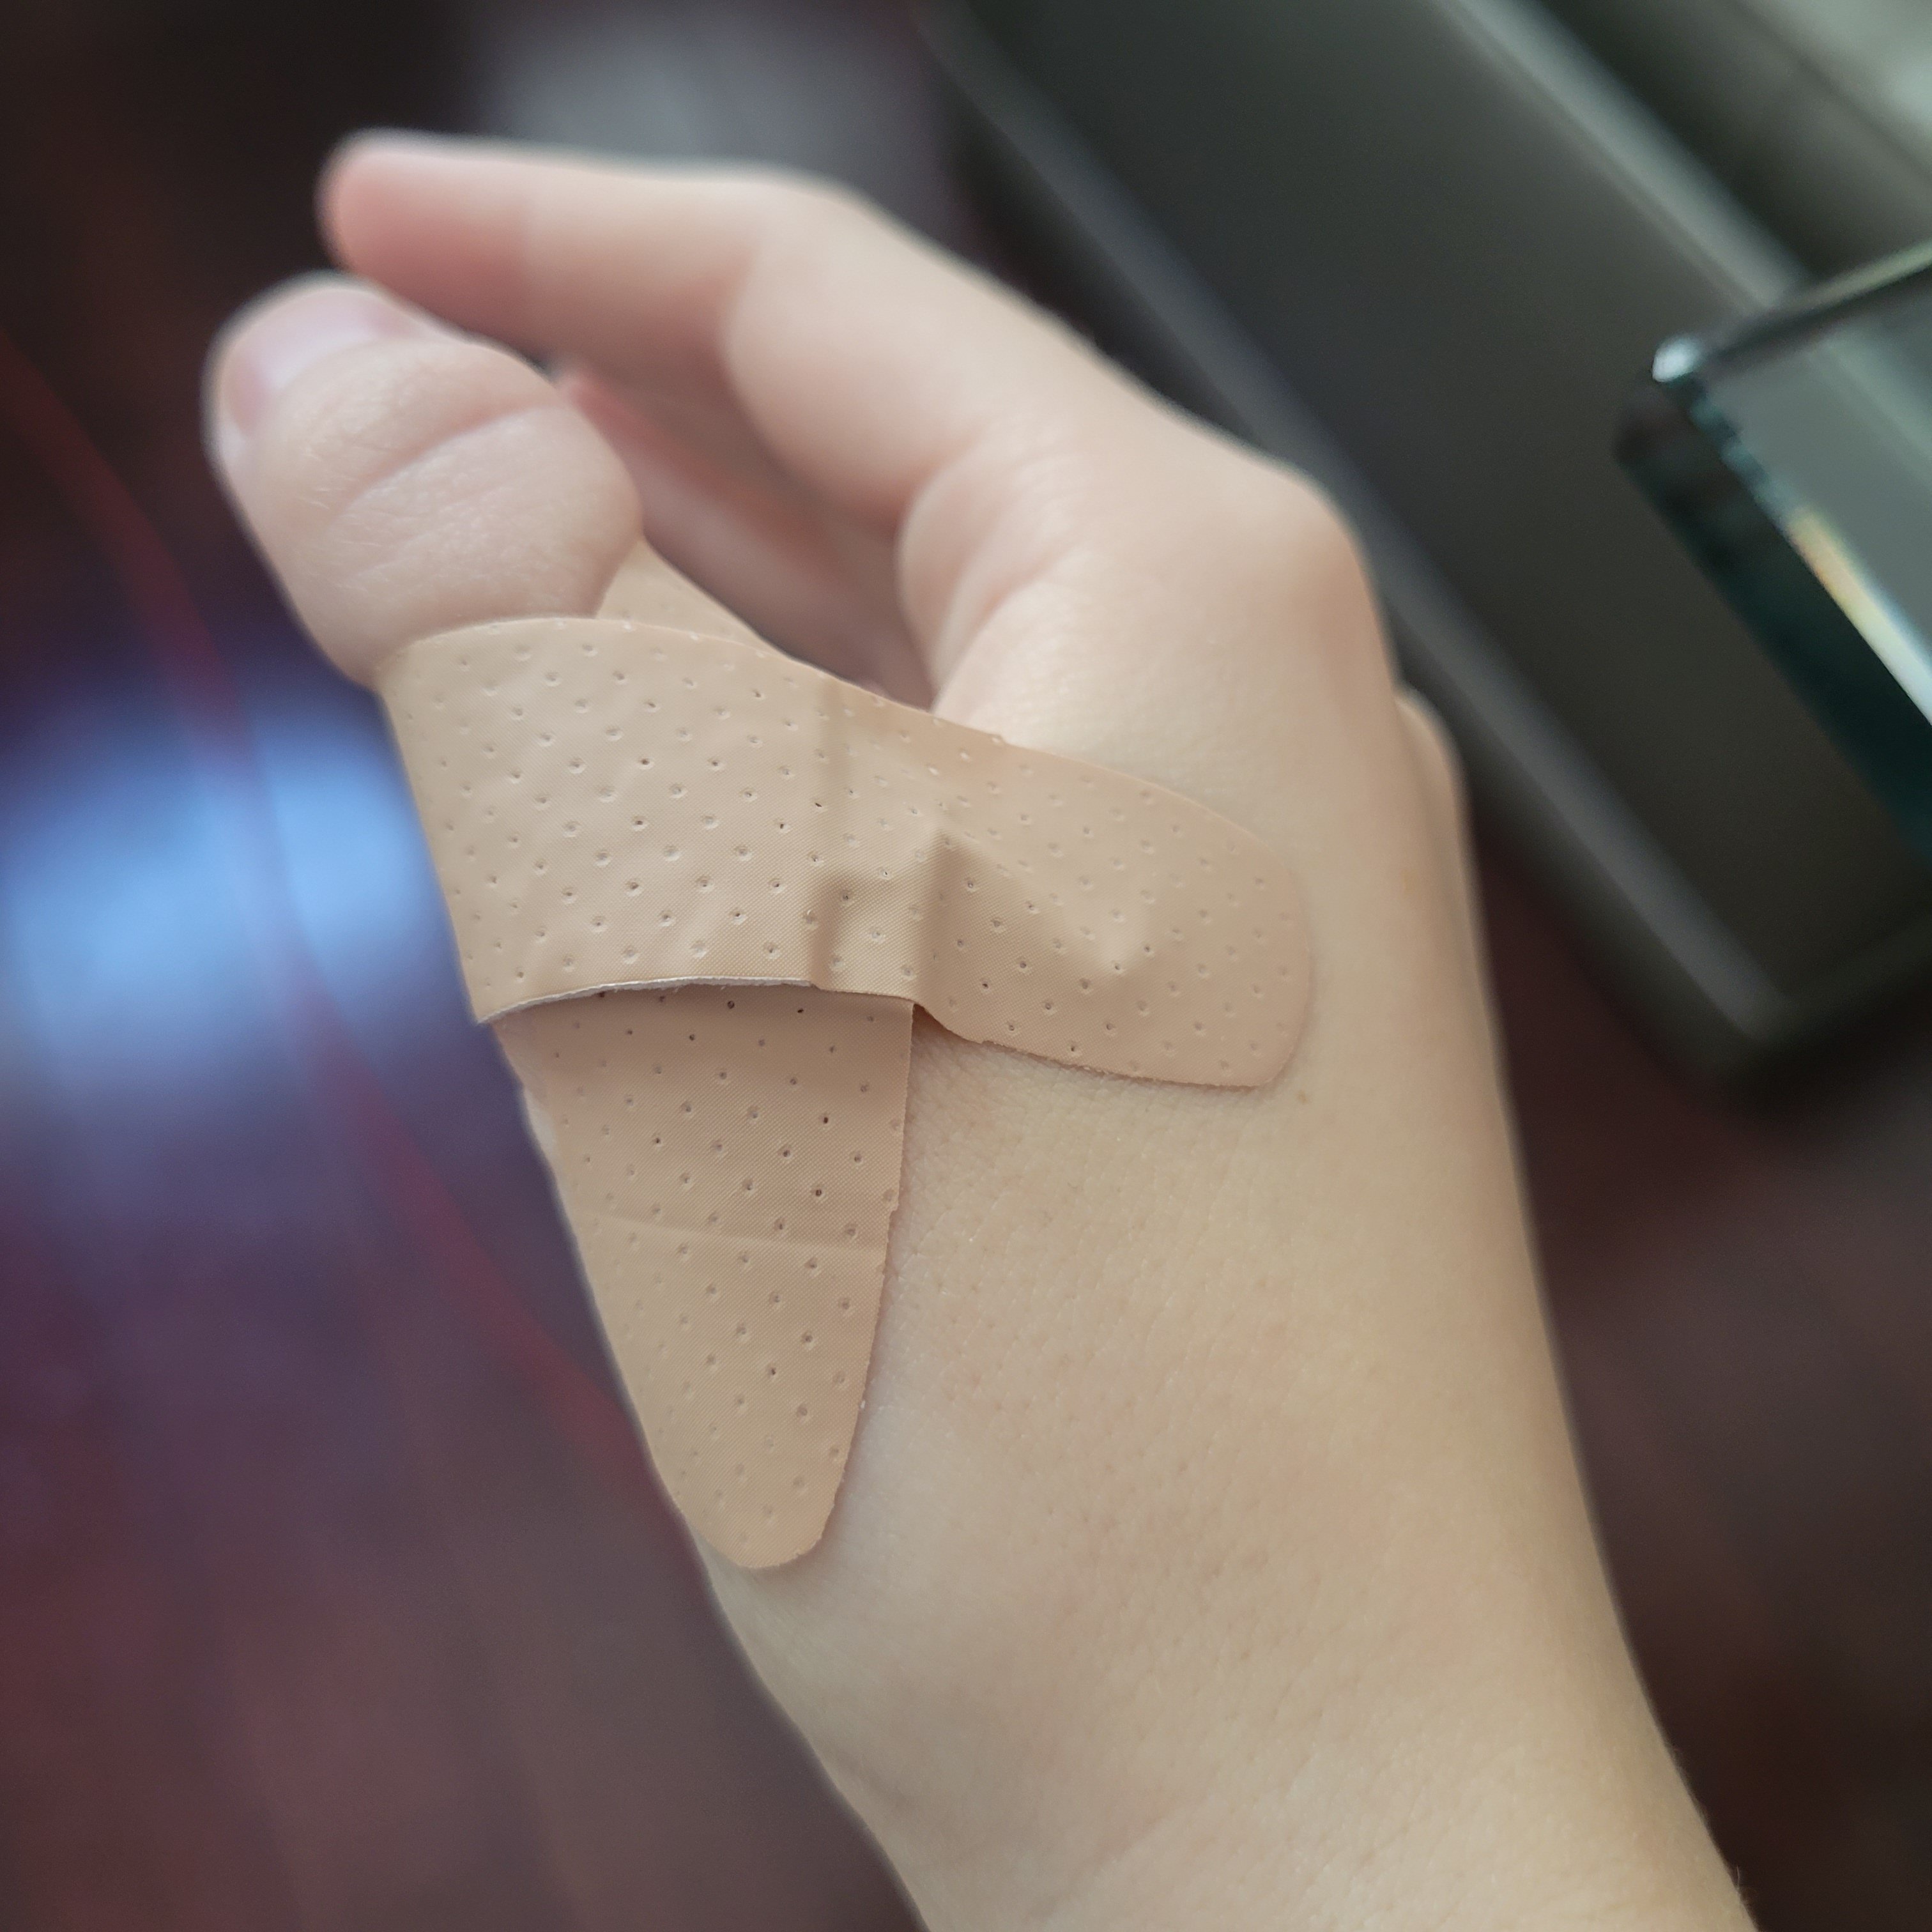
On top of everything else, the drill ended up giving me a blister on my thumb. I was even using gloves to reduce the chances of one, but it still happened. Now, writing this, about a week later, it’s about halfway healed haha. It hurt a lot while we were working.
Anyhow, that’s all of the progress I have to update you on this week. We are bringing it to the mechanic for them to do an inspection and a few other things, so there will be an update next Sunday on that.
I would also like to thank my Nana, because without her, this wouldn’t be possible right now. I’m so grateful for all the help she has provided me with, and I’m so excited to be able to show her the fruits of our labor.
Thank you all so much for reading my blog post and supporting my journey! I really hope I can continue to entertain you all, and if you have any friends or family that you think would enjoy my blog, please direct them to it! It would really mean a lot. Thank you for reading!

That’s fantastic! I love the progress! It’s looking great!
LikeLiked by 1 person
Thank you! It really is looking great.
LikeLike
You’ve really done a lot. Removing the decals is a tedious job! It’s so nice to have family to help and depend on. Hope your thumb’s ok!
LikeLiked by 1 person
Thank you! It really is a lot of work, more than I expected just to remove some stickers. It is really nice and I am grateful that I have them in my life. Thank you for commenting!
LikeLike