Hello! We are officially more than halfway through the art posts! By this time, the school semester has ended and summer has started, but I will have at least several more of these posts for you guys to enjoy.
I think this is one of my favorite, if not my favorite, drawings to do this entire semester. I really did enjoy drawing the shoes, but I also really enjoyed doing this. I am also very proud of the outcome of these sessions, and I think it’s my best work yet.
My professor decided that he did not want to do the textbook sessions for these, because he said he thought they were more fitted for a design class, and not for a drawing class. So, what we ended up doing were tonal ink drawings, along with some charts and practice.
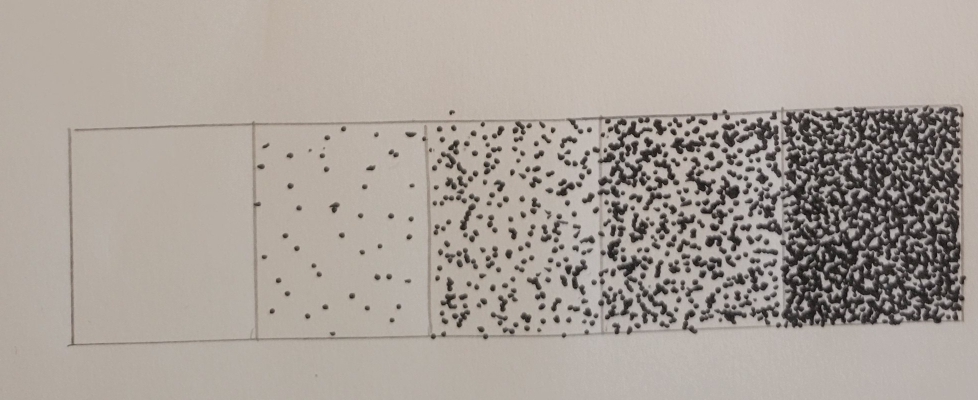
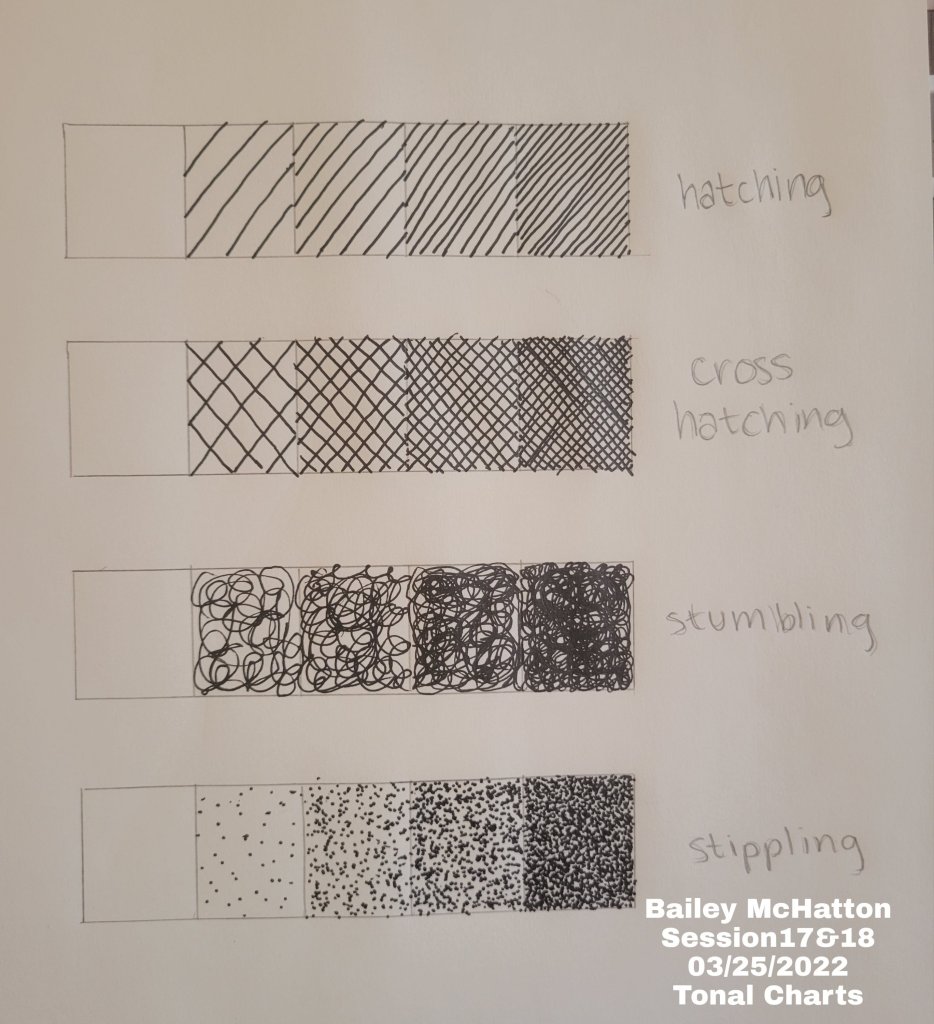
We started out by learning about 4 different methods of drawing, hatching, cross hatching, stumbling, and stippling. Hatching and cross hatching are pretty self explanatory, but the other two aren’t. Stumbling is making random marks with no straight lines, and I really like this method. Stipping is making a whole bunch of dots in different densities to convey tones. Below is a picture of all of these to better describe what they are.
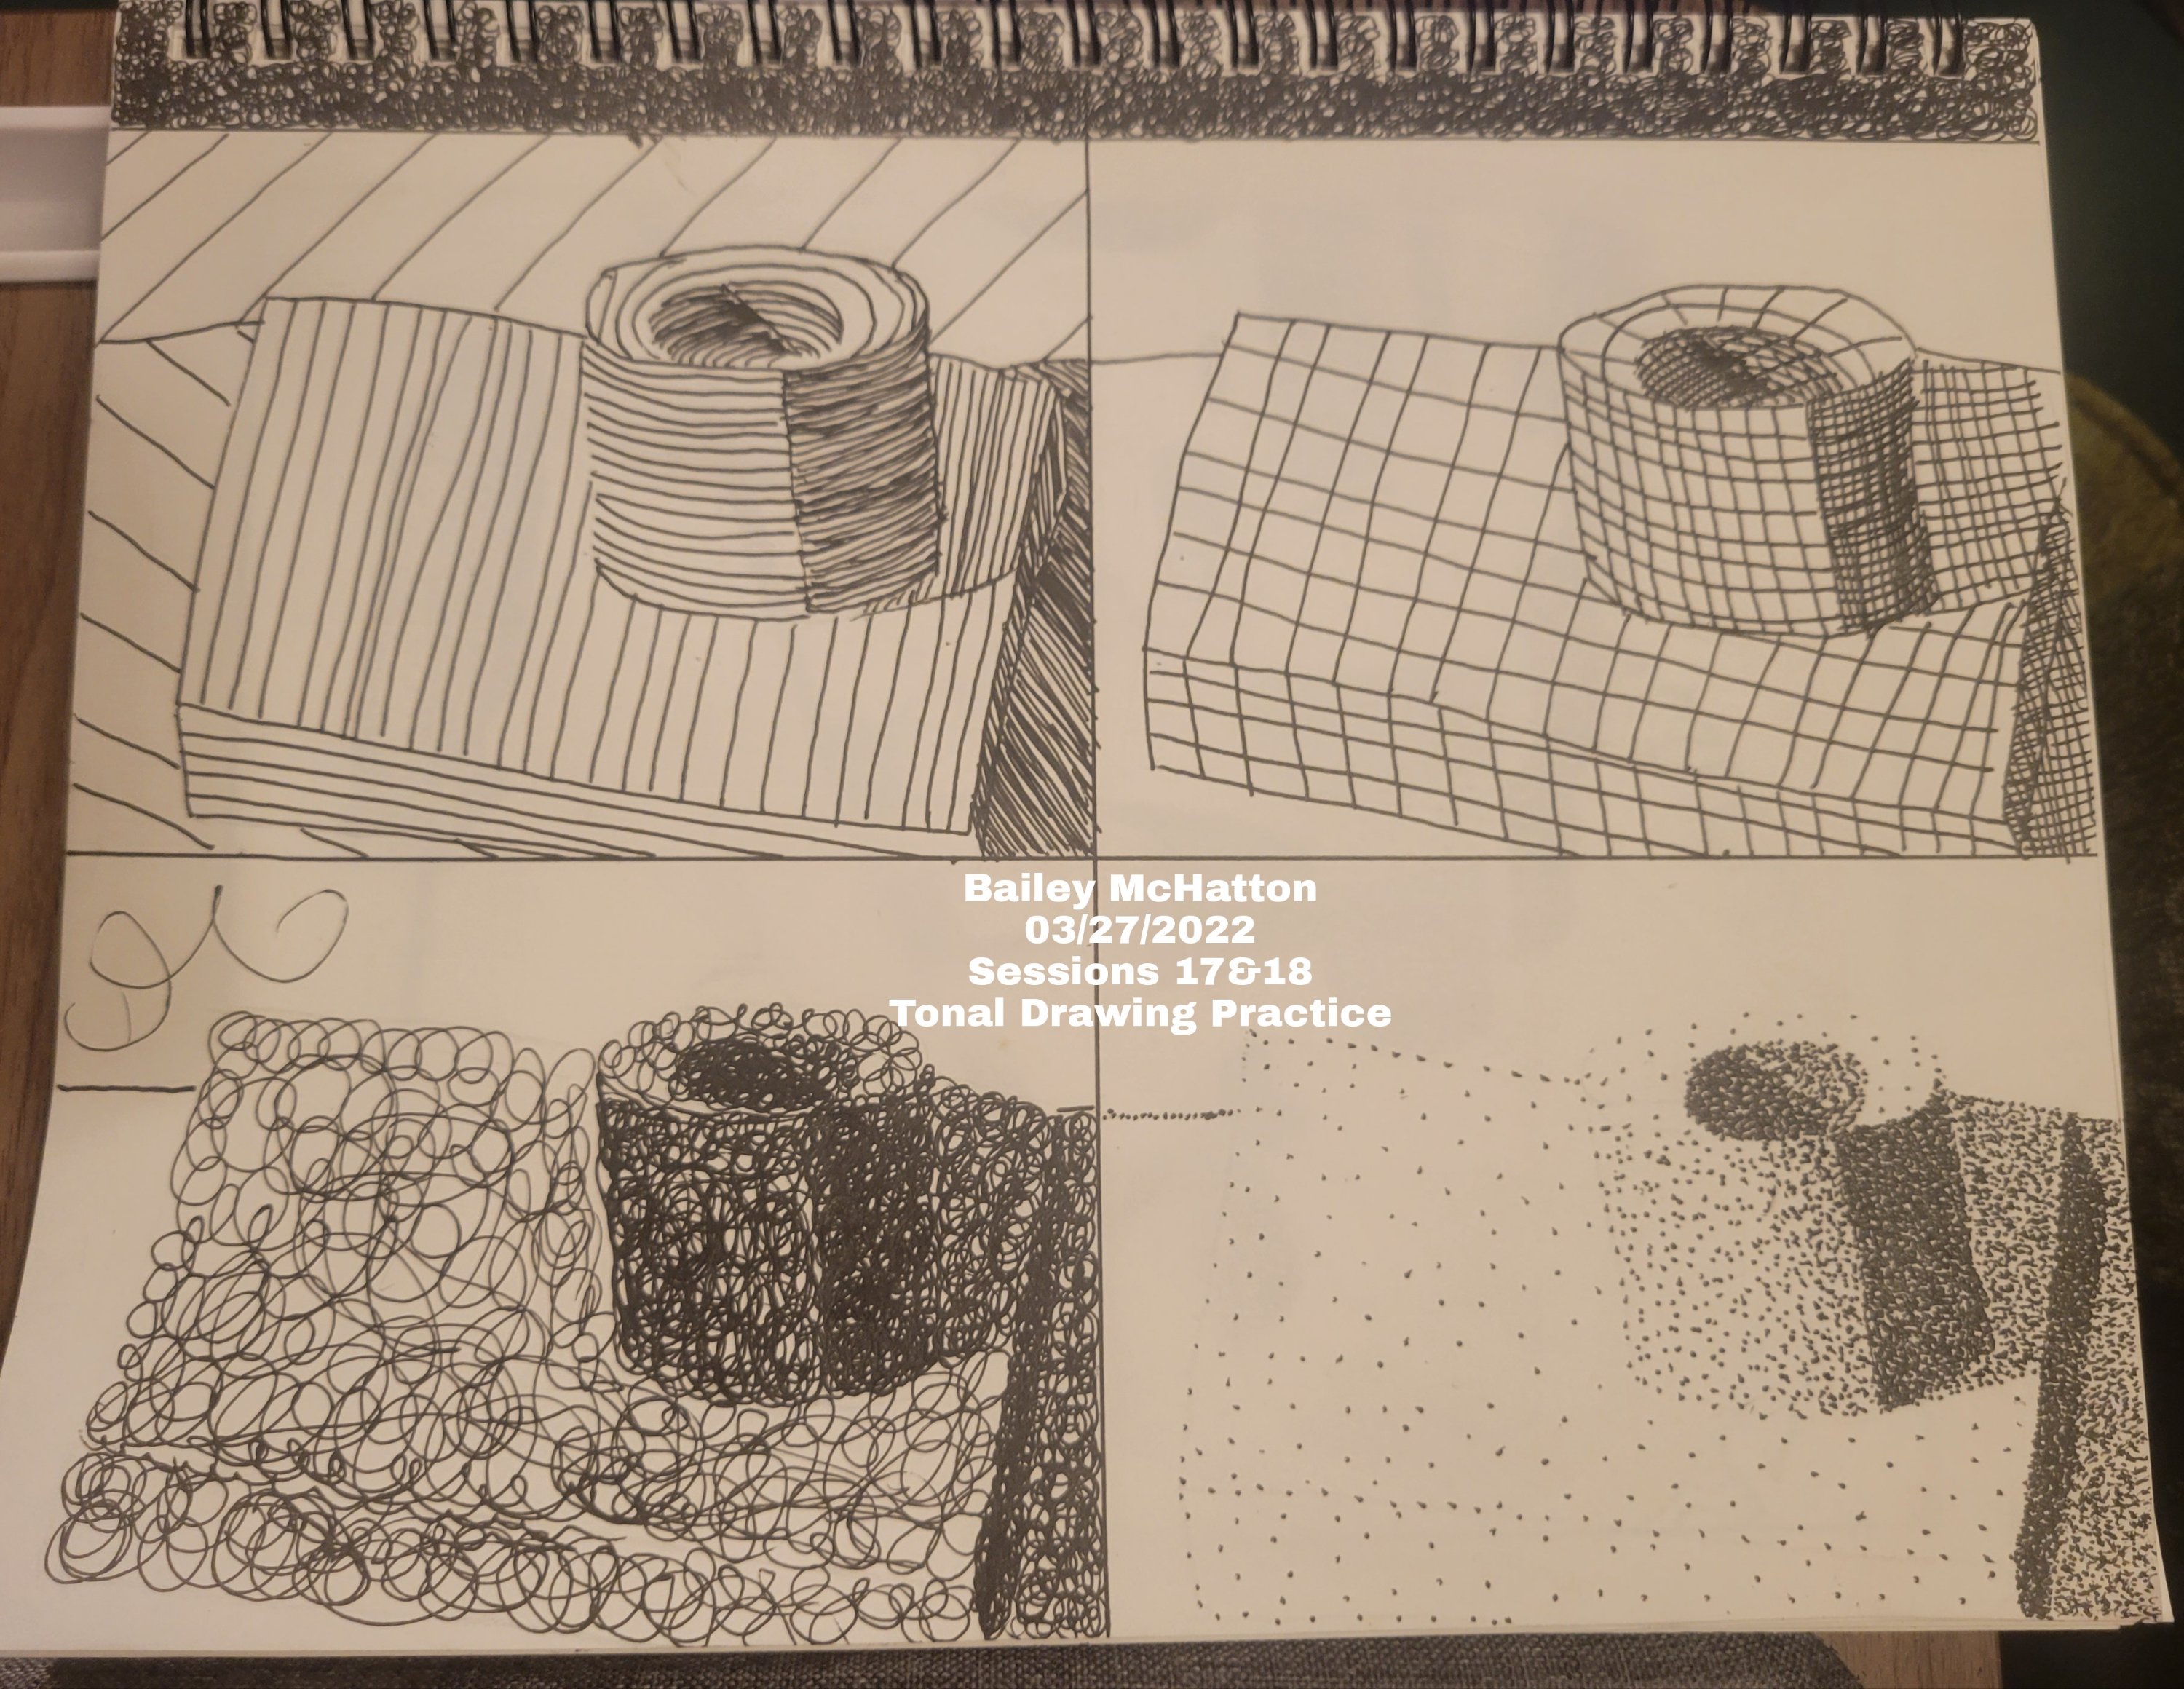
Then, after we made all of these charts, we were supposed to set up a little still life with a couple simple objects, and sketch it 4 times on one piece of paper. Then, in each quadrant, we were to practice one of the four techniques. This really took a lot longer than I expected, mainly because the stippling takes so long.
The stippling, in my opinion, does look by far the best out of all four of the methods, but it takes a ridiculous amount of time. After we did all of this practice, we were supposed to set up a 5 – 7 item themed still life and draw it using one of the methods that we practiced. Even though I knew it would take a while, and my dad even said not to do it, I chose stippling for my final drawing.
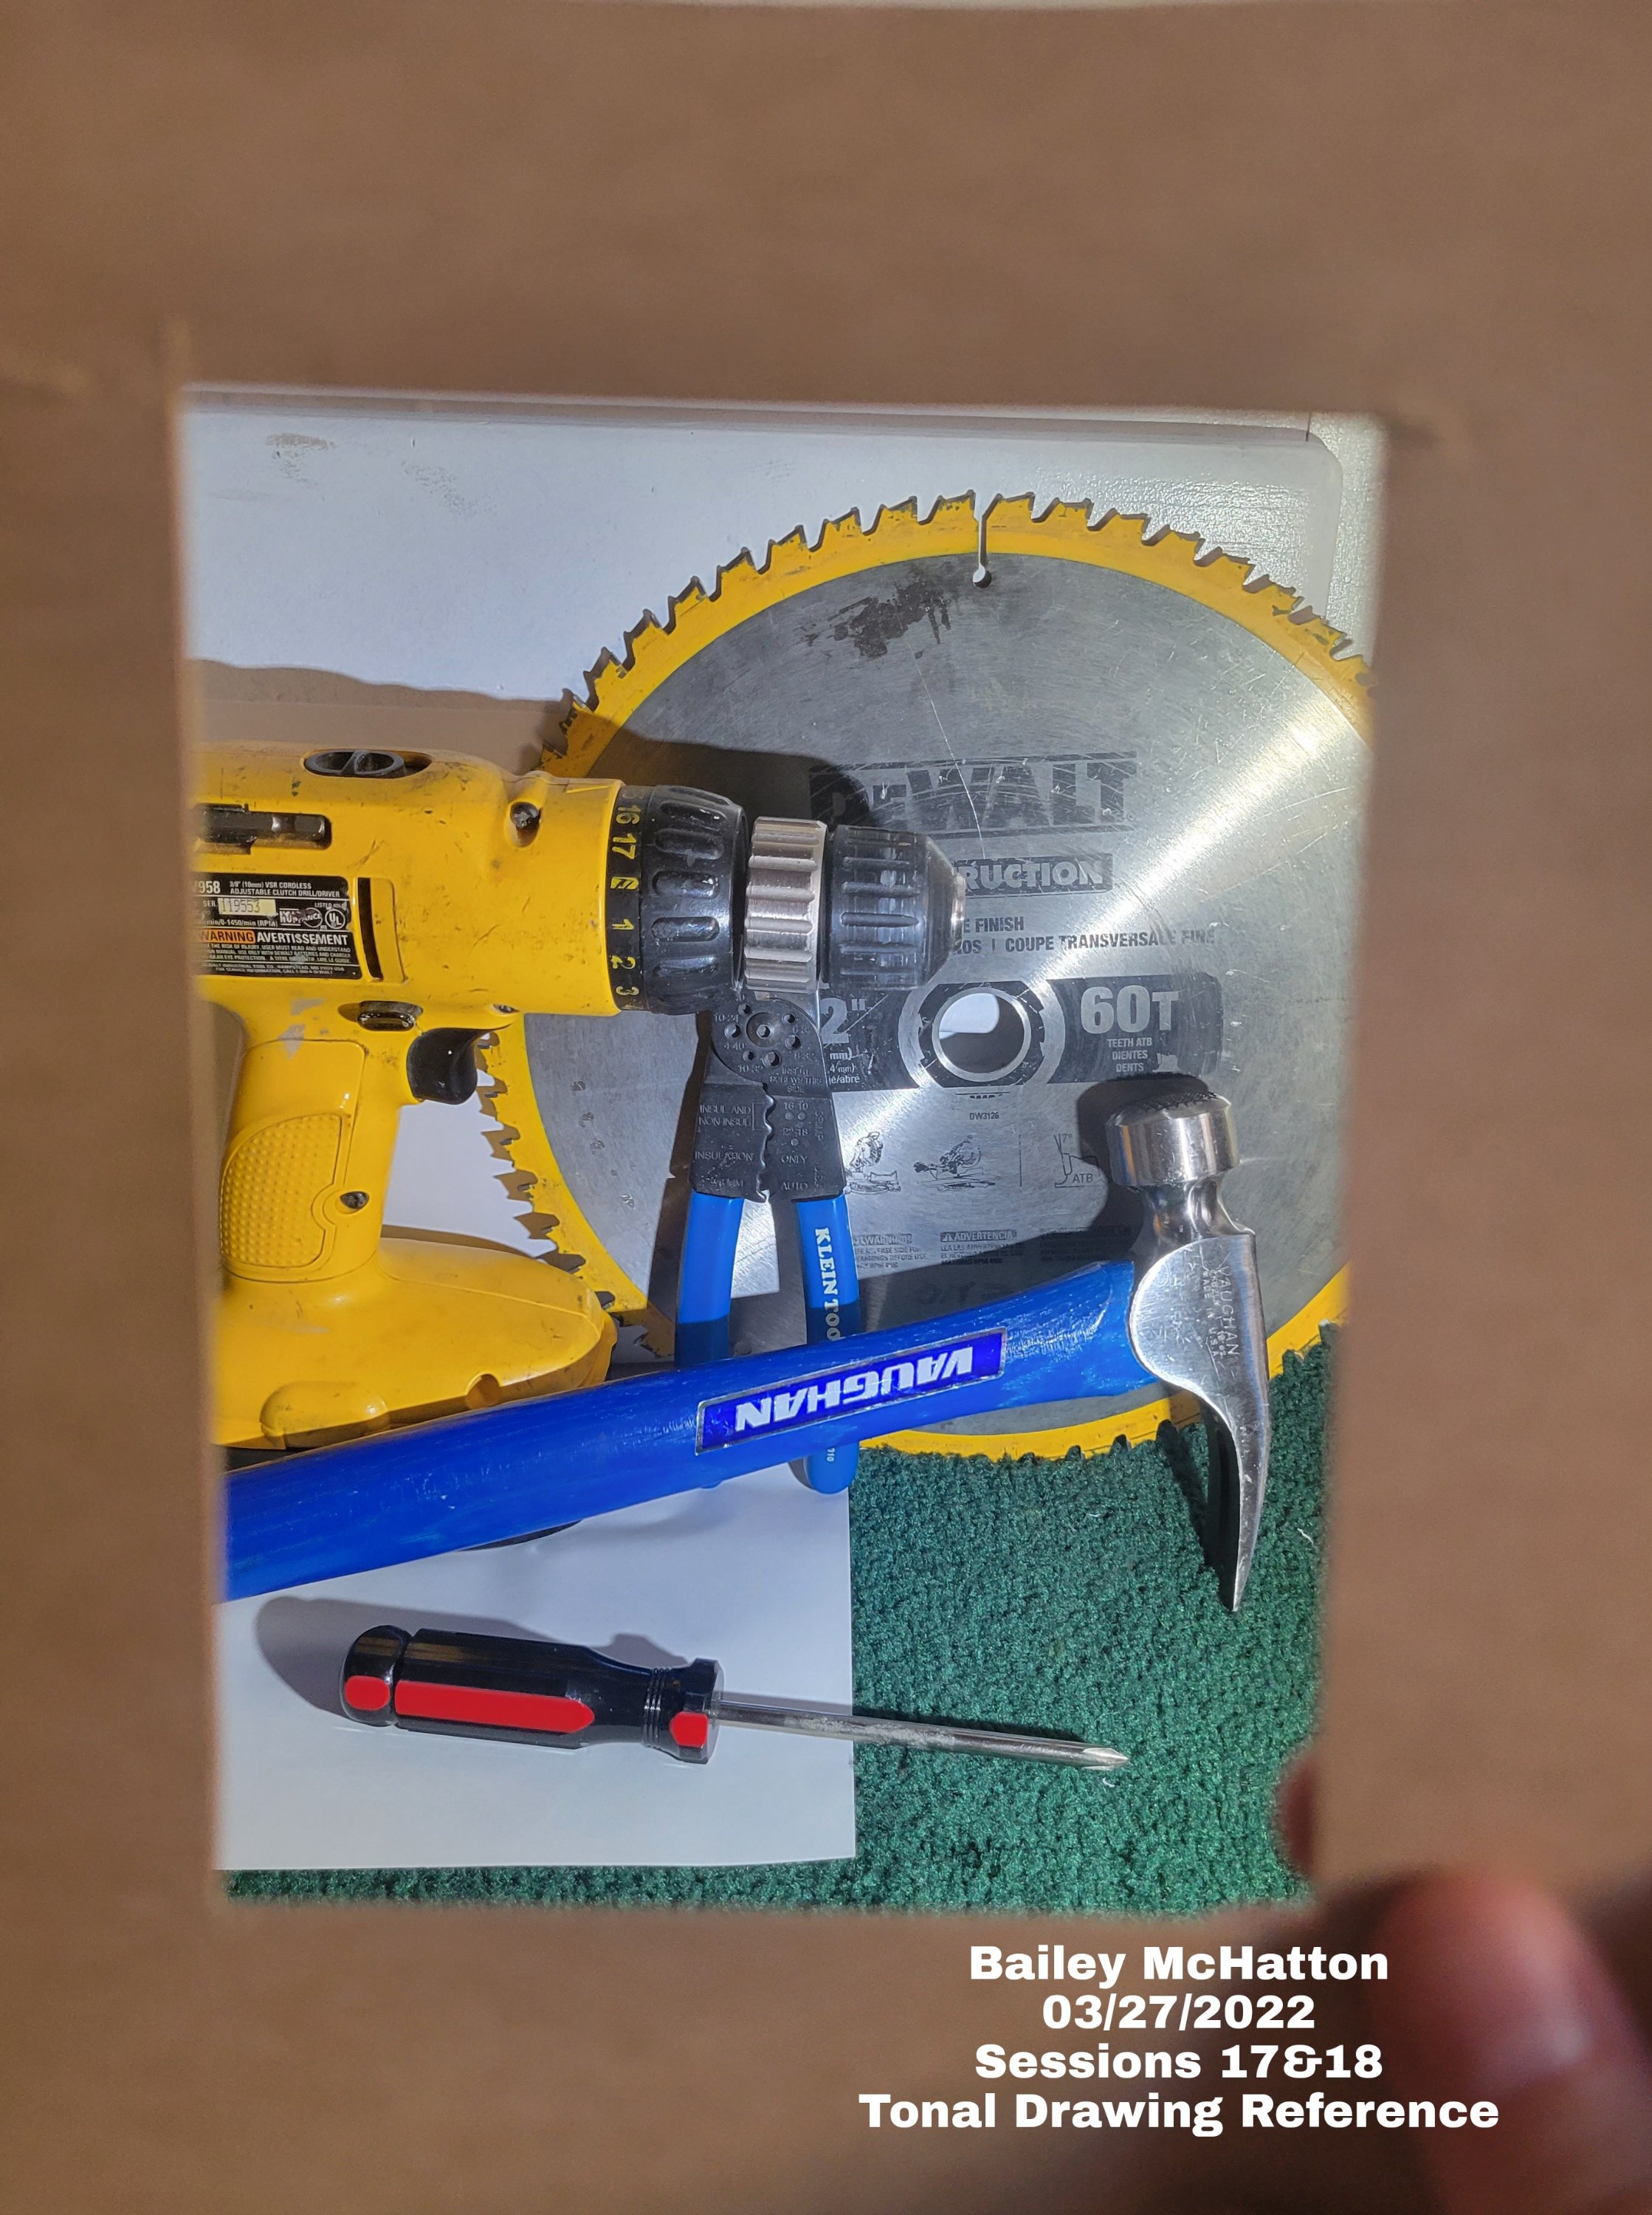
I had a lot of trouble coming up with a 5 – 7 item themed still life. It was hard for me to think of a unique theme that I had 5 to 7 items available for that had a variety of shapes and sizes. I thought about food and art supplies, but I thought those would be pretty boring to draw because everyone in my class could do that. I decided on doing a still life of tools. We have a lot of tools at our house, and they did have a wide variety of shapes and sizes.
I chose a drill, a long hammer, a sawblade, wire cutters, and a screwdriver. After choosing all of those, I had to set them up in a way that was pleasing to look at. This was another challenge, because after I had set up the drill and the sawblade where I wanted them, I added the hammer, and then I had no more ideas on where to put the other two items.
Even though the items are unique, I do not think that the compostition is very interesting. However, I did not want to work on it anymore so I just went with it.
I wasn’t excited to start this drawing, mainly because I knew it would be a lot of work, but I got to it. I was excited to draw the sawblade, because it would hopefully actually look like a sawblade. As I just mentioned, I did choose the stippling method even though I knew it would take a very long time. I really wanted this drawing to look really good, so that’s why I chose it.
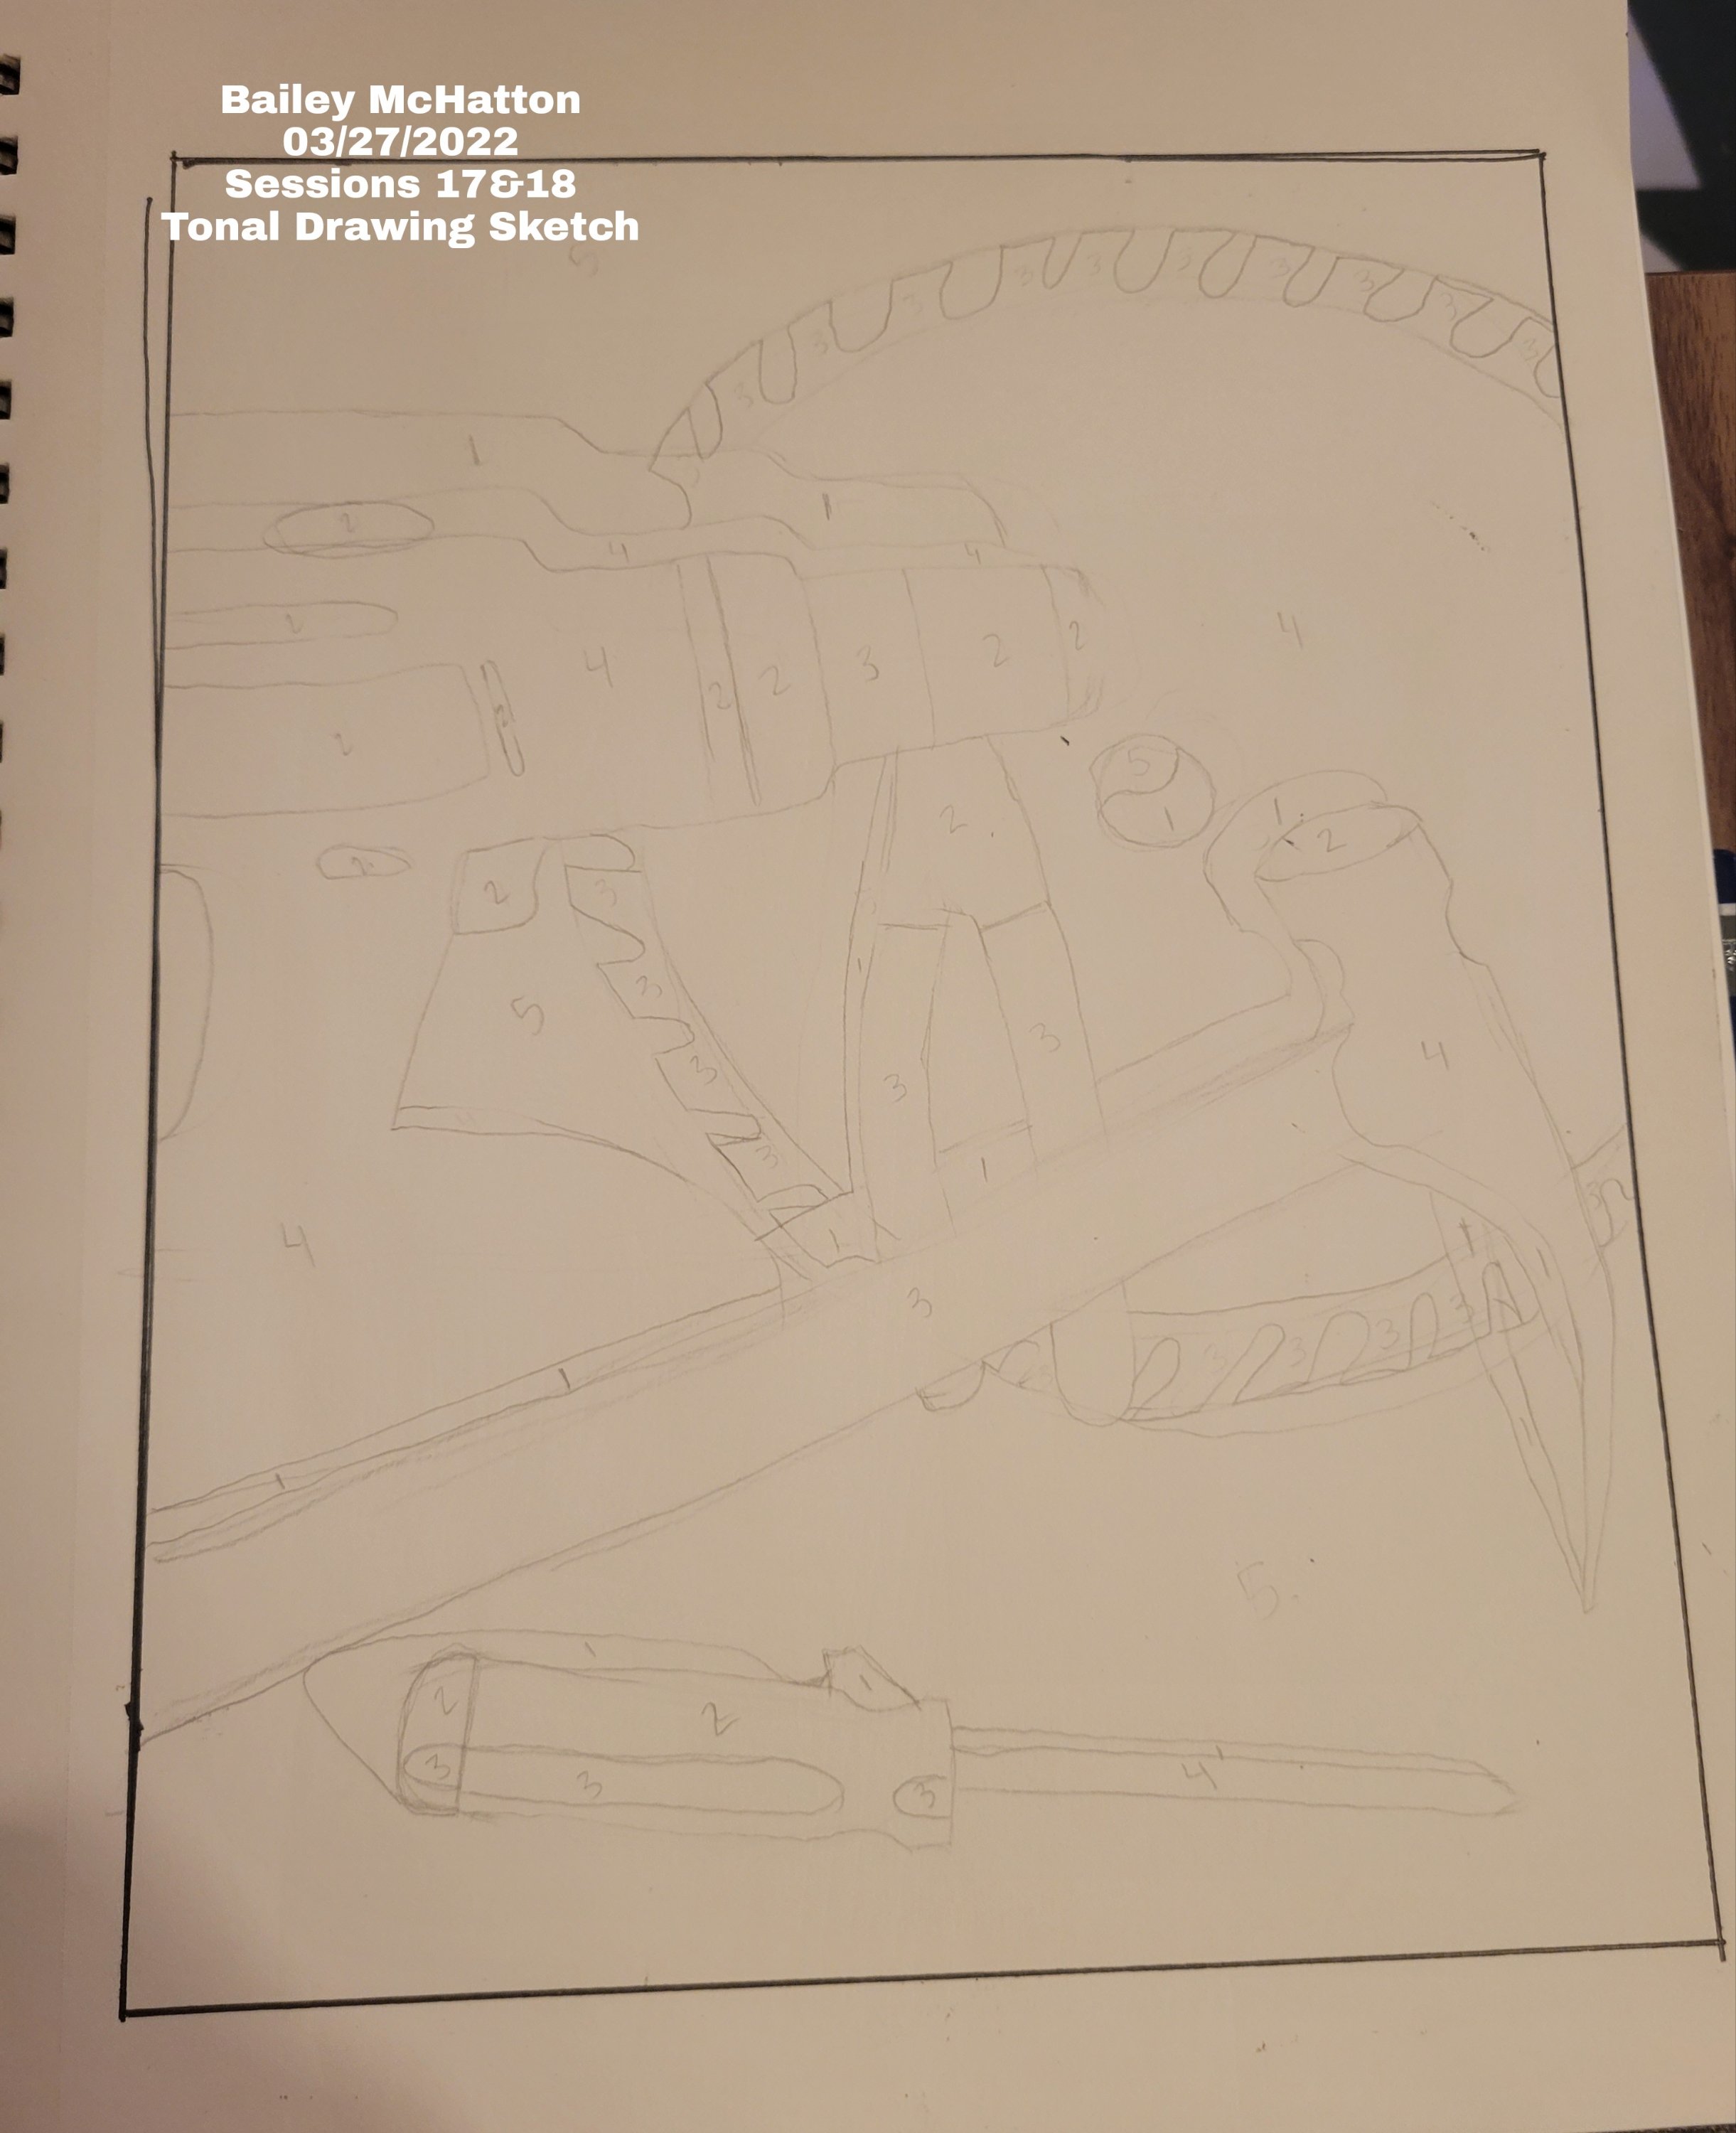
Our professor wanted us to take a picture after we had sketched the still life, so that’s what the next picture is. He also wanted us to number all of the spaces in the drawing according to the tone that they would be when it was finished. 1 was the darkest, and 5 was just the white paper.
I liked doing this part, mainly because it seemed like a color by number. I was already impressed with how my drawing looked, so I was excited to start on the next part of this drawing.
Doing this whole drawing took about 3 hours in total, which was more time than I had ever spent on a drawing assignment before. However, it is also the drawing that I am most proud of, and that I like the best. Leave a comment down below letting me know what you think about it!
I would really like to use this drawing method with other things, like another still life or maybe even a landscape drawing, because it looks so interesting to me. I really think this is my best drawing so far, and I really love how it turned out.
During the process of doing this drawing, I did have to take several breaks because my hand was hurting so bad. It especially hurt during the dark parts, because those take a lot of dots. I also started with the dark parts. I knew those would take the longest and I wouldn’t want to do them at the end, so I wanted to get them out of the way.

Thank you all so much for reading my blog post and supporting my journey! Also, if you have been here since the beginning of this series, thank you for sticking around through that as well. I hope I can continue to entertain you all for a long time!
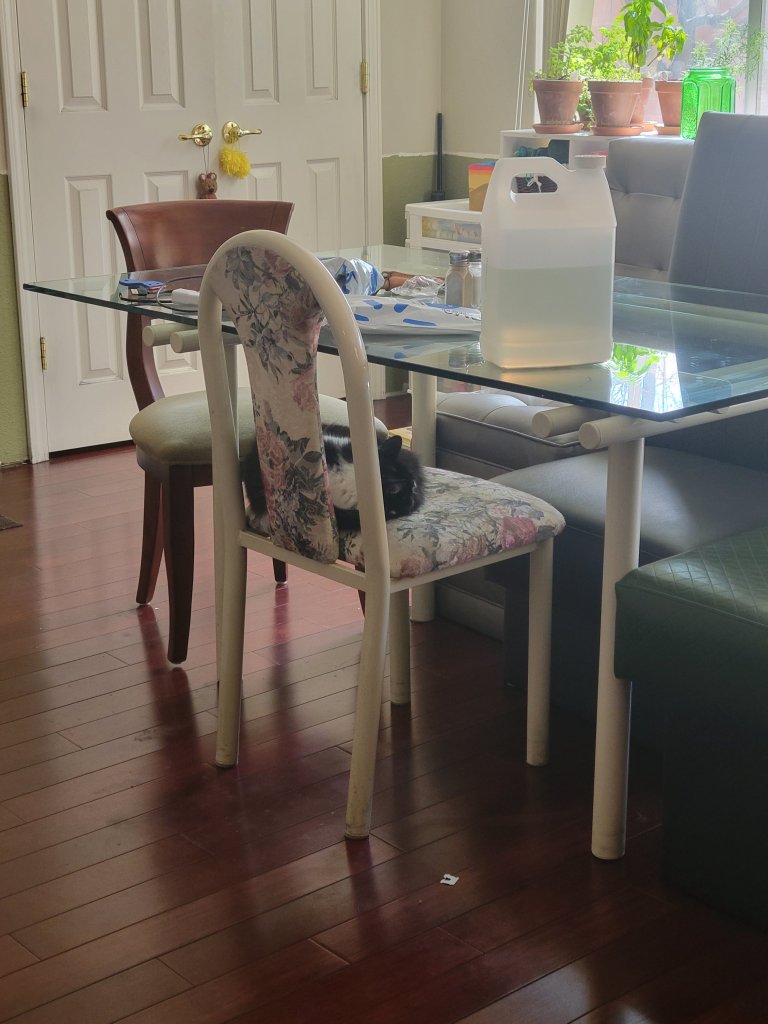
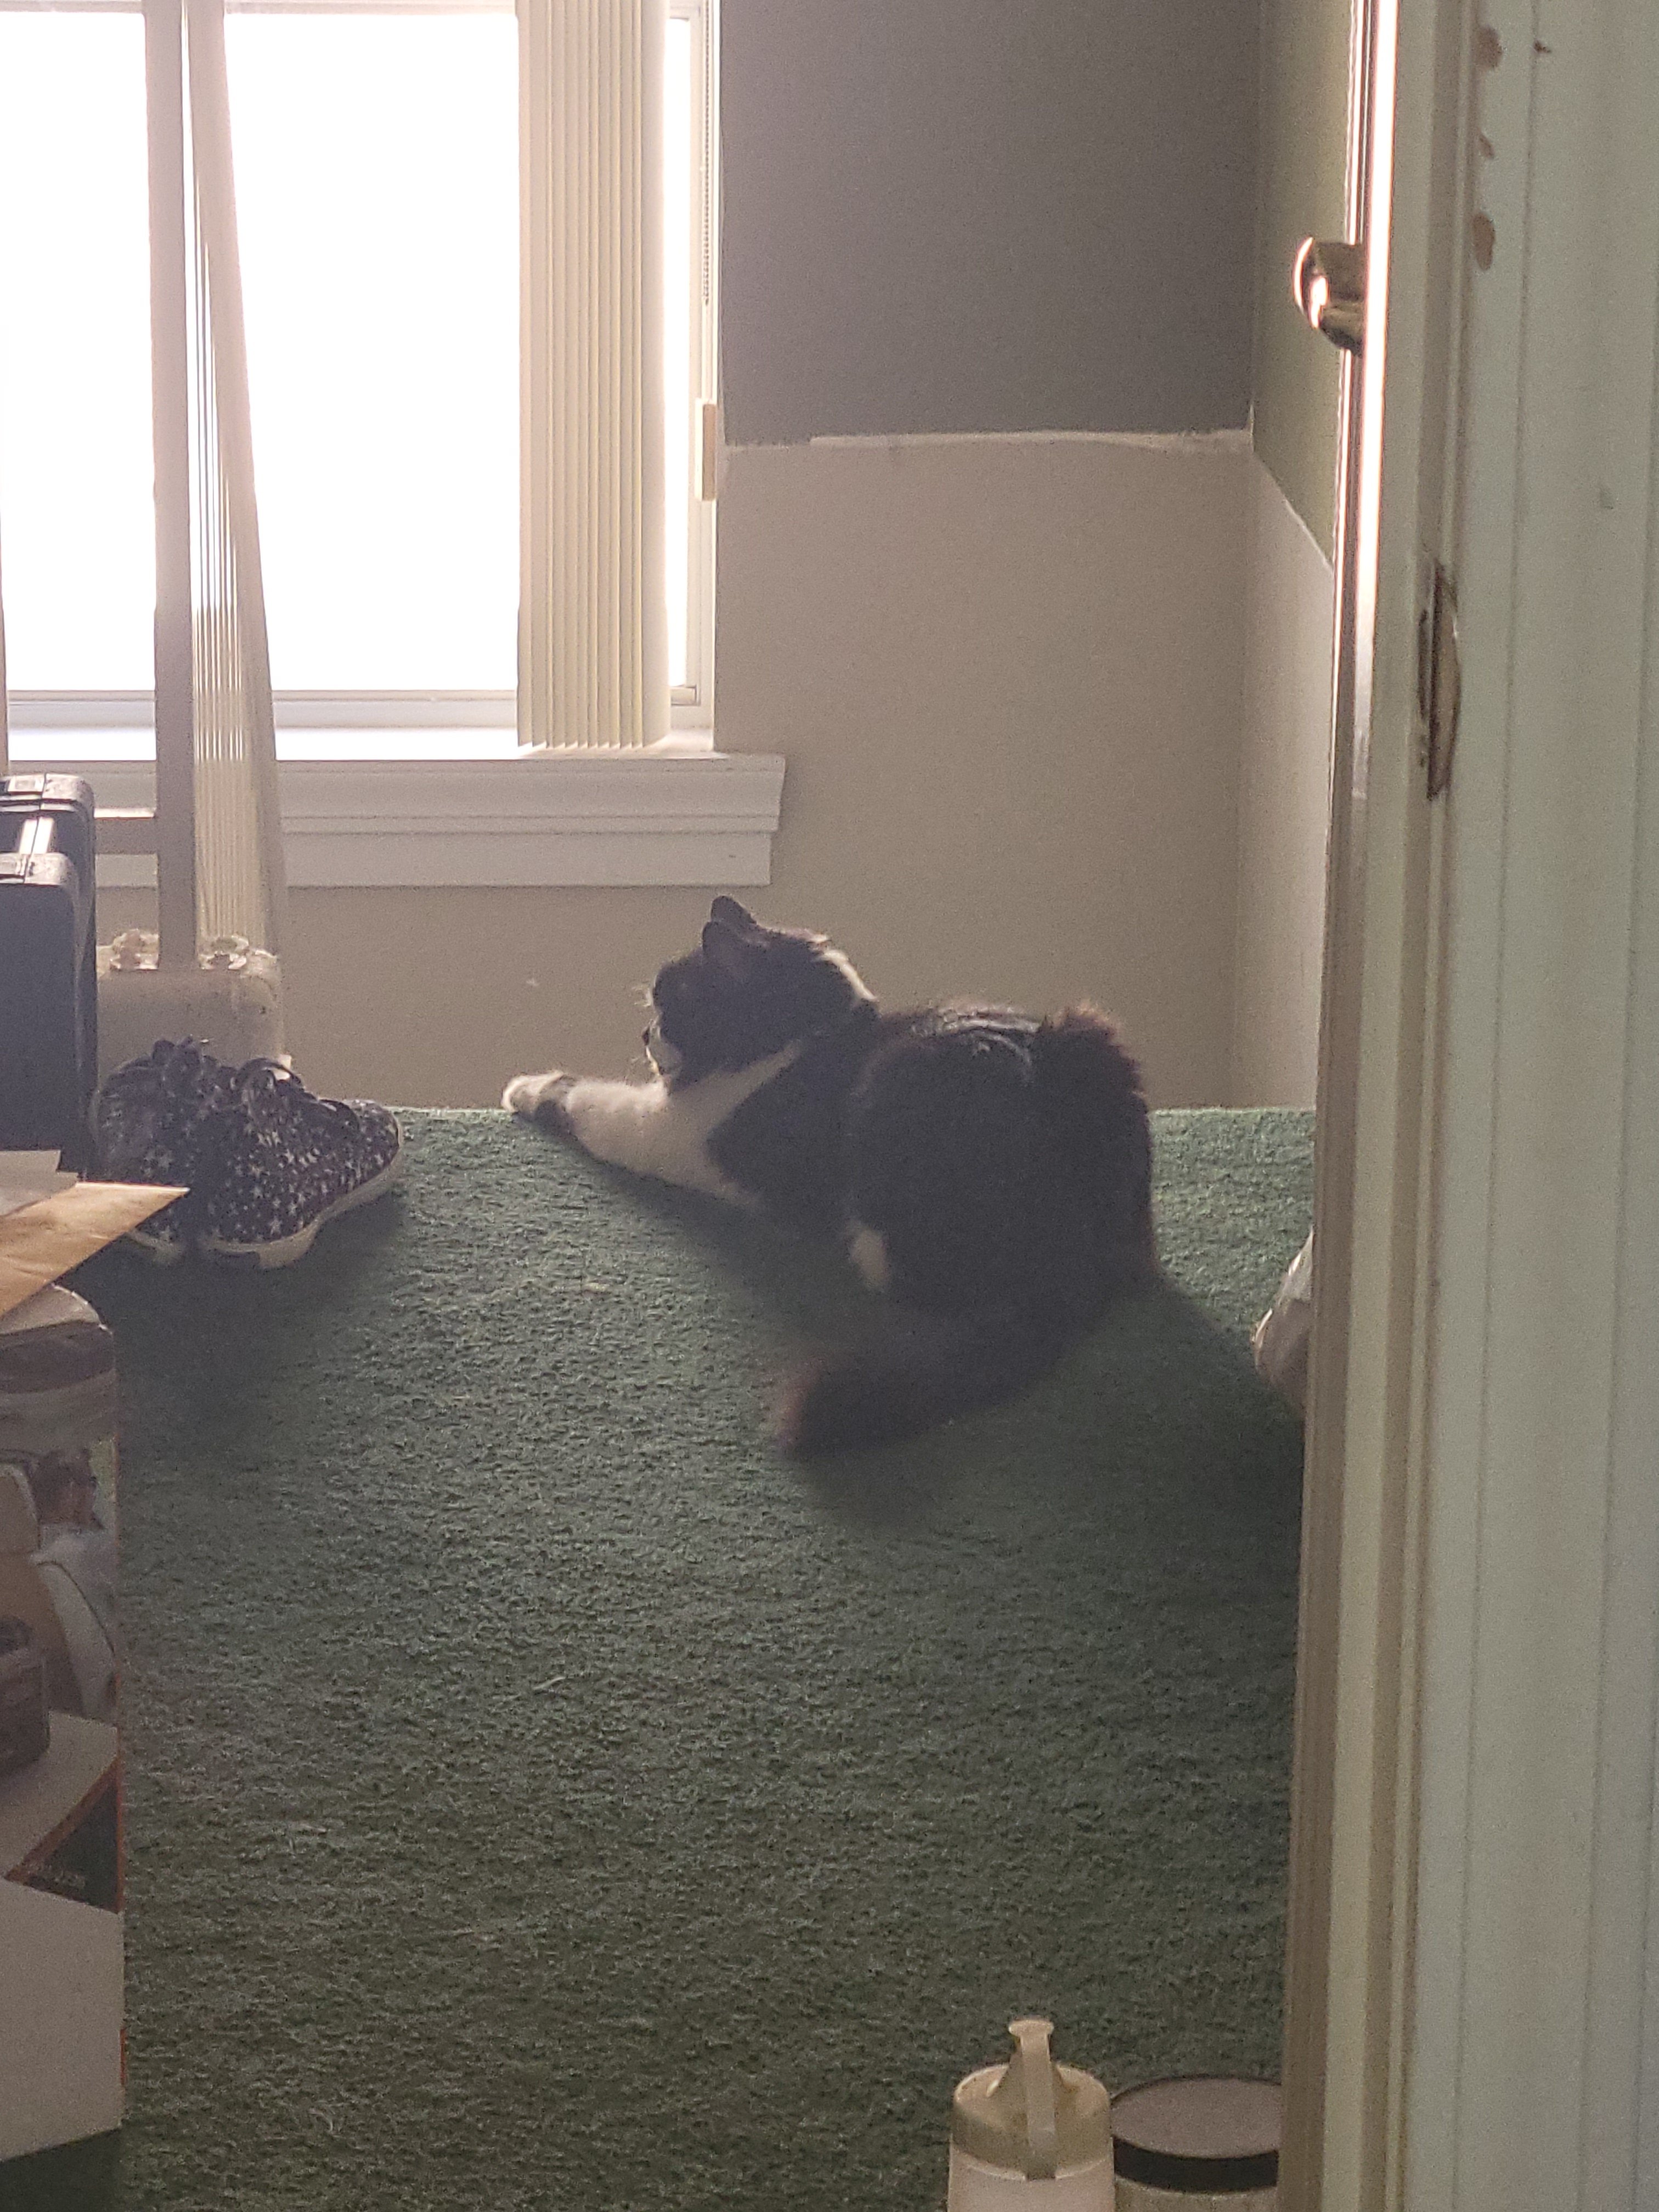
P.S. Here are some more pictures of our cat, Jack. He is so cute and I love him so much.

I can see why your drawing took so long. I wouldn’t have the patience. You did a great job. And Jack is very good at what he does!
LikeLiked by 1 person
Thank you so much! I really appreciate that. It did really take a long time but I’m glad I completed it. He is really good at what he does! Haha. Thank you for commenting!
LikeLike