
Hello! I think we all definitely know the drill by now, but if you don’t, this is a post I make every week detailing what I have been working on in my college art class. I really like making these posts and I definitely think that I have improved since the last one.
This was a pretty long two sessions, but I did not get a head start on them and ended up rushing them the day they were due. I know I could do this a lot better, and I really want to try again in the future.
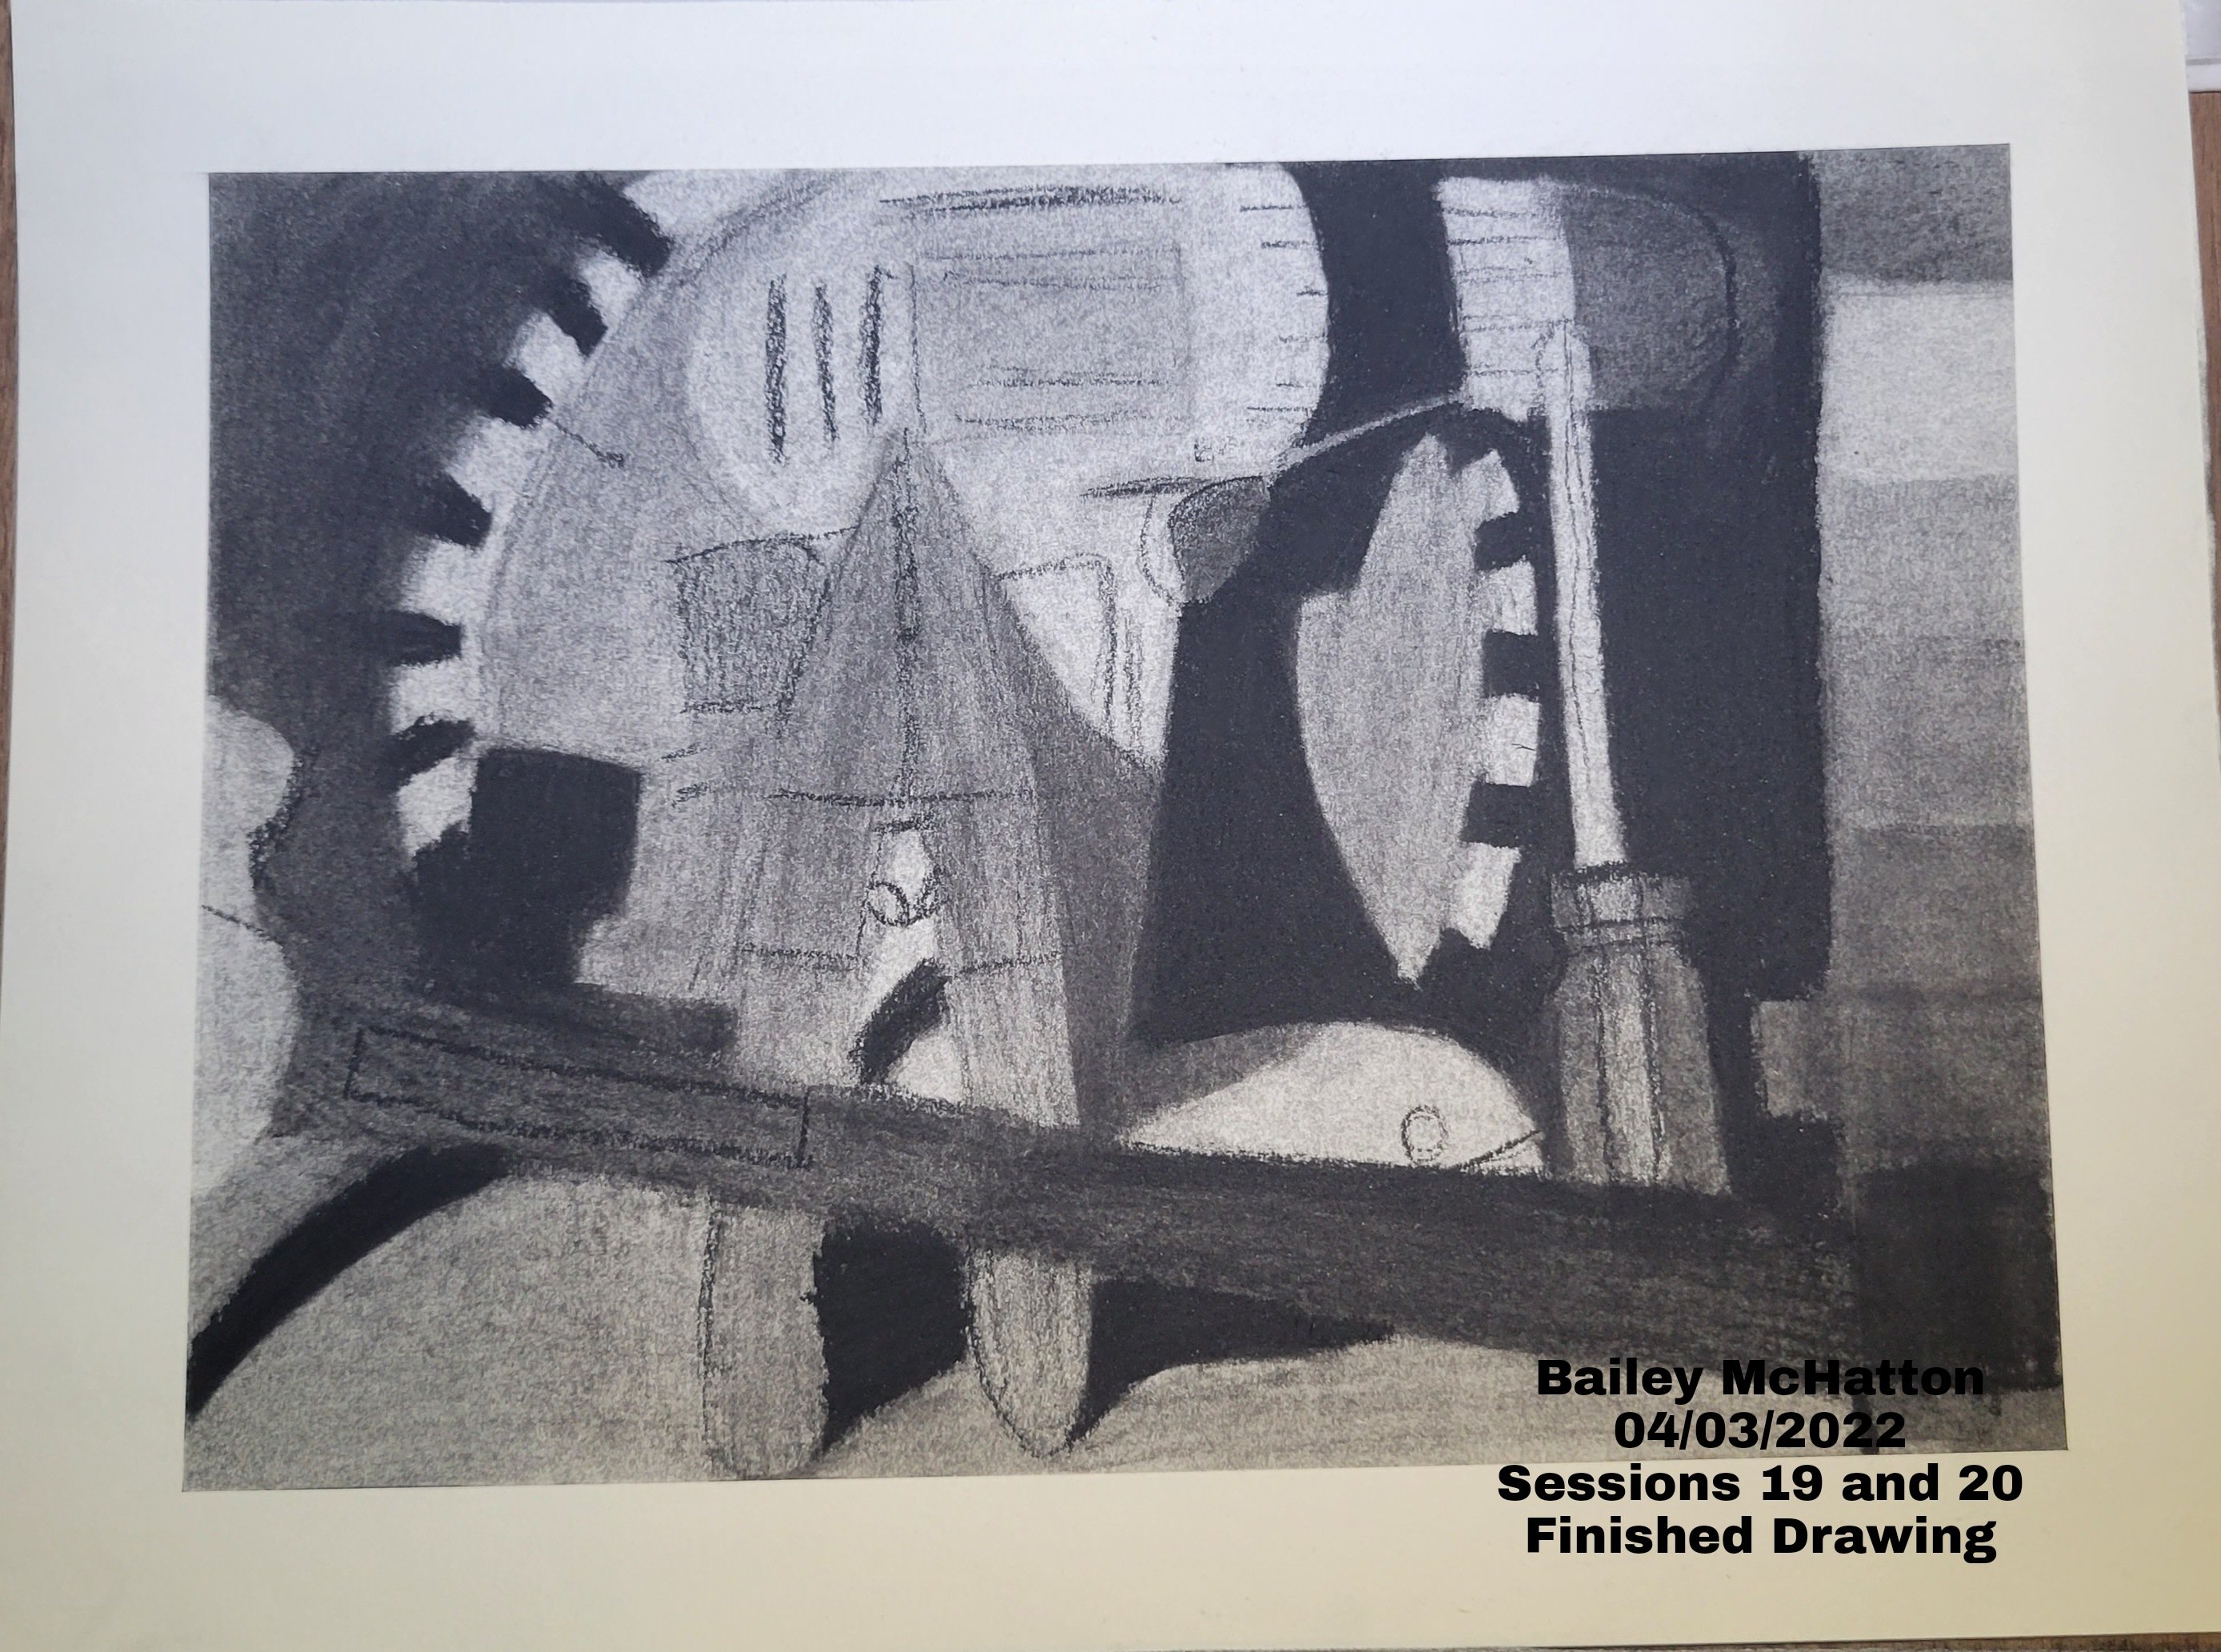
This was the first time we are using charcoal in our class, and I was pretty excited initially to use it. I used to use charcoal, and still have a lot of it. I used to do really simple drawings with it, so I overestimated my abilities with it.
Here are all of the charcoal supplies and other things I used for this session. I only used one stick of charcoal, which I was probably not supposed to do. After I had already started, I thought that maybe we were supposed to use the charcoal pencils instead of the sticks, but I was already neck deep in the drawing. I think that would have helped everything be a bit more defined.
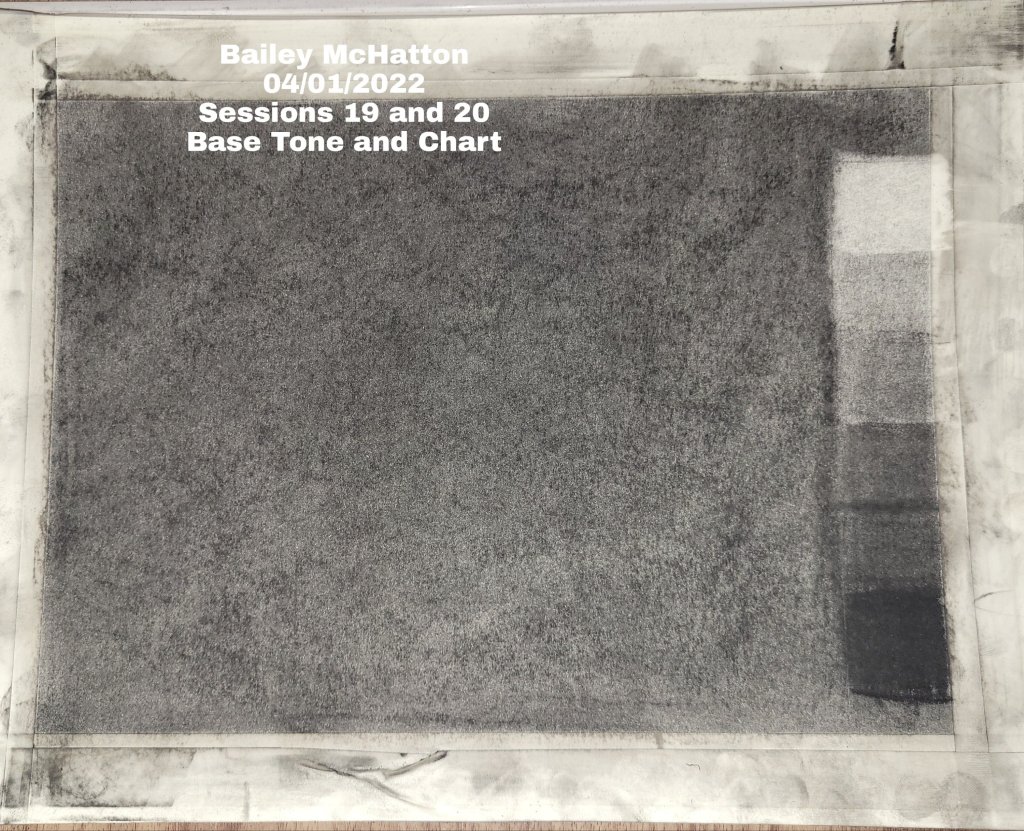
First, we had to apply a ground tone to a sheet of paper. We taped off the sides so we did not get the border all dirty with the charcoal dust. Applying a ground tone basically means covering the whole paper in one tone and blending it to make sure it is all even and consistent.
After we did that, we had to create a chart on the side of all of the tones that we would be using with the charcoal. I think the ground tone is supposed to be in the middle of all of these tones, which mine was. I found it really hard actually to get tones that look different from each other, and I had to try a couple of times to get them right.
We also had to set up another themed still life like the last session, but I did not want to come up with a whole different theme, so I used the same items, just positioned differently. This was all propped up against my dresser, and the black fabric in the background is actually a shirt that I put into one of the drawers so it would hang down behind the items.
Even though I chose tools out of convenience, I found out last session that I really do enjoy drawing them. I’m not sure what it is, but I like drawing them and having them turn out looking like what they are. I also like the different kinds of tones that are in all of the items, which definitely helps with the drawing.

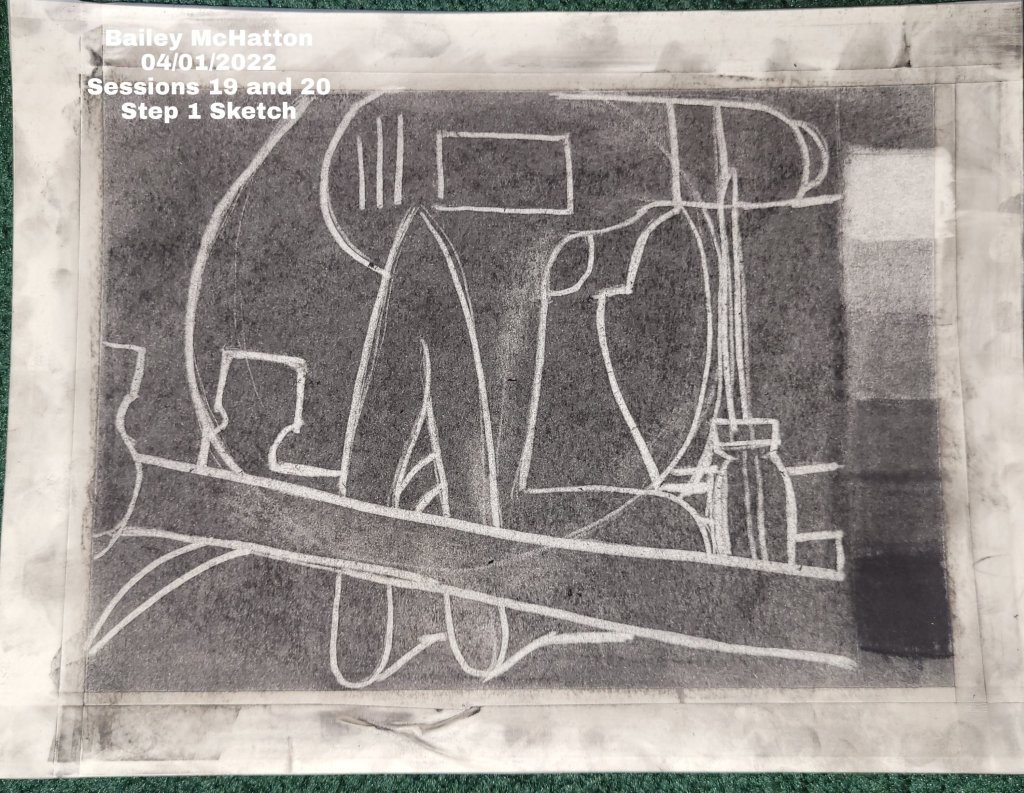
After we did all of that, we had to sketch in our still life scene. We could either use charcoal pencils, or our stick eraser. I chose the eraser because I thought it looked more interesting in the example pictures. This is called the shapes step, when all of the general shapes are put in, but no detail or tone has been added yet.
I didn’t try too hard on this part, mainly because I knew I was crunched for time. I still don’t think it looks too bad, and everything looks about proportional.
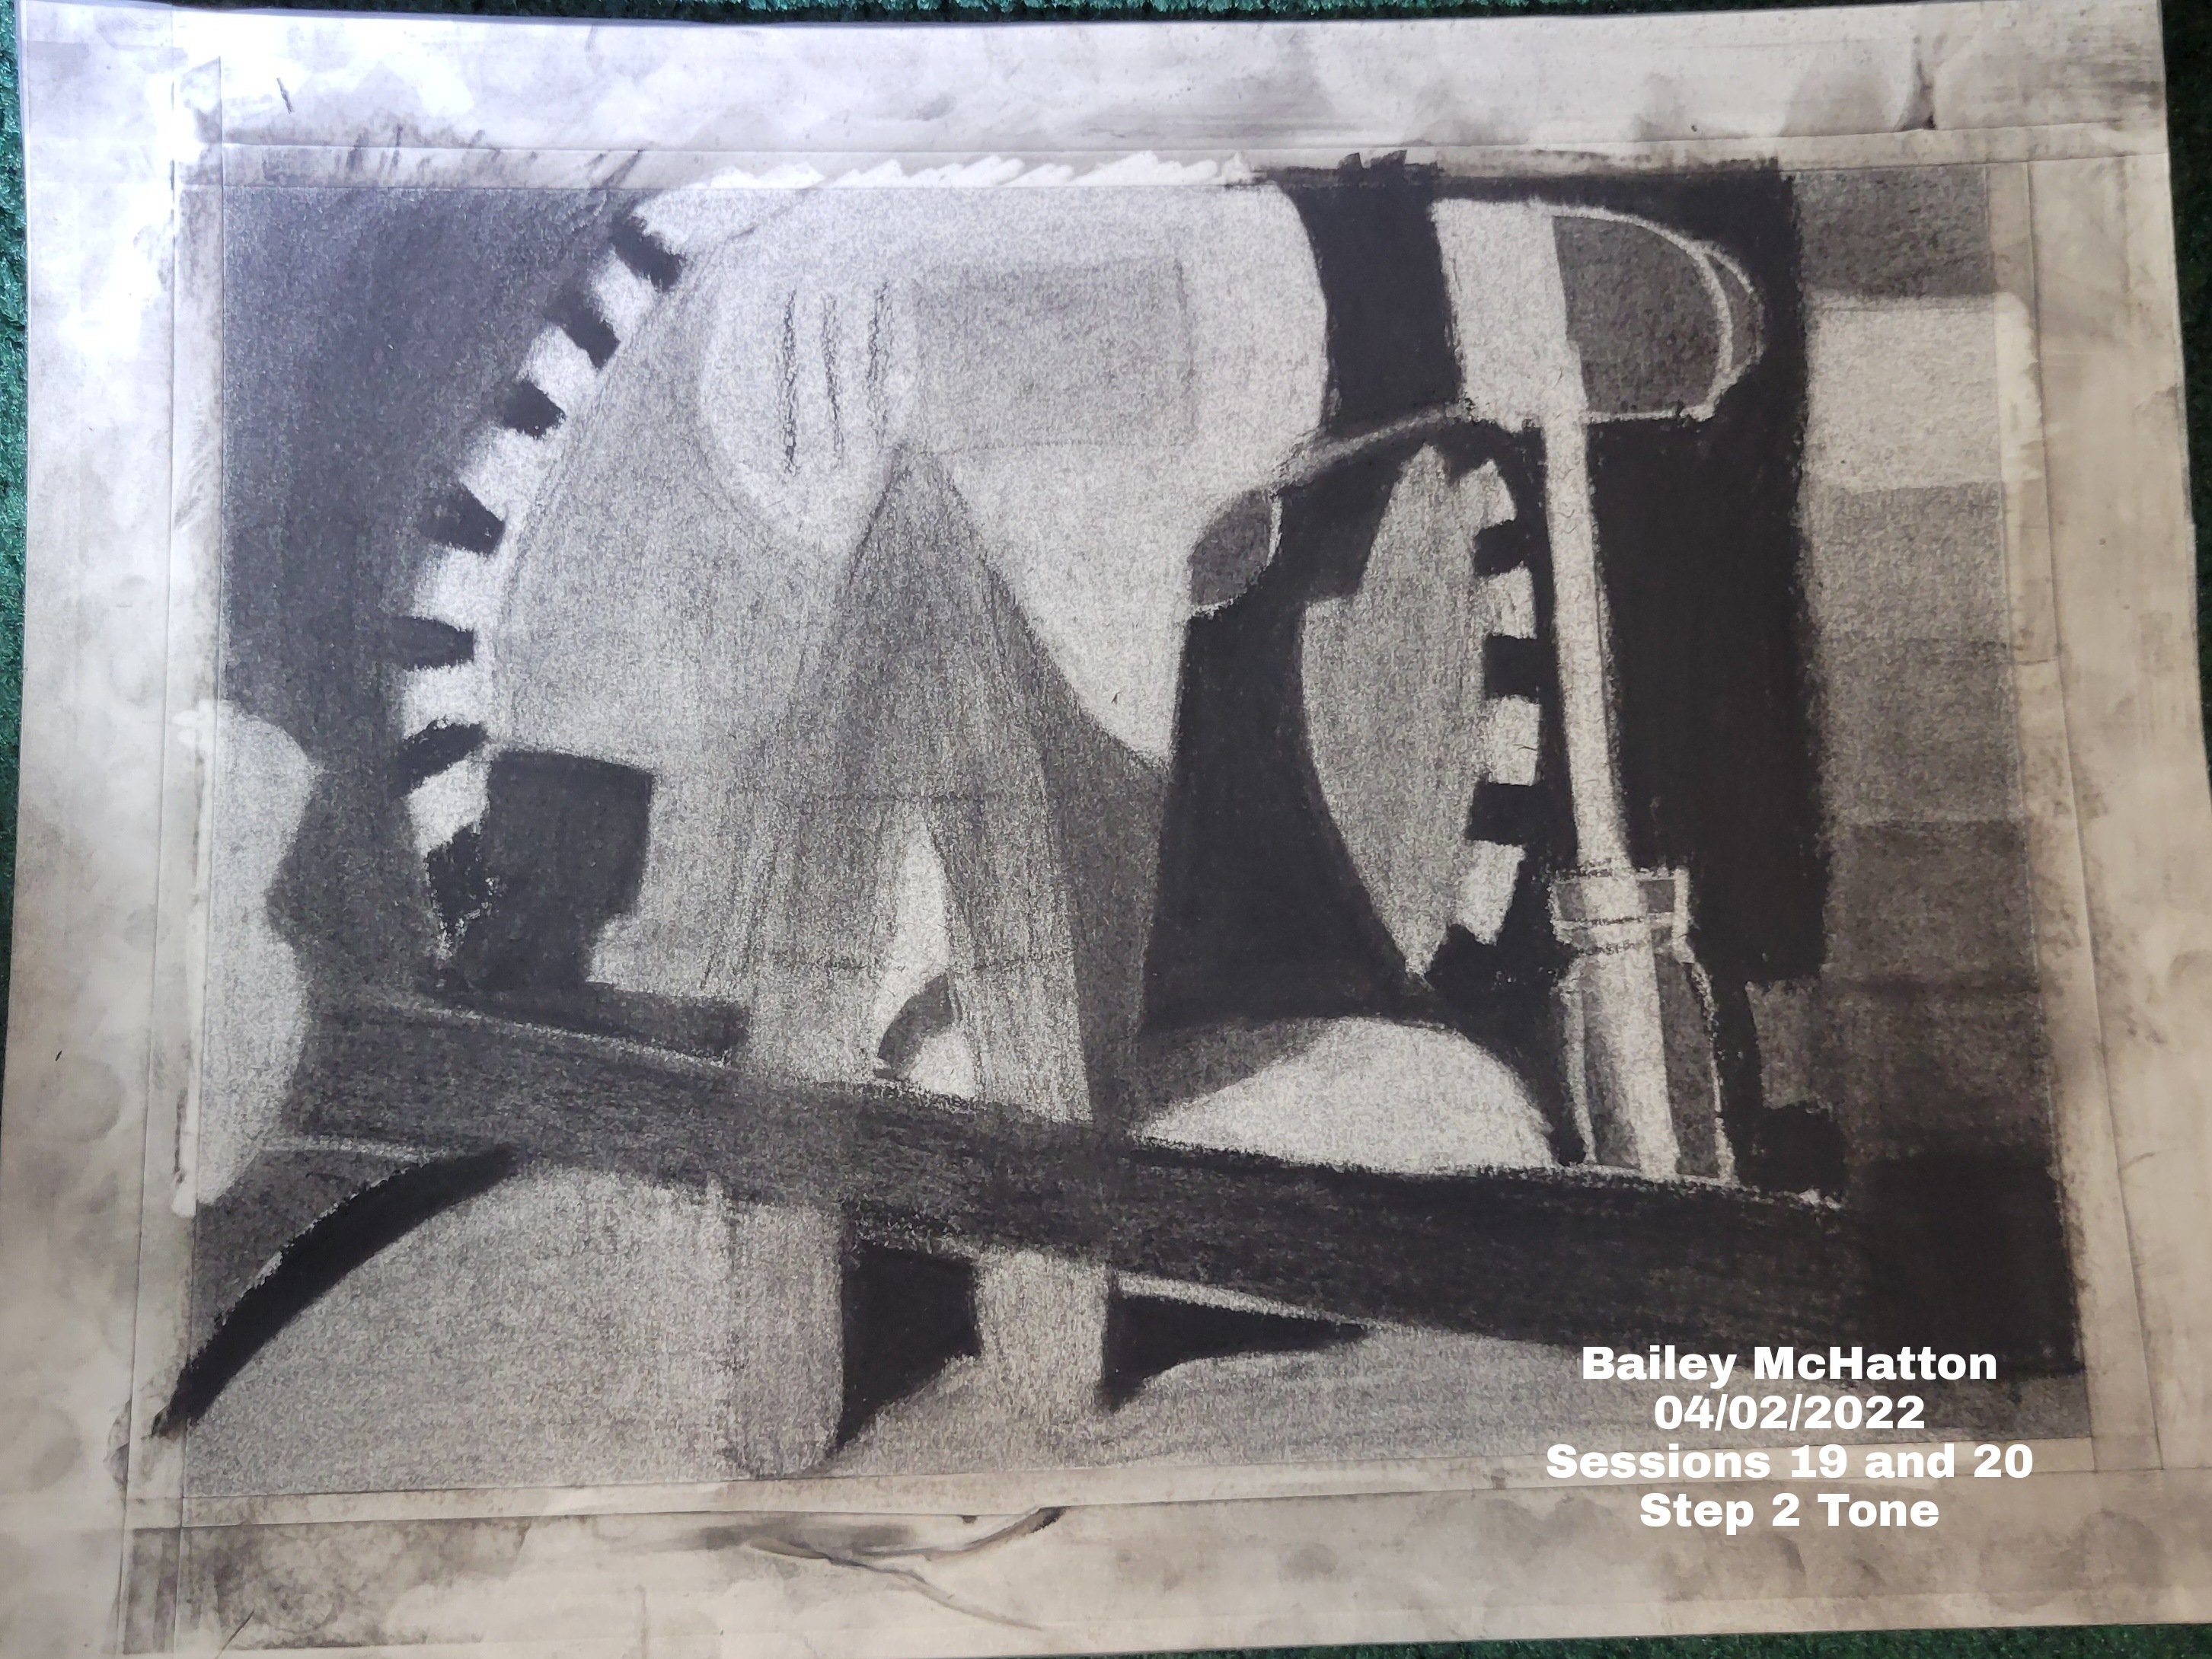
Then, the next step was tones. This is where I really started disliking my drawing. I thought it looked very abstract and disconnected, which is not at all what I wanted or was going for. I felt like all of the tones were very close together and it was difficult for me to make them look different enough. I felt like I was just making blocks of tones that looked similar and blended together.
Anyhow, I kept going. I knew I didn’t have that much time left in the day before it was due, and I also had other homework due that night that I had also procrastinated on. I don’t usually procrastinate that much, but this week just took a different toll on me.
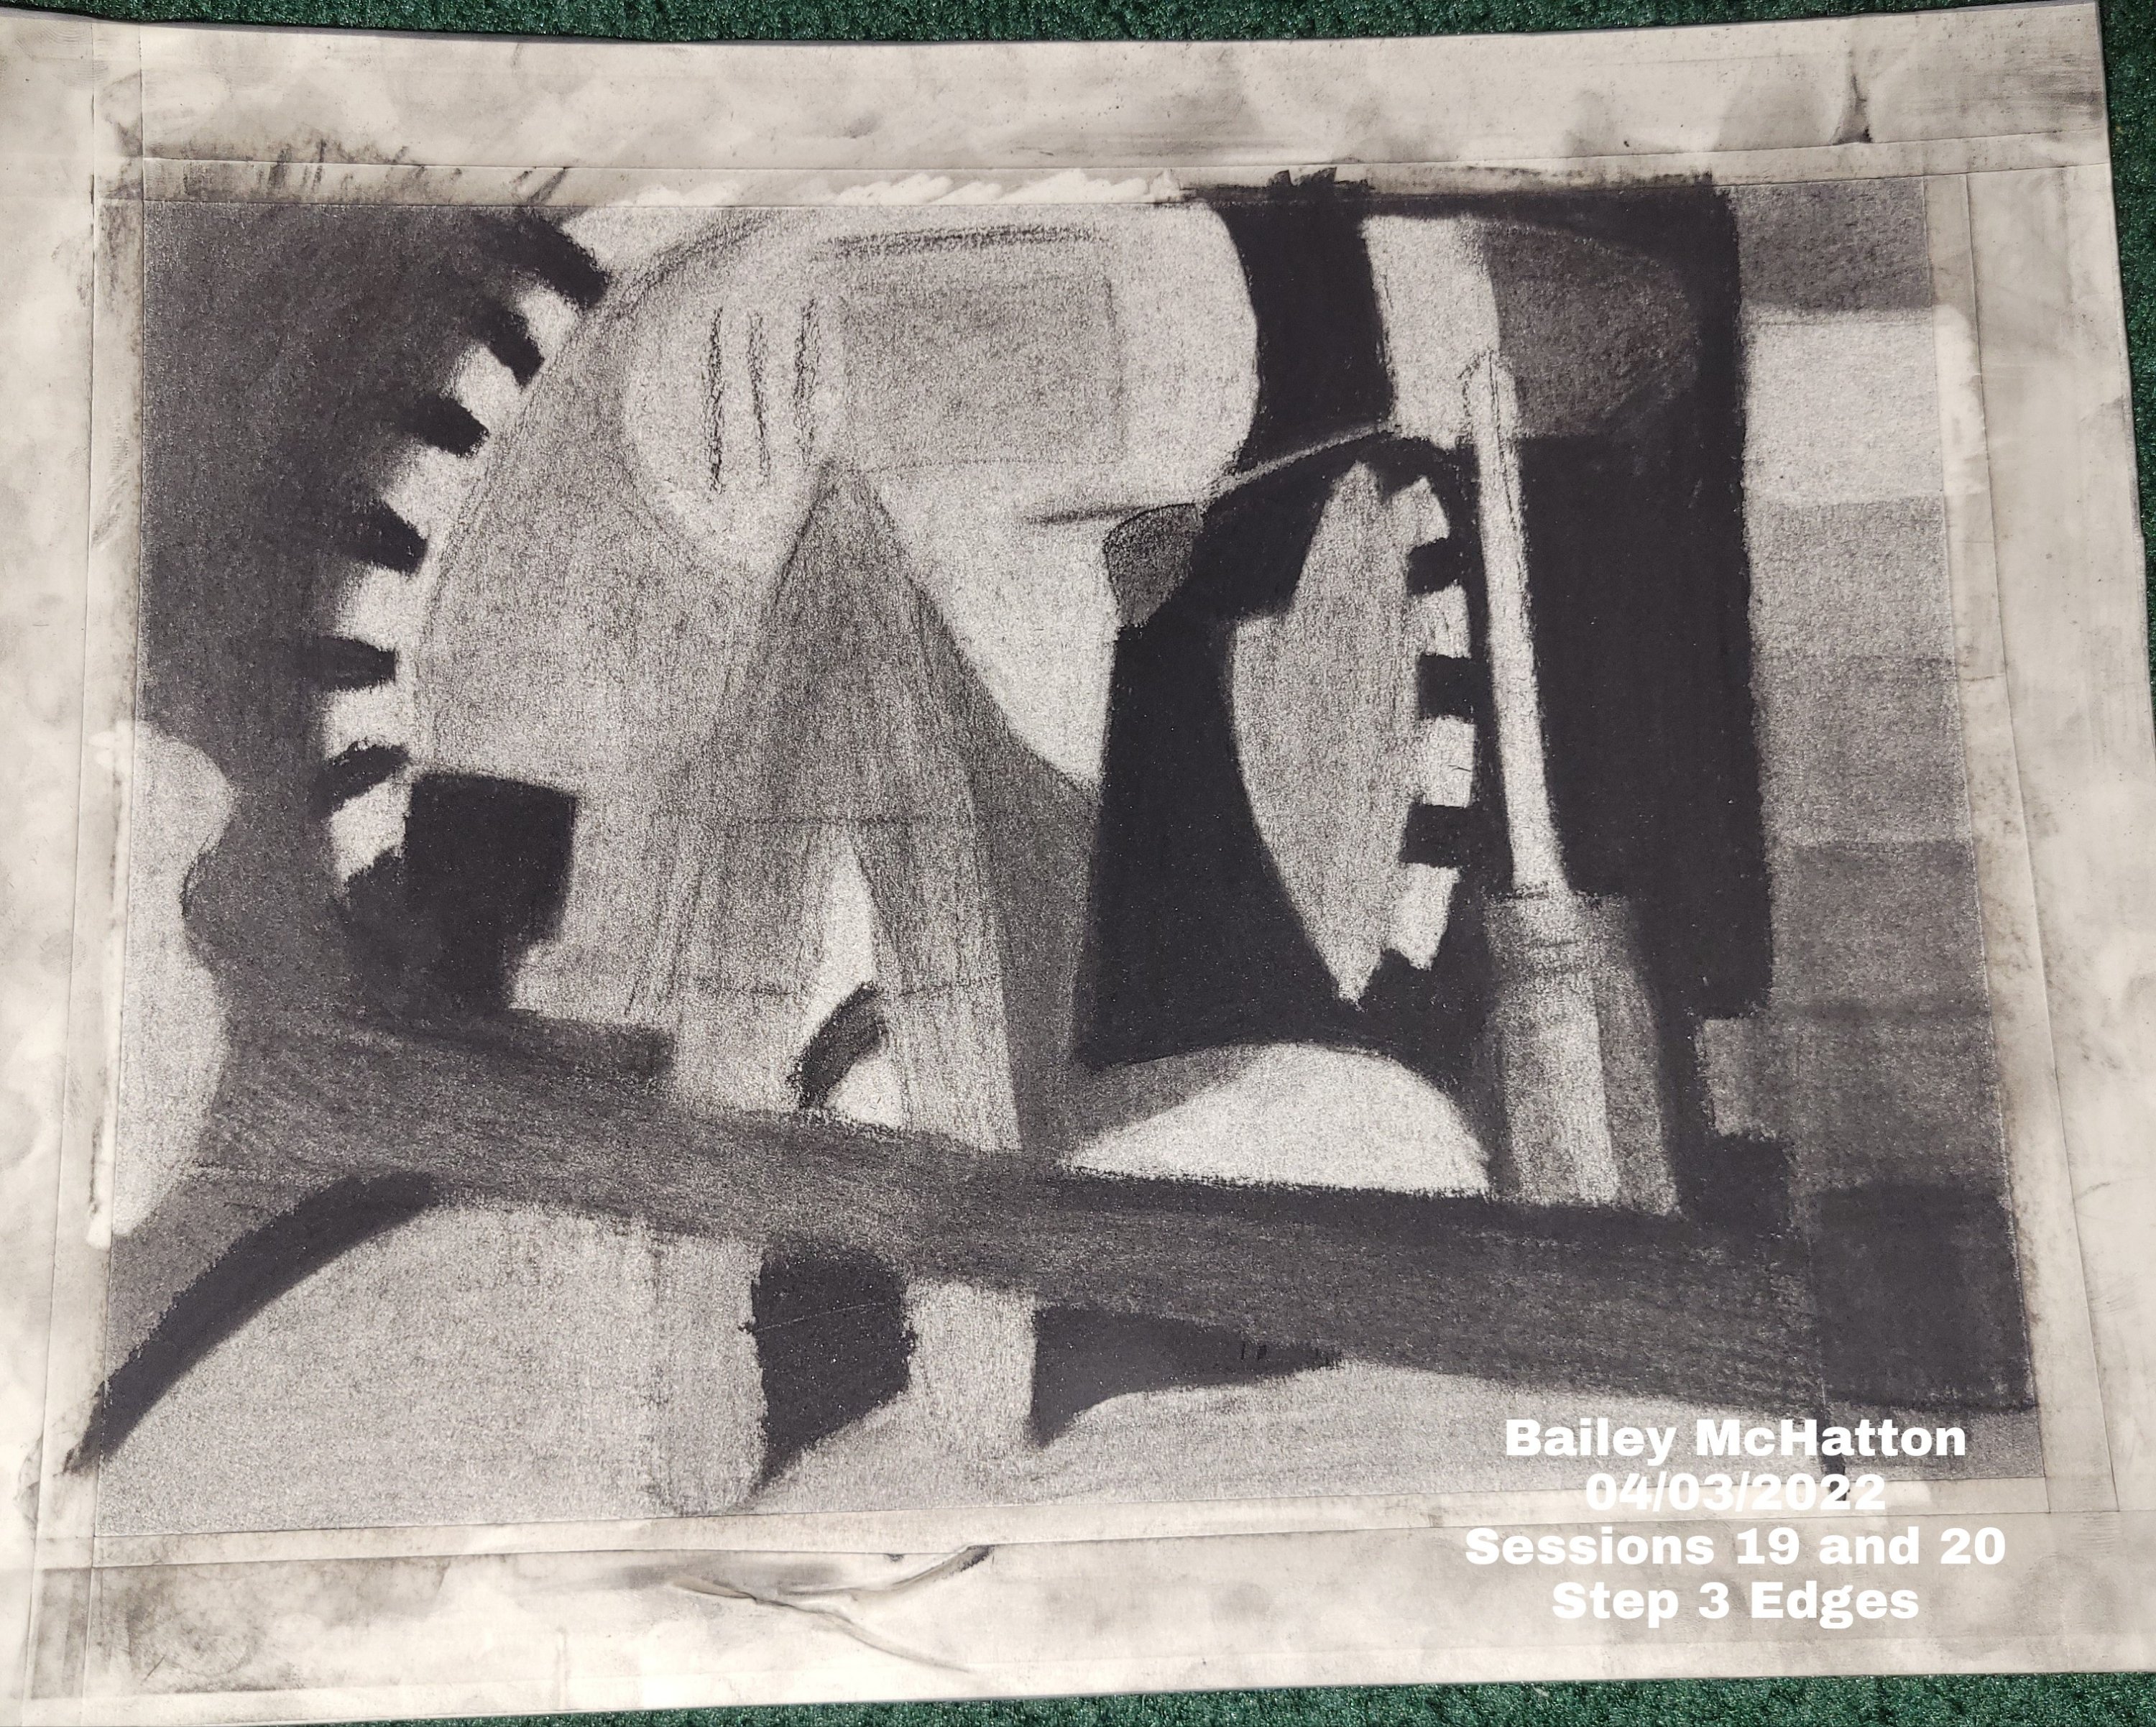
The next step is edges. I like to think this is where everything gets cleaned up and looks better. However, even though I cleaned up my edges, I thought it looked even worse. Since there were no more outlines around everything, it all blended together even more and to me it seemed like there were no distinct shapes.
At this point, I really did not want to do anything else and wanted to be done, but I had to do something else first. I ended up taking a little break from the drawing, but I don’t think it helped.
Anywho, onto the next step.
Thankfully, this was the last step in this drawing. Our professor told us that this should take 4 to 5 hours, but I definitely did not have that long. I only spent about an hour and a half on this, whcih is just another reason I want to redo this session.
The last step was details, which was pretty easy. I was glad that this step was shorter because I was really ready to be done with this, plus I still had to label all of the pictures and do a few more assignments by midnight. I don’t absolutely hate how it turned out, but I definitely know that I could do better.
After we finished the drawing, our professor recommended that we do something to preserve it since charcoal gets on everything and is easily smudged. He suggested that we could put hairspray on it to protect it, or we could tape another piece of paper on top of it while we were storing it. I chose to do the hairspray, and it was an interesting experience. It also made it look a bit shiny afterwards.
That is all I have for you guys today! Thank you all so much for reading my blog post and supporting my journey! We are close to the end of this series, and I hope that I can keep making art even after the class ends. Thank you for reading!

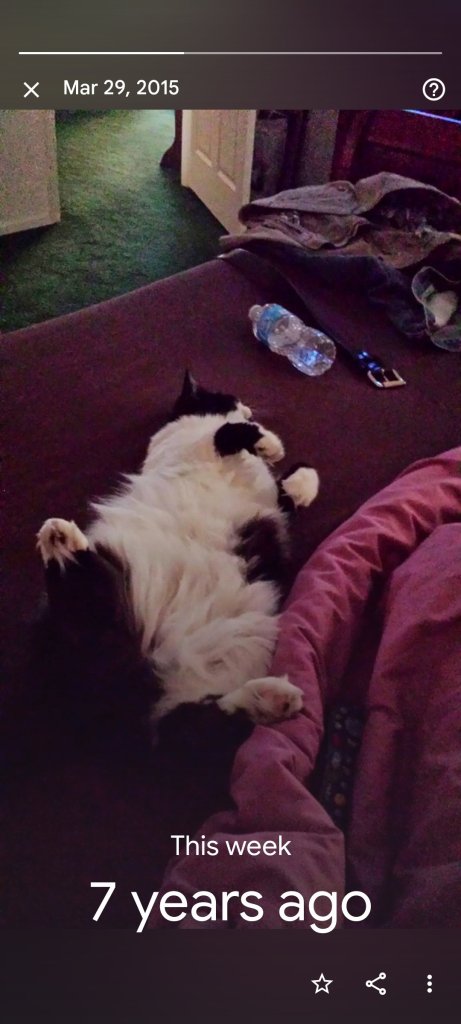
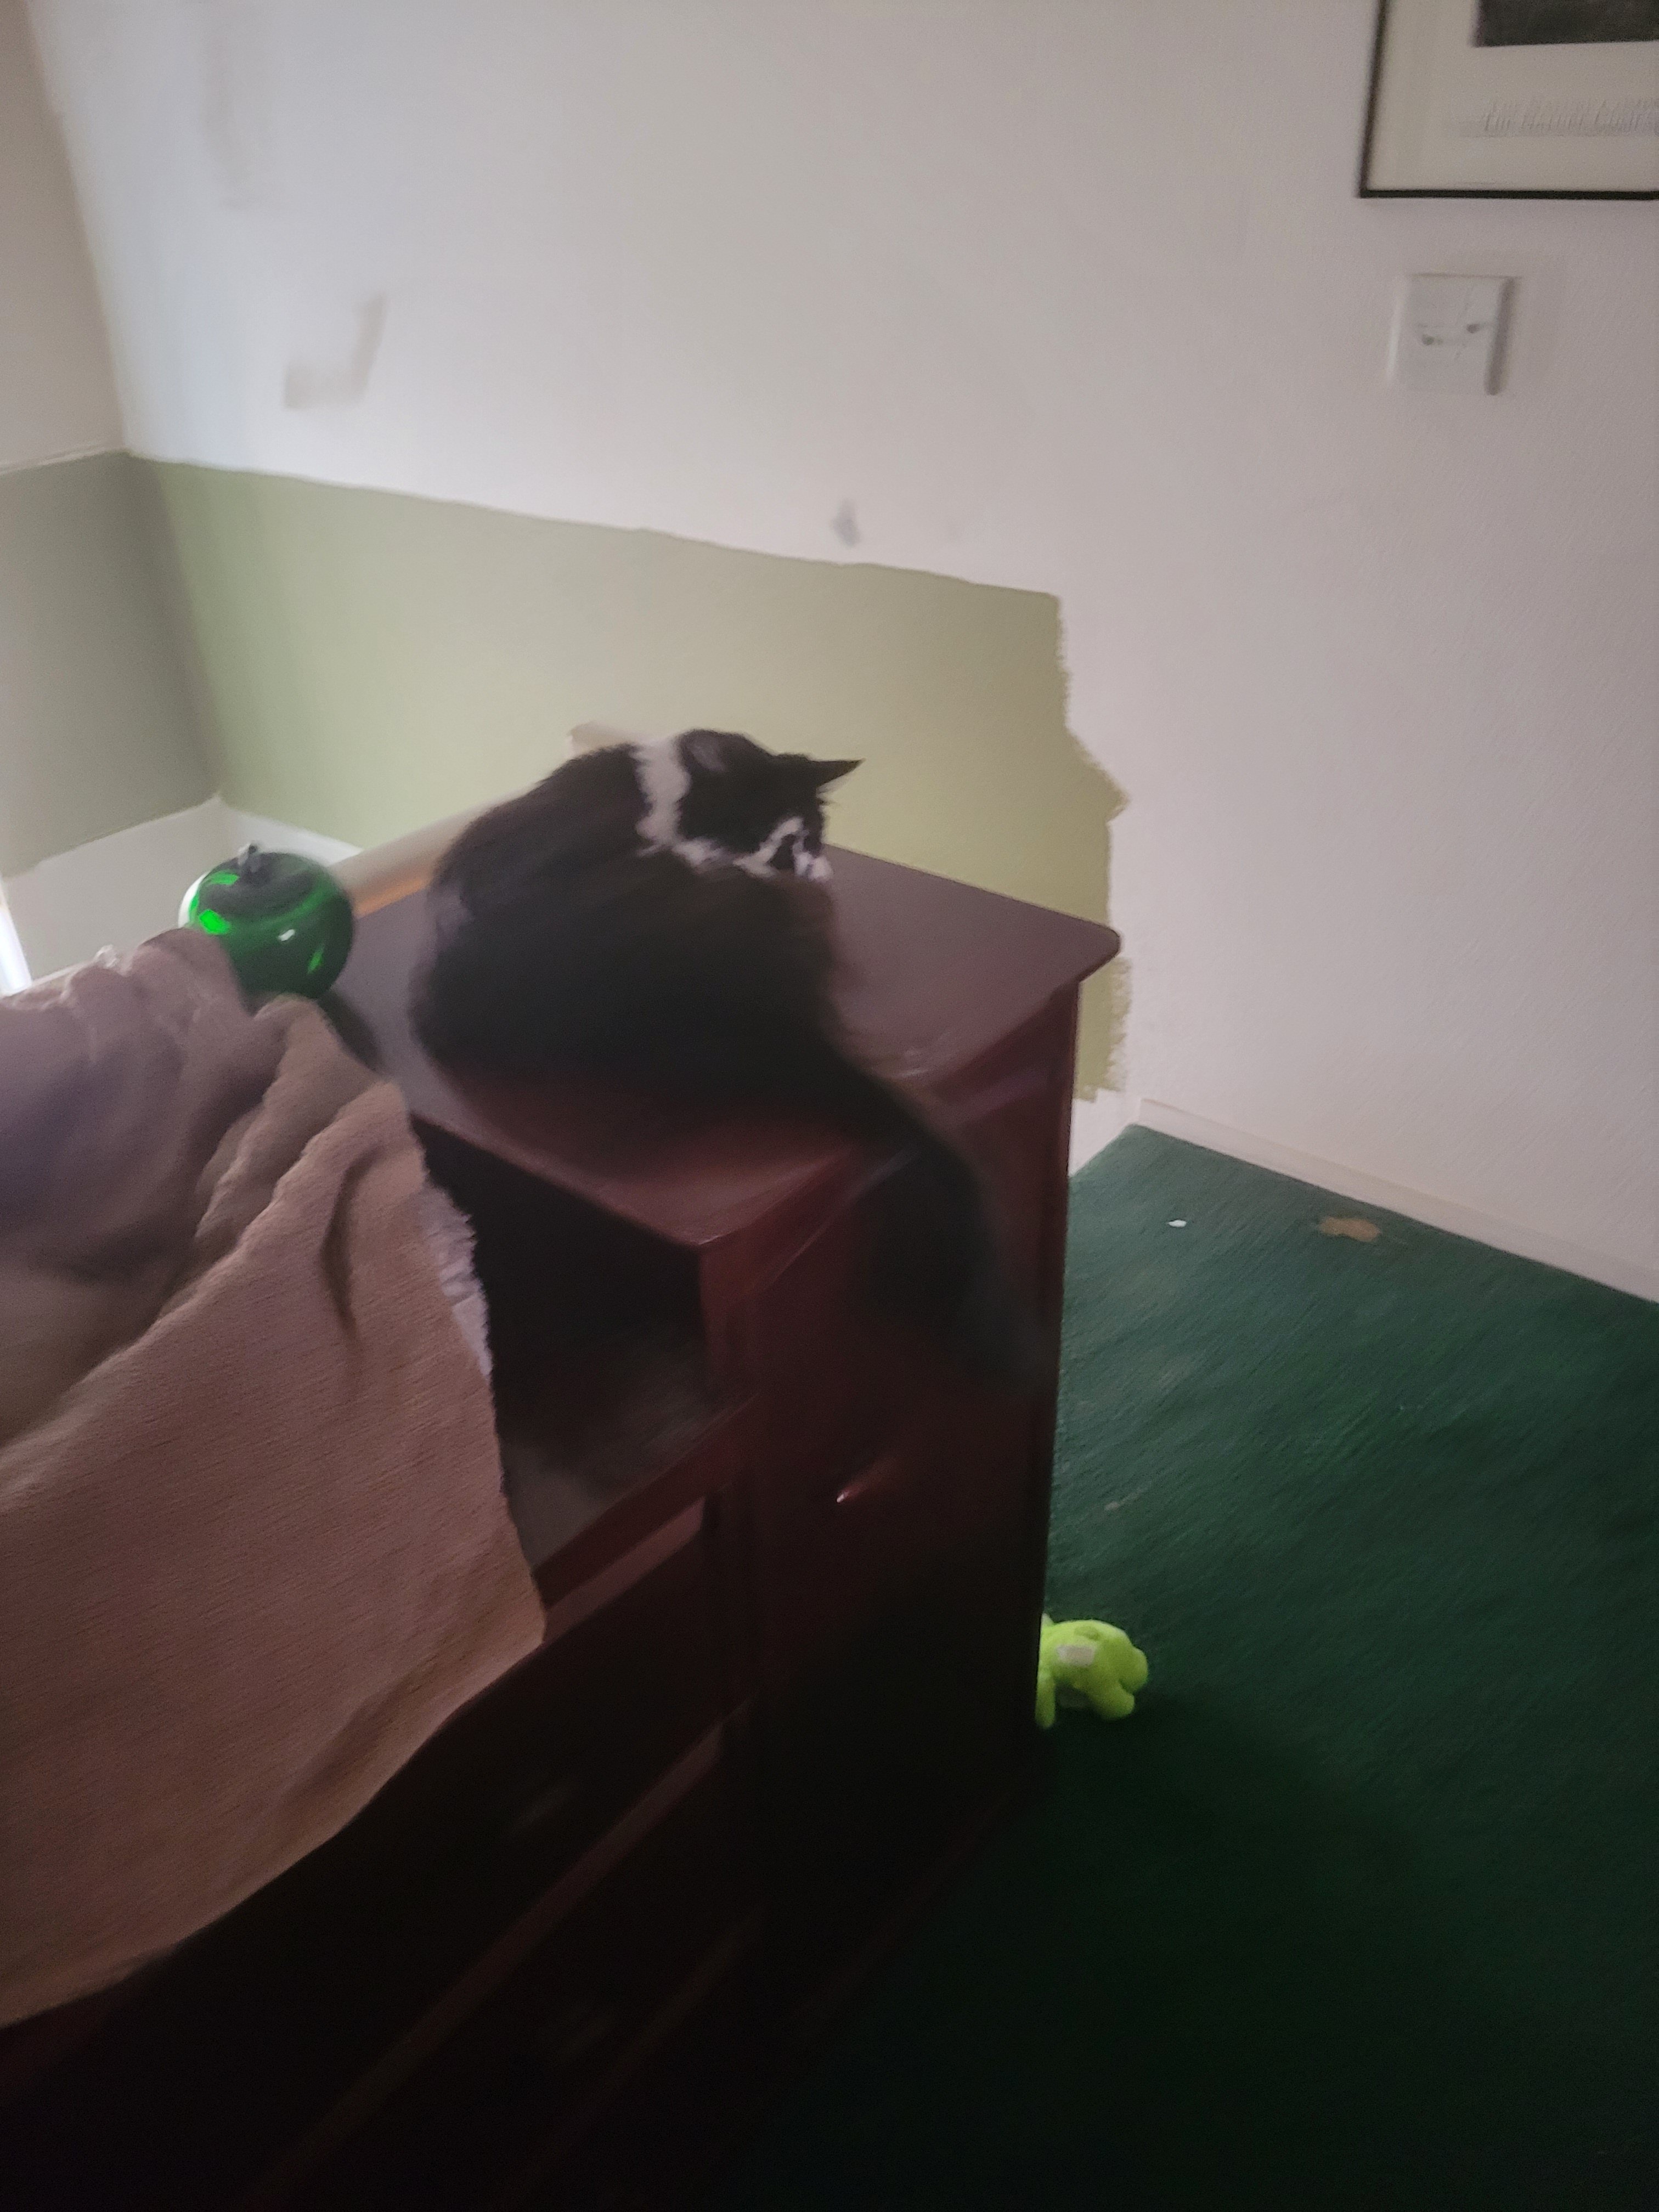
P.S. Here are some more super cute pictures of our cat, Jack, that I took around the time I was doing this art project. He is so cute and I love him so much. I wish I could tell him how much I love him and have him understand it.


Hairspray? Hairspray. Hairspray…hmm… I gotta keep that in my back pocket. Was it sticky or tacky afterwards?
LikeLiked by 1 person
Thank you! It was pretty dry afterwards, but it took so many coats that I would rather just use the spray gloss that comes in a can. It’s much easier to apply, takes less coats, and dries relatively nicely. Thank you for commenting!
LikeLike