Hello! This post will be about all of the things we have done to the inside of the van so far. We have been working a lot on the inside, and I am very excited to share our progress with you guys.
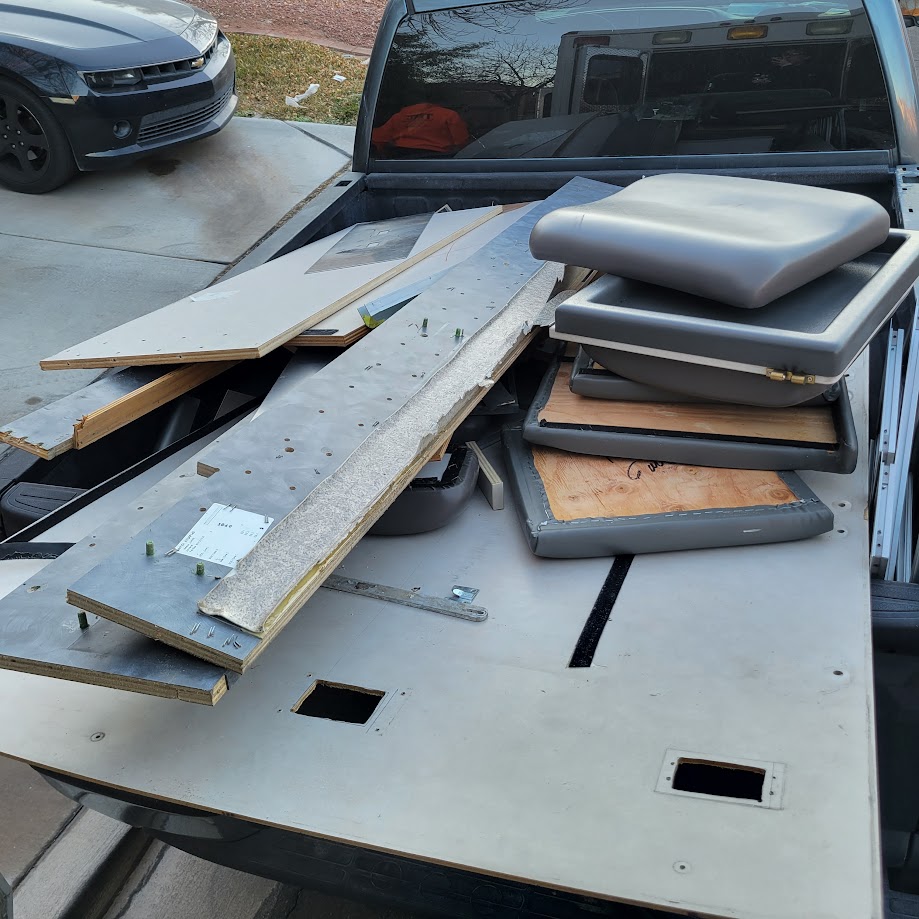
My ideal goal for the first day was to get all the surface things in the ambulance removed, such as all the hooks, molding, cabinet doors, and seat cushions. We ended up doing way more than that, which I am super happy about.
My parents helped my fiancé and I tear stuff out, and we tore down the bench, some of the walls, and a lot of the surface stuff as well. It took almost three hours, and we made a ton of trash, but I am very glad that we finally got started on it.
We found out that a lot of the van is put together with Velcro, adhesive, and lots of nails and dowels. The nails and the dowels were really frustrating to work with since they really held every piece together, but we got through it.
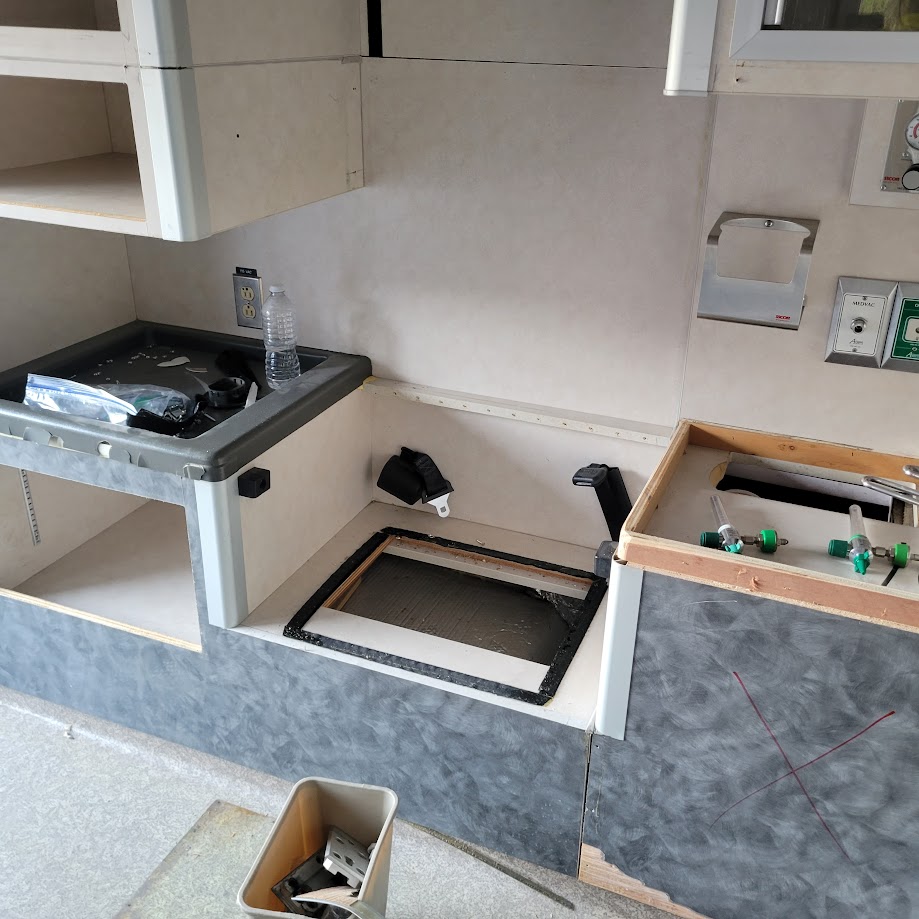
We took all of the pads off on top of the doors, as well as the padded molding that was around under a lot of the higher cabinets. The attendant’s chair came off, and so did the seat that was in the counter on the driver side. This seat was by far the most uncomfortable in the ambulance, so I am glad to see it gone.
Since we started a little late this day, the sun started setting and that is when we stopped. It was getting really cold out and we were all running out of steam.
The next day we worked on it, it was just me and my fiance. We worked on getting all the cabinets on the driver’s side out, and that was a big task. Almost every single piece was a pain to get out.
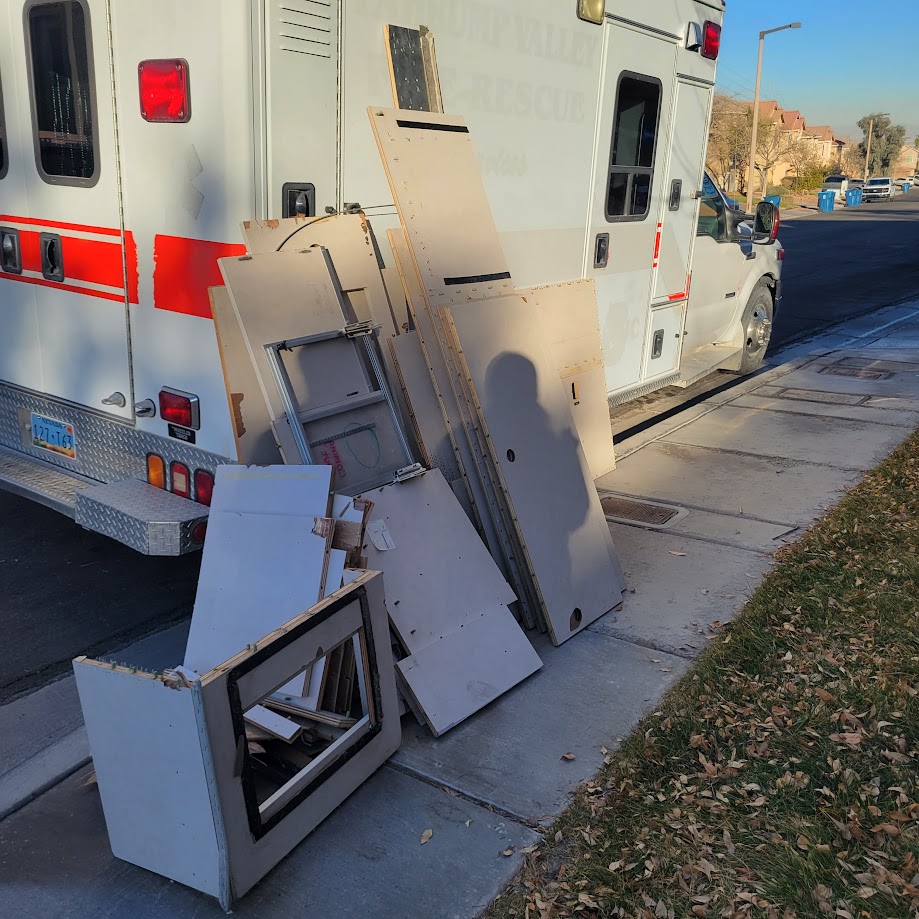
We did end up getting all of the cabinets out on that side, which took about 4 hours total. We made a ton more trash, which really made me feel like we were making some great progress.

Before we started working on it again, we had to take some of the trash to the dump, since we no longer had any space to put additional trash. We took care of that, and then we were ready to clean everything up, take the remaining stuff out, and finally tear out the insulation.
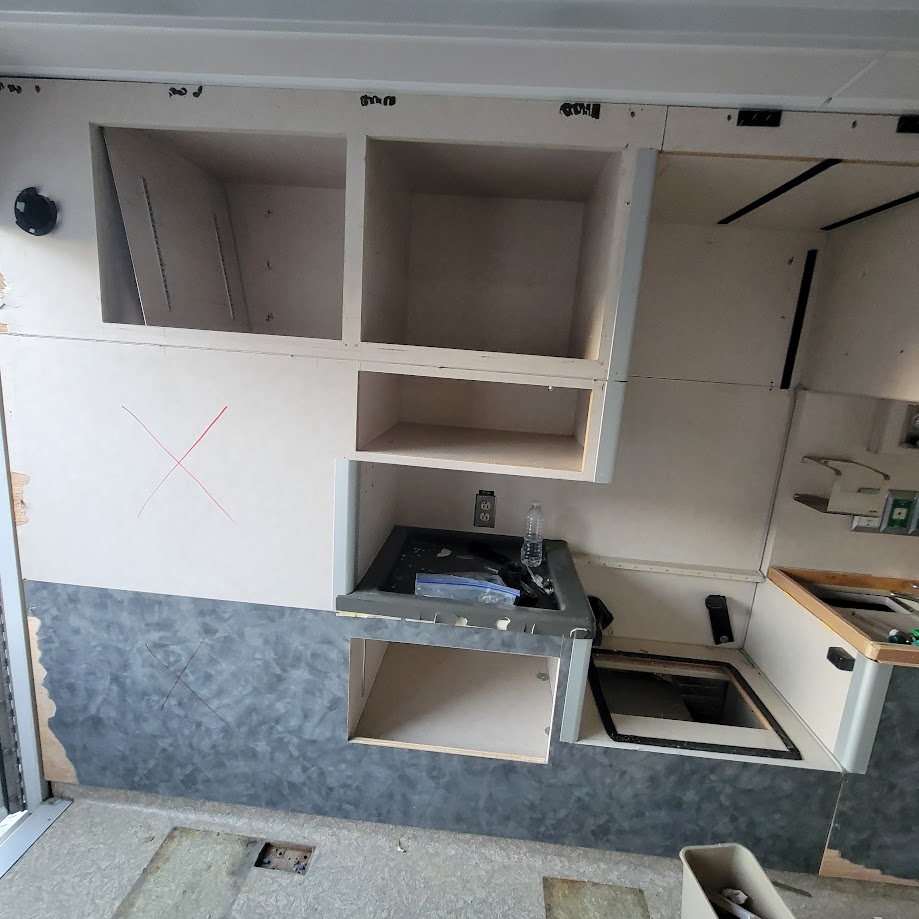
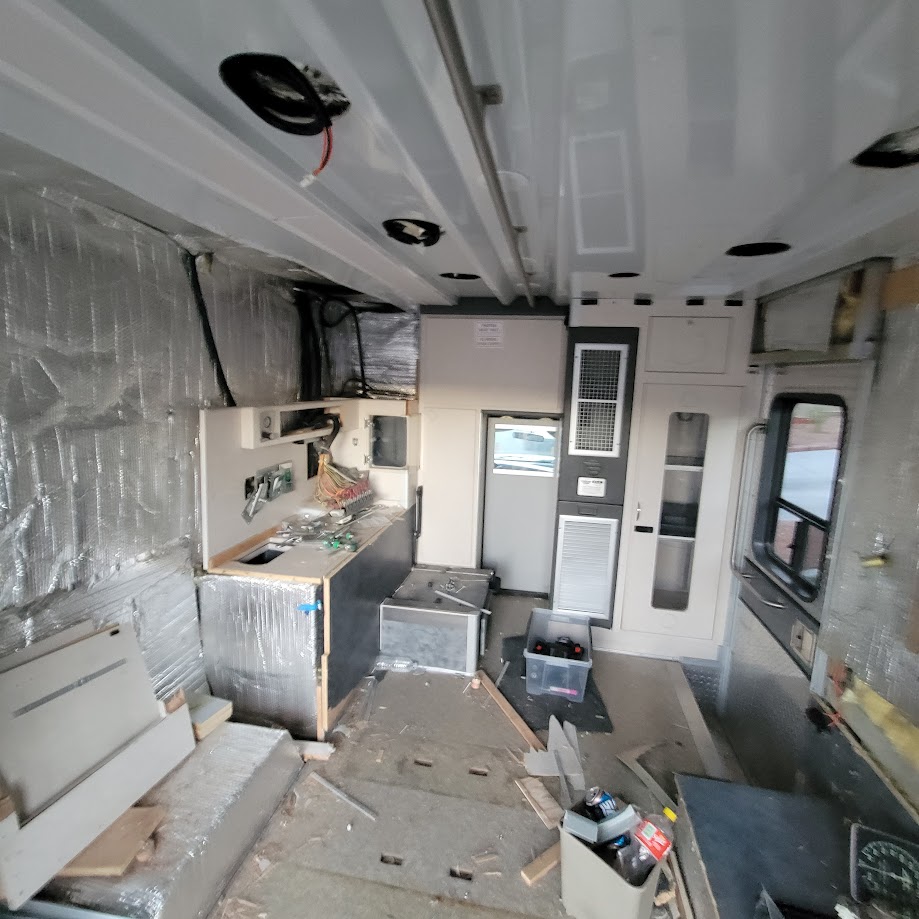
My fiancé and I spent a couple hours working on taking the remaining cabinets out, and making sure we had done everything possible before getting my parents together over the weekend to work on the insulation.
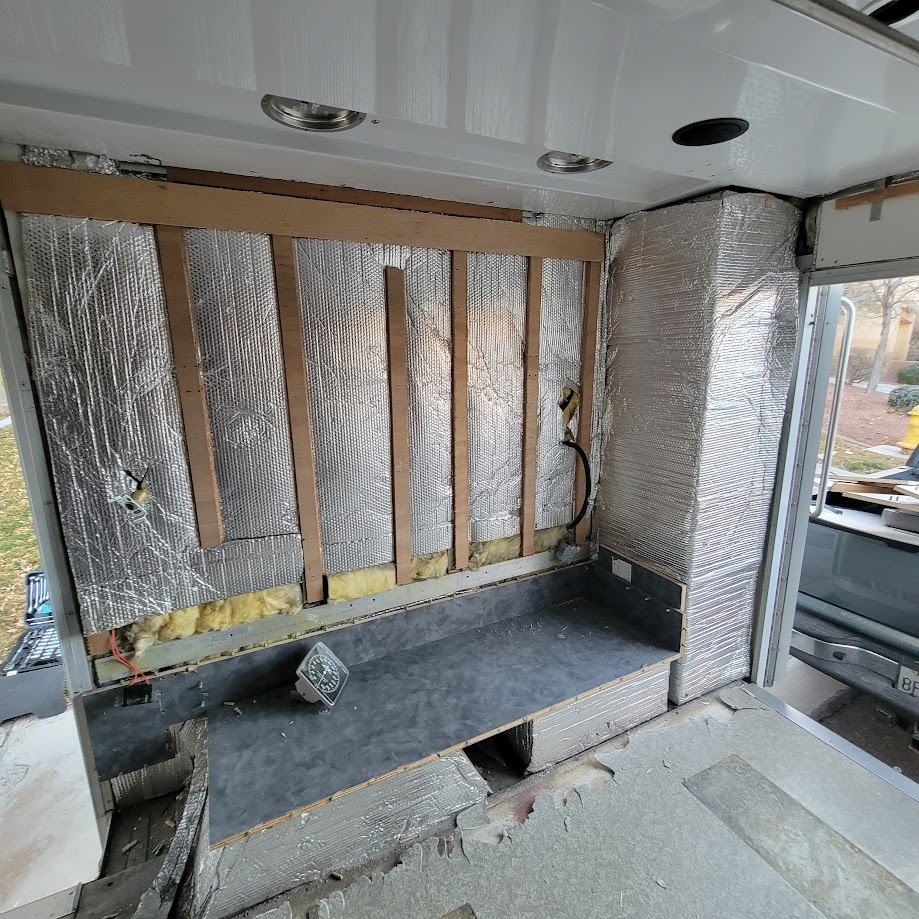
We took out the cabinet on the front drivers side, the bottom cabinet and counter. We also took out the remaining parts of the bench that were giving us problems before.

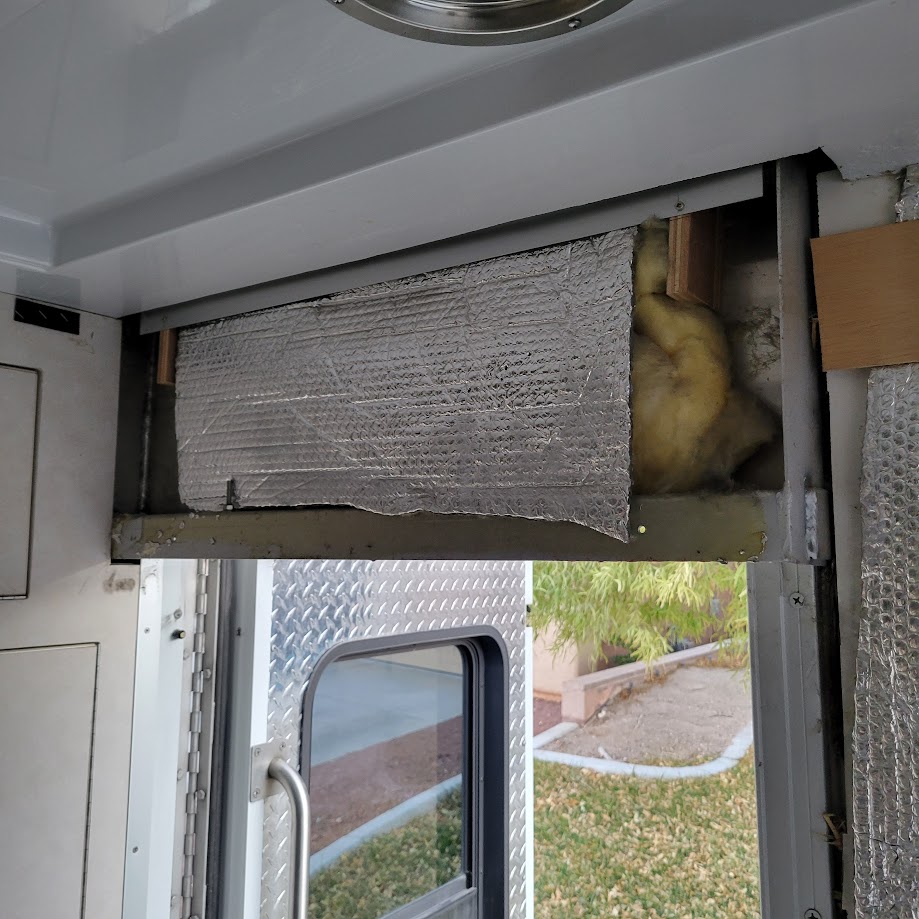
The insulation that is currently in the ambulance consists of fiberglass padding and some kind of tinfoil bubble wrap thing that is just adhered to all of the surfaces, and on top of all of the fiberglass.
There were a couple areas that only had the tinfoil type material on them, such as all of the cabinets that open to the outside, so we also ripped all of that off. I really wanted to make sure that we only had to worry about getting the insulation off on the weekend.
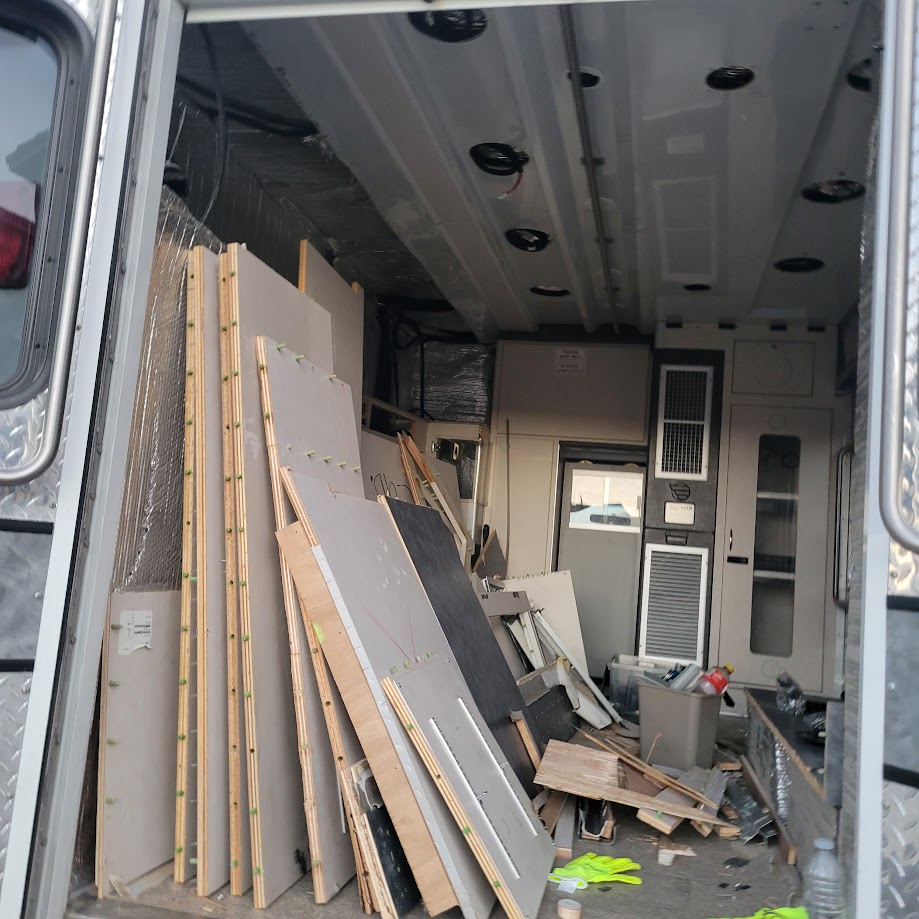
That material was kind of fun to rip off, since it was relatively easy. Some parts were attached to the fiberglass padding in the walls, and we stayed away from all that.
The last thing that we did was remove the bottom panel off of both of the back doors, because we will also have to eventually put insulation in there as well. We would have done the side door as well, but we were running out of time that day.
The next steps on the demo are to remove all of the insulation in the walls, remove the ceiling and any insulation above it, and also remove any parts or panels that we may have missed the first two days. This does mean that we will need a lot more safety gear for this, so I got some plastic zip up suits, goggles, and masks for all of us to work on it together.
I don’t think the insulation will end up taking that long, so I am looking forward to it. I’m thankful that my parents are helping me, since it does make things go a lot faster.
I am excited to remove the insulation, because that means we can start putting in our own, better insulation. That does also mean that I have to make a final decision on which insulation I want to use, and that I am not looking forward to.

Everything we have done so far is going a lot faster than I ever could have hoped. I didn’t have any experience with this kind of stuff before, so I am glad I overestimated the predicted time, and didn’t underestimate.
I have also posted my first ambulance video on YouTube, and here is a link if you would like to check it out! I am really excited to start posting there, since I enjoy making videos. YouTube Video!
That is everything we have done on the inside of the ambulance so far, and the rest of our plan to tear stuff out. Thank you so much for reading my post and I will see you in the next one! I’ll be posting every Monday and Thursday.

What a job, Bailey! I’m glad you finally have some time to work on it. I’m enjoying your progress… glad you’re writing about it. LG
Yahoo Mail – Email Simplified
LikeLiked by 1 person
Thank you! I’m glad I’m documenting all of it too, and I’m also very glad I have time to work on it!
LikeLike
WOO! Demo time! It’s crazy how big it’s looking in there! Great job!
LikeLike
Right? Haha it has really started to look like there is a ton of room in the ambulance now. Thank you!
LikeLike